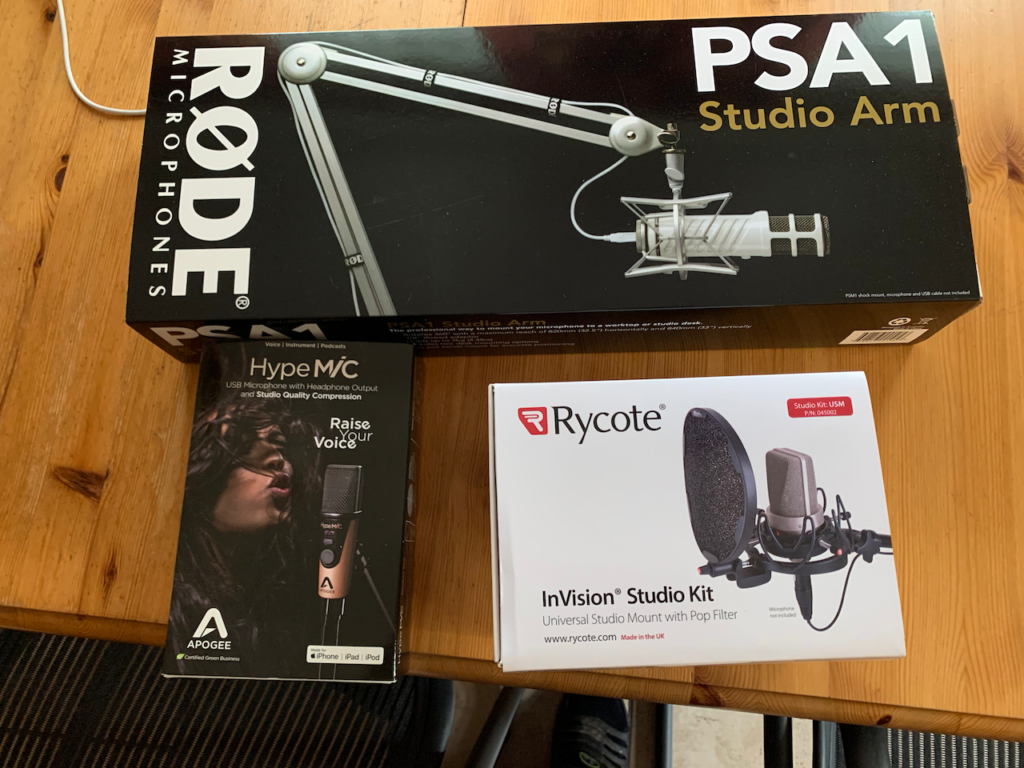
Up to this point, we progressed from pretty darn awful sound to pretty much decent sound, but I wasn’t entirely satisfied yet. Time to take the next step. A friend recommended trying an Apogee MIC and lent me one.

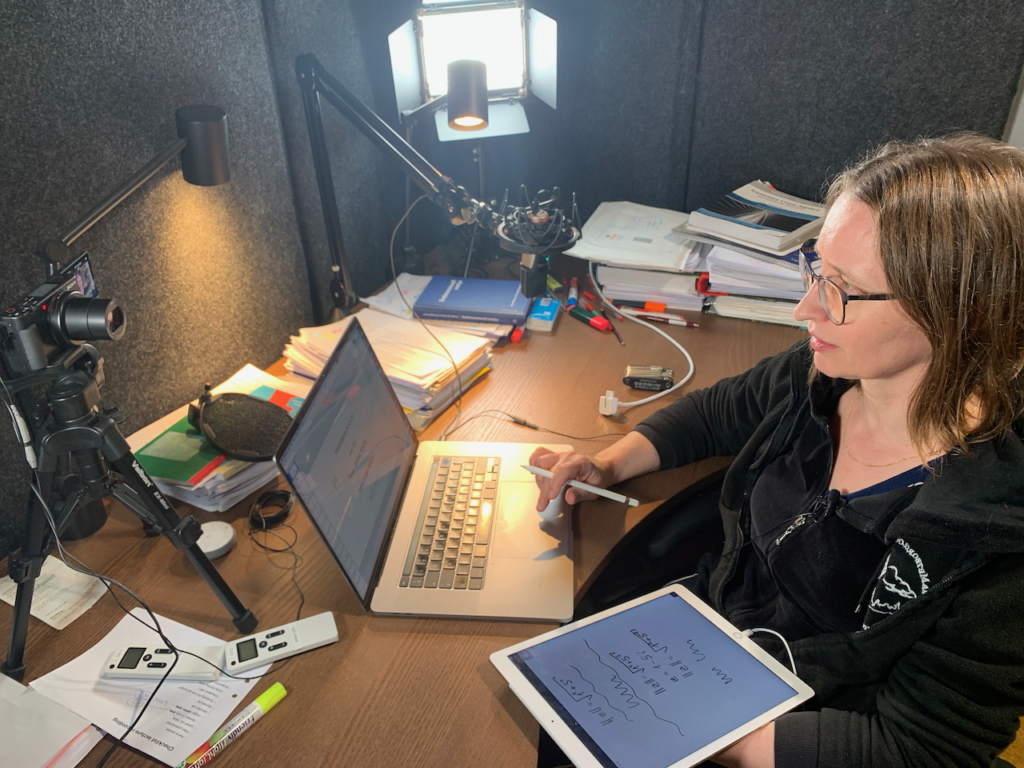
We did a few A/B tests between the Apogee MIC and the Rode Smartlav+ and I think it’s clearly better with the Apogee, in particular if it’s relatively close. That’s why it’s right up at the table edge in the picture. The Rode is connected to the camera, while the Apogee MIC is a USB source, so it goes into ScreenFlow directly. That makes it very easy to record both simultaneously for comparisons.
In the above video, the Apogee MIC is on the table. It does have the drawback that it picks up keyboard and table sounds quite clearly. The video switches from the Rode to the Apogee every five seconds as indicated by the label at the bottom of the picture.
The comparison made me a believer in the Apogee MIC or HypeMIC. The MIC has a built-in limiter/compressor that’s always on, as far as I can tell. The HypeMIC also has a compressor, but you can adjust it in four steps. After some tests I decided to go for setting “2”, which is the next to highest. There’s also a “0” that is “off”. I also went for a shock mount and arm.

The shock mount is a Rycote Invision, and the arm is a Rode PSA-1. The PSA-1 is actually made for somewhat heavier microphones so it has a tendency to float upwards. I may have to add some weight to it somehow, but it seems to hold its position more or less without that. For now.

The new Apogee HypeMIC had a quirk, though. Every 10 seconds or so, all three LEDs would light up red, which ought to mean severe overload and clipping, but the recorded sound was ok. As you can see in the video, it just happens randomly without any clear correlation with the sound level. By the way, the sound you hear does not come from the HypeMIC but from the iPhone, but I checked the HypeMIC sound as well, and it was fine.
I contacted Apogee tech support through their chat function and that was a great experience. We first tested the HypeMIC on ScreenFlow on the iMac, no problem. On Garageband on the iMac, then on the MBP, no problem on either. So it only happened with the compression level at 1, 2, or 3, and in ScreenFlow and on the MBP 16. Nowhere else.
Kaz at Apogee asked me to send a listing of the system’s software extensions1, and he then suggested removing an Ambrosia sound kext from 20152. Once I did that3 and rebooted, the problem was gone. The entire chat session with Apogee support took less than an hour. Damn great service.
So how does the HypeMIC perform? Well, judge for yourself. The following video is an A/B test of the HypeMIC vs the Rode Smartlav+, but this time the HypeMIC is in its shock mount and about as ready for business as can be. Also, this is after fixing the “red lights” problem.
A few remarks on that video:
- Hania is looking down a lot, but that’s because in the “real” video she’s showing a presentation slide, but I took that out of this short video.
- The HypeMIC is set to compress level 2, and in ScreenFlow “Remove Background Noise” is set at 80%, while no other processing such as compression or EQ is used. I had to reduce the volume for the HypeMIC to 60%, however, else it wouldn’t be even close to the Rode in sound levels. It’s still slightly stronger.
- The Rode, which doesn’t have any built-in limiter or compressor, has the Apple Multiband Compressor activated at default settings in ScreenFlow. It also has the “Remove Background Noise” at 80%, and the volume level at 100%.
All in all, I’m fairly satisfied with the sound, and I think I’m done with that for now. Actually, I think the entire current setup is more than good enough, so I don’t think I’ll change much in the near future. Oh, maybe replace a few more networking bits with 10Gb kit. That wouldn’t hurt.
