After pining for it for half a year, I finally got my courage (and credit cards) together and bought the Walleräng M.01 electric bike (the 2017 model; yes, even bikes have model years now). The closest store carrying it is almost a 100 km away, but that’s ok. They only had one, but that’s ok, too. The price is a hefty 31,900 SEK (around $3,400), but considering the build quality and the components, it’s not remarkably high. We’re not in eye-watering territory, at least.
First, the reasons why I wanted it. I’m biking to work three days a week, a 7.5 km trek each way. Summer and winter, sun, rain, sleet, and snow. Unless the snowlayer is too thick and hasn’t yet been cleared from the bike paths, making it really hard to keep your balance, that is.
My bike for the last six or seven years has been a Crescent with NuVinci gears, in other words, a pretty heavy contraption. I love the gear system, though, since it’s very reliable and has no steps; it’s a continuously varying ratio thing. The problem, though, is that with that weight, my own not inconsiderable weight, and my age, I’m completely exhausted after some climbs along the route, feeling (and sounding) like a steam boat. Also, I arrive at work sweaty, which isn’t ideal. Patients can sweat, I can’t. I arrive at home even more sweaty, since it’s more uphill. So I decided that if I didn’t want to give myself a myocardial, I could use some artificial help in the form of an electric drive.
Why the Walleräng, then? Well, I’d seen it written about and praised in magazines and reviews on the net. I really loved the looks of it, especially compared to the horrorshow of most of the other electric bikes. I definitely liked the idea of disc brakes, since the rim brakes I have now tend to get slippery as snow and ice gets stuck to the rim. The braking surface is simply too close to the ground for winter conditions. I also find the rim brakes hard to adjust, to get enough grip in the brakes without having the pads drag on the rim.
I was also fascinated by the idea of an electronic internal hub gear which I hadn’t even heard about before (I’m clearly no connoisseur). I imagined that the automatic gear shifting could be fun to play with, even if it didn’t work perfectly. (I was wrong, it does work perfectly. At least for now, and at least for unpowered biking. And for powered biking.)
Before I go off waxing lyrical about this bike, I need to get a few negatives out of the way first.
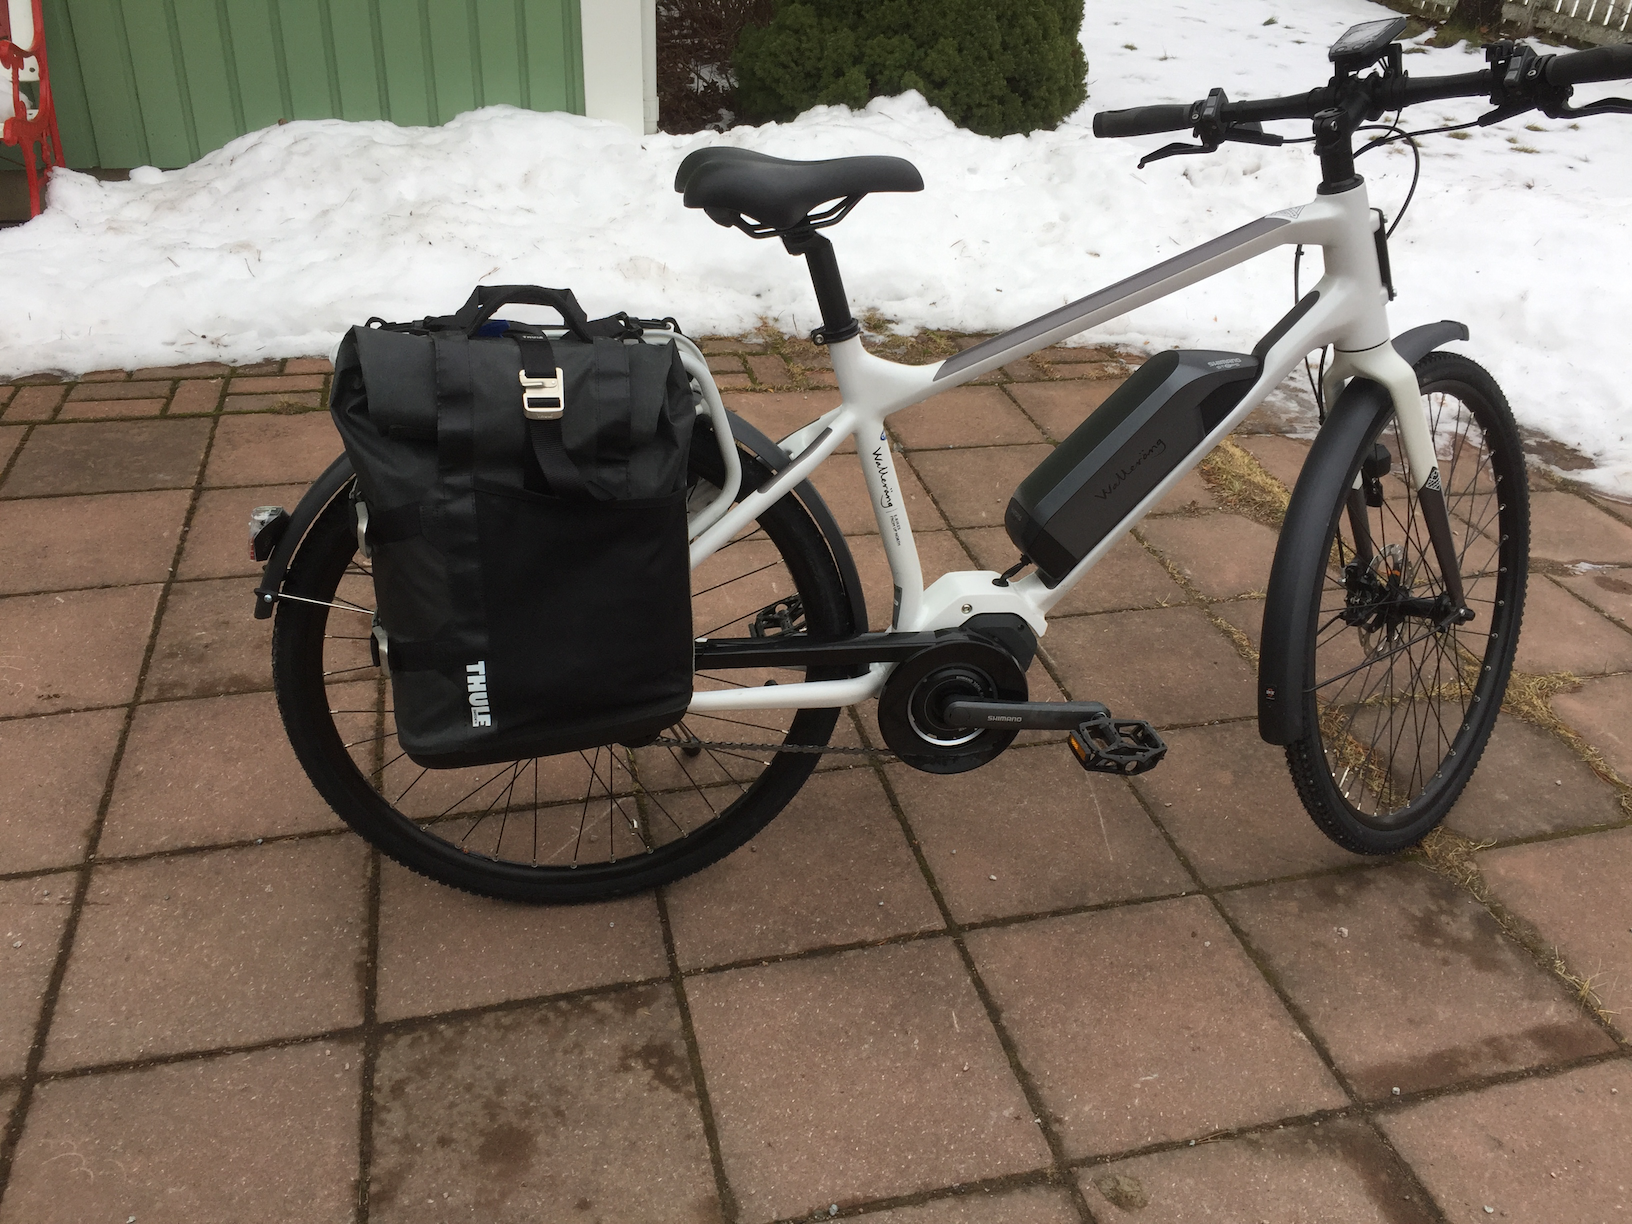
The bike comes with the front rack installed (at least mine did), which I have no use for during my commutes. I’m using two Thule “Pack’n Pedal” panniers which fit fine on the lower bar on the rear rack. It’s a bit of a tight squeeze to get these panniers on to the rack and there doesn’t seem to be any space left to have the magnetic lower stand-offs that come with the panniers, so I let the panniers rest directly against the bike close to the hub. They’re resting against a bolt holding the mud guard in place.
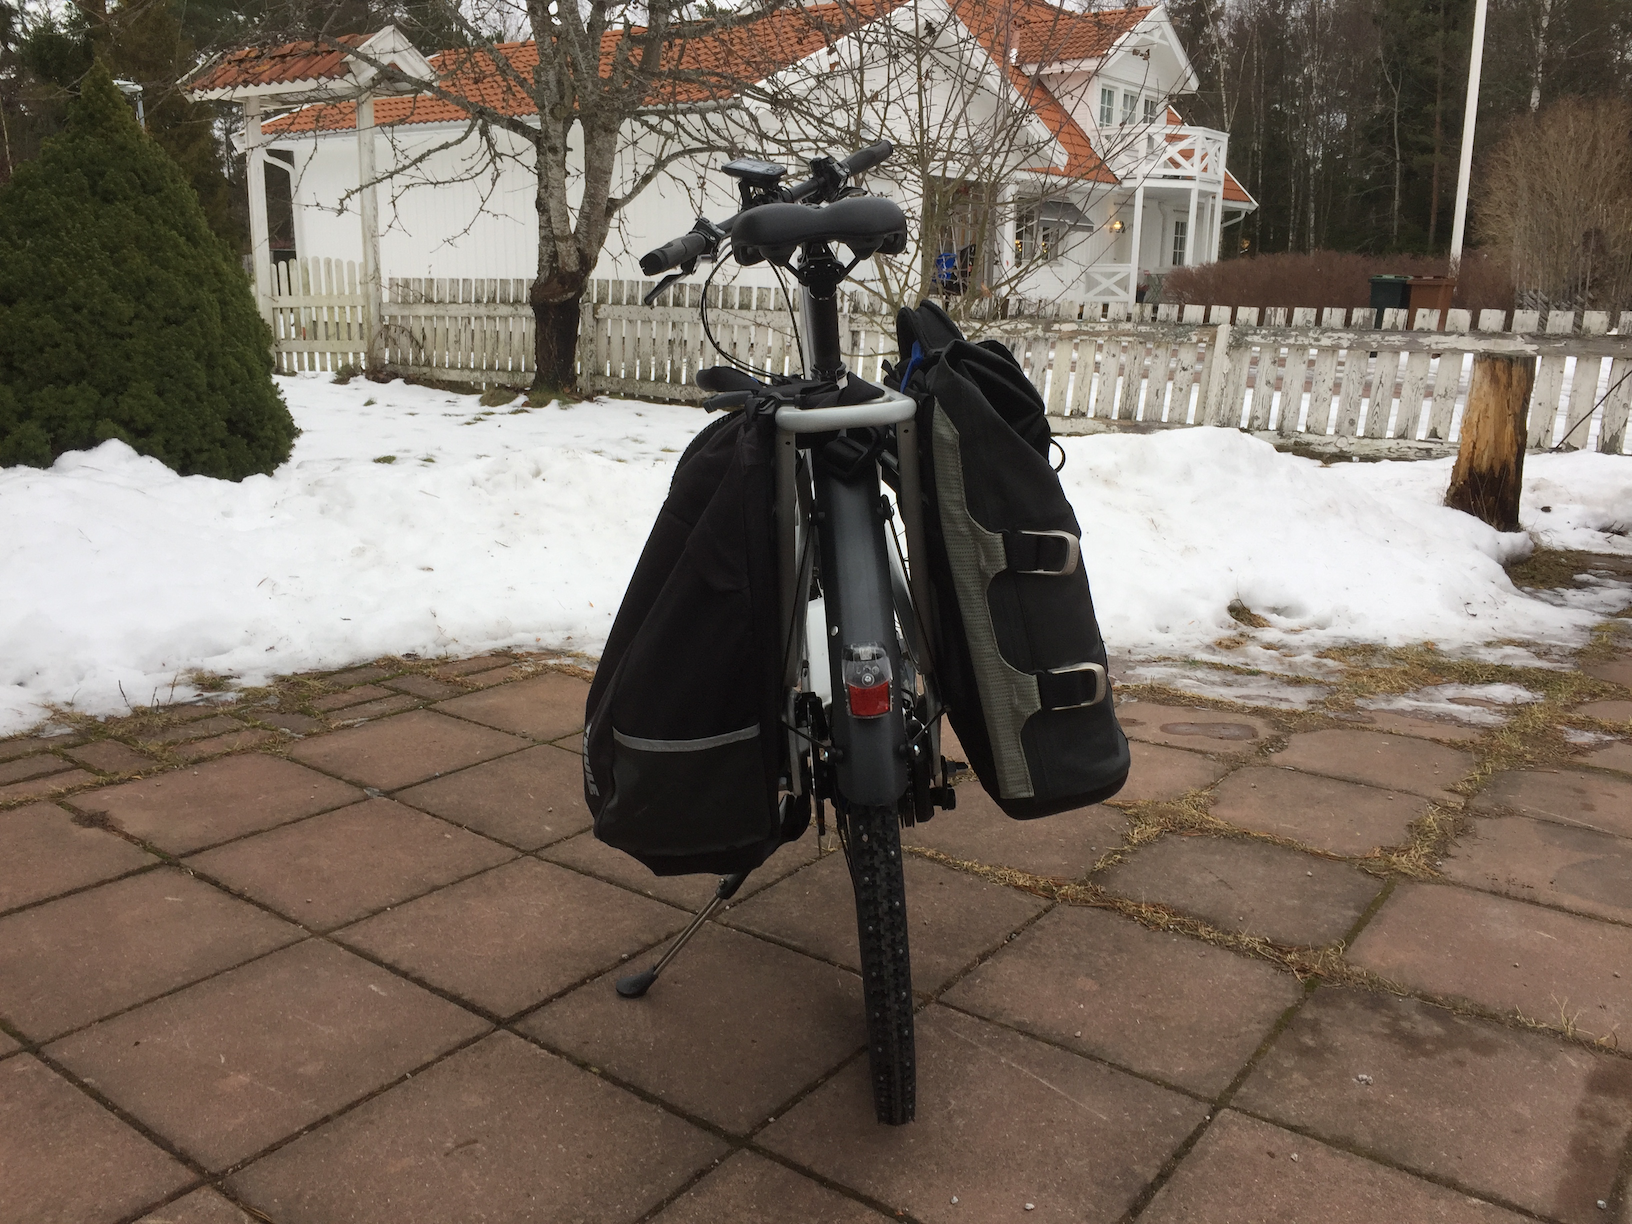
There’s no risk of anything getting tangled, but there is a risk of wearing out the fabric of the pannier and causing holes. Only time will tell if that happens. Best would be to have some kind of reinforcement of the bags at that spot.
The rear rack also seems to be a bit more to the front than on regular bikes, and the panniers also hang lower on this rack, so the lower front corner of the panniers get pretty close to your heels. I adjusted the rearmost clamps on the panniers about 2 cm more to the front so I could shove them back a bit further on the rack (it looks like Walleräng did the same in the picture below), but it’s still close. Seems to be manageable, though. If you’re used to pedalling with the ball of your foot, you may have a problem, however.
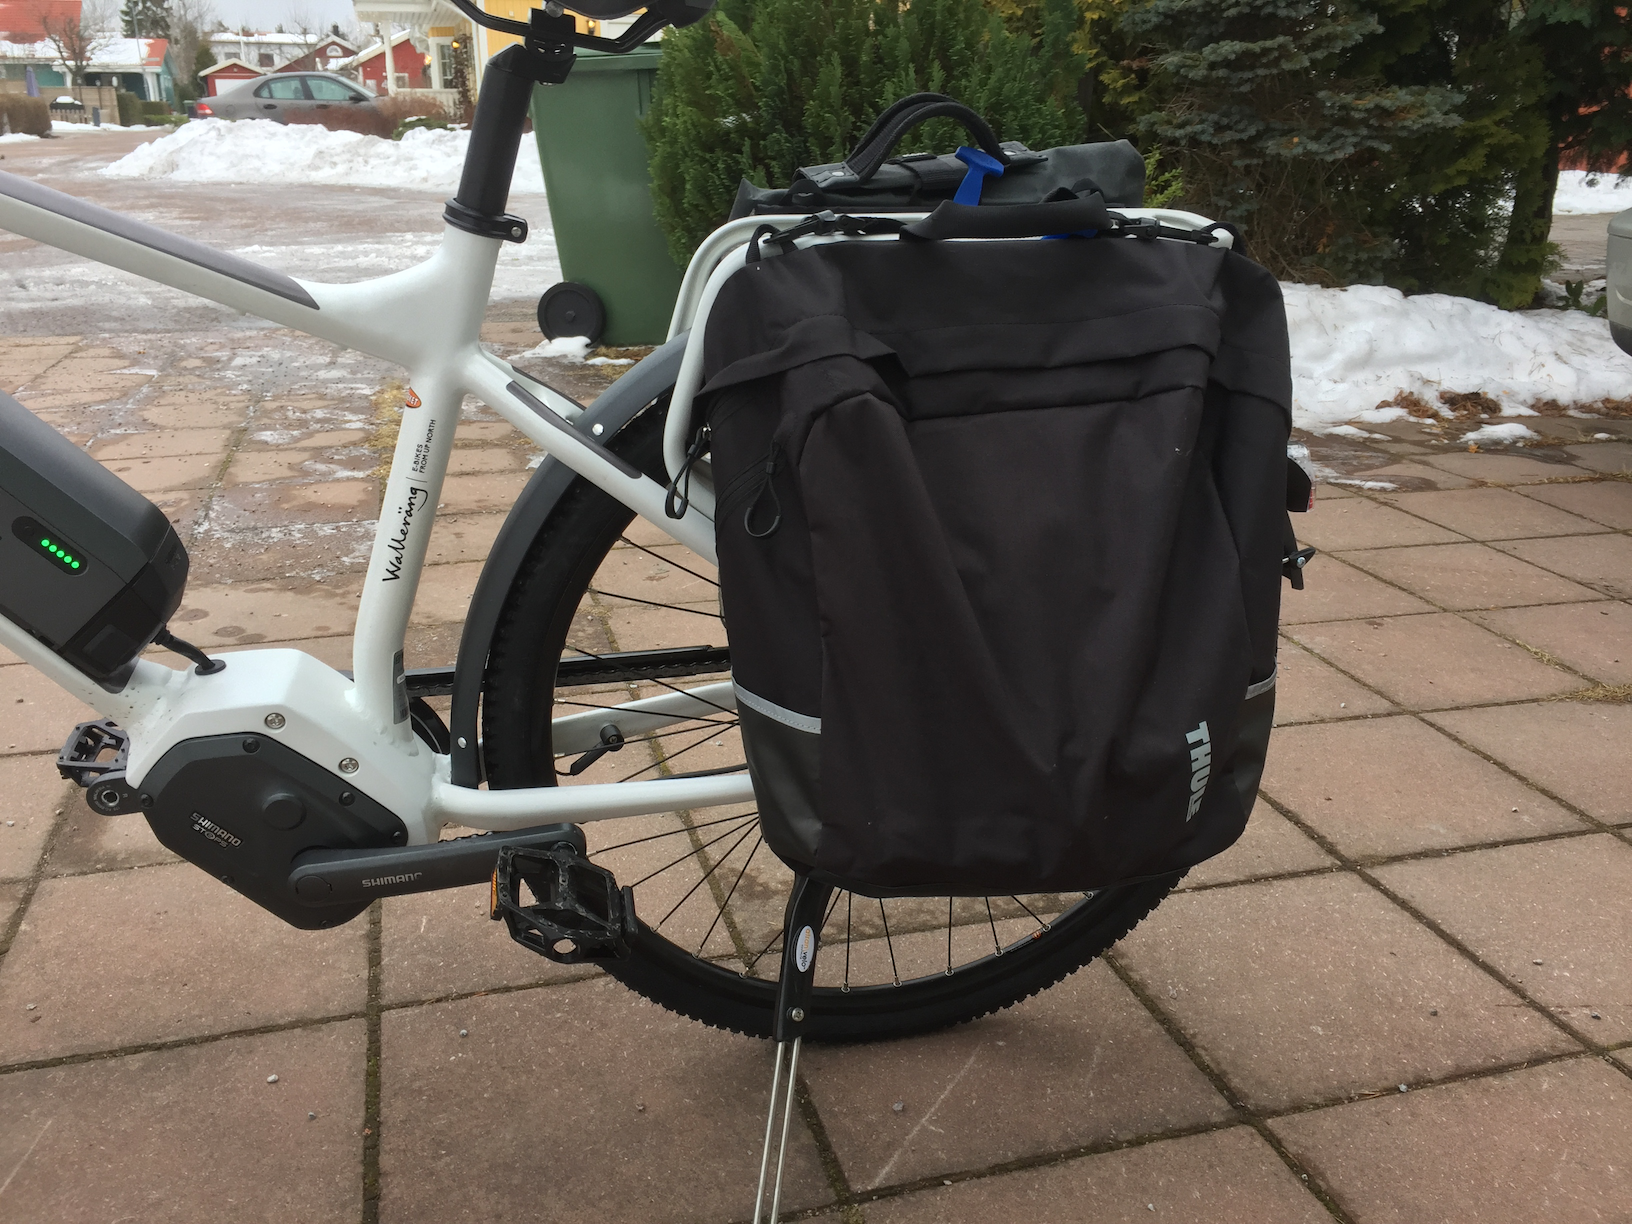
Walleräng has a picture of the M.02X with a Thule pannier on their front page. (Since I couldn’t find a link directly to the image, I took a screenshot of it; hope they don’t mind.)
The Thule bag they’re showing, however, is one of Thule’s shortest bags, i.e. smallest in the vertical direction. Most panniers are higher and mine reach to about 3 cm above the wheel nut. So if you choose Thule panniers, maybe play it safe and go for the smaller size like Walleräng did in that picture, even though I could make it work with my larger ones, too.
When you remove the front rack, you can install a pretty cover plate with the Walleräng logo, in its place. Two problems, though: the top screw holes are slightly misaligned, so I had to drill them up to 7 mm instead of the standard 6 mm diameter just to get the screws in. The second problem: the screws packaged with the plate were way too long. So long, in fact, that they hit and locked the steering column on the inside of the frame before going all the way in. Luckily, I had shorter screws of the right size I could replace them with. (Walleräng is sending me the correct screws, but I haven’t received them yet as I write this.)
Well, that’s about it for negatives. Oh, I almost forgot: the bell they included is tiny and very stylish, but almost inaudible. (People would hear my labored breathing before this bell, except I’m not breathing that hard on this bike.) It’s almost completely useless for the purpose, so I’ll have to get a real bell. Since this is an electrically powered bike, they could even have included a giant horn or something. But they let style win over function. Smaller, thinner… where have we seen that before…
I would also expect a bike at this price level to come with some rudimentary tools. Enough to adjust the handlebar and the saddle height, and (as mentioned below), a tool to help unplug the Di2 connectors. It does come with a cool diary, though. To write down your adventures. I think I’ll start by writing down my difficulties in unplugging the gear motor without a tool… (except it turned out to be trivially easy)…
Now, let’s get to the positives, one by one.
The design
Well, look at it for yourself. (When looking at that site, think away the front rack. The basket they show mounted on top of the front rack isn’t even included, by the way.) I find the bike amazingly good looking, but my wife finds it ugly. “Looks like a robot”, she says. So, you decide. In real life, the paint job is superb, so are the welded joins.
There’s one problem, though. With all that white, it doesn’t take much to make it look dirty. I never wash my car, which I regard as a sign of sanity, so I hope I won’t start washing my bike. That would be a step backwards.
The handle bar is quite low. I’m not used to leaning over in any direction, always aiming for the vertical unless I’m in bed, so I may change the stem to one with a steeper angle if my hands and wrists suffer. We’ll see. So far, no problem.
The bike comes without a lock of any kind (in this price range… um…). Looking at the rear frame, it’s not clear to me you can even install a frame-mounted wheel lock at all. There’s no mounting hole for it, and the distance needed to reach around the tire and the wheel seems rather large. I decided to use my old Abus U-lock and a heavy chain lock to fix the bike to any solid fixture I can find. The chain lock I went for is the Abus Ivy Chain 9100, 170 cm (57″) long. At almost five kg, it’s clearly serious overkill, but it needs to be that long to reach around the frame while looping around a front-wheel-only public bike rack. I’m guessing this bike is an attractive target for thieves, unless they grok that it’s a bit too recognizeable to be easily sold. Vain hope, I guess. So chaining it down it is. And getting extra insurance. I’d also like to have someone stand guard over it, too, but who?
The drive
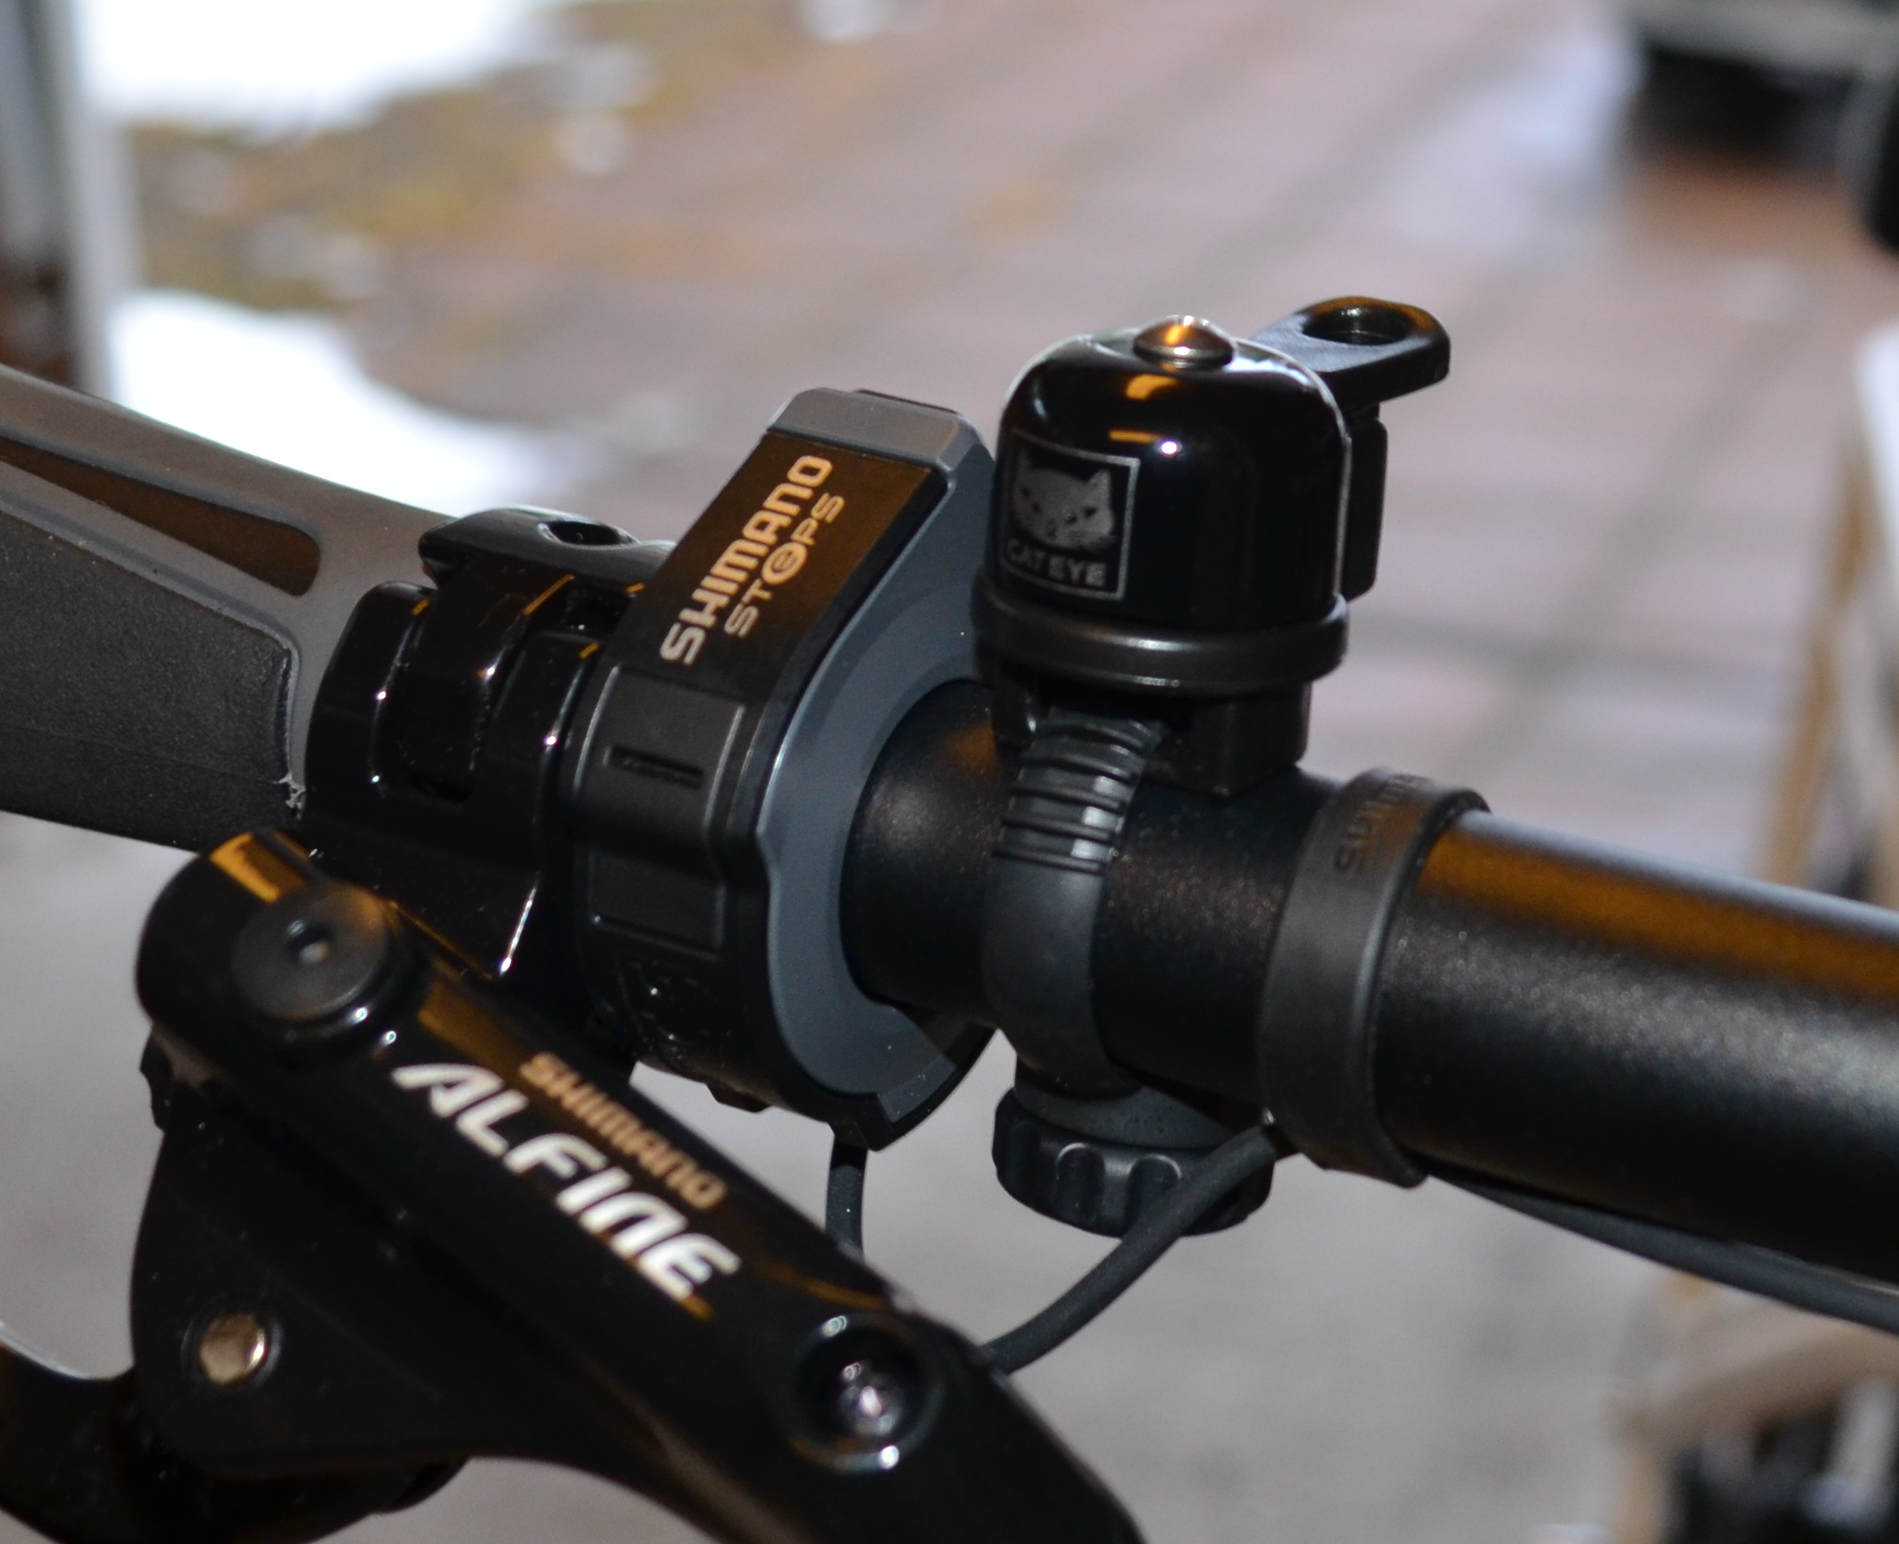
On the left handle, there’s a switch for the drive. It can be set to “off”, “eco”, “normal”, and “high”, or “walk”. Powertip (see what I did there?): don’t set it to “high” unless you’re used to this bike. You’re bound to careen into something, it’s that fast. 250W is a lot more than you’d think.
I started out with the setting “off”, just to get a feel for the bike, and I was floored! This thing, with all the weight of the motor and the battery (but not yet with my crazy chain), was way easier to get moving than my old bike. It’s practically flying! I immediately started doubting I’d even need the electric drive. But, of course, laziness always wins, so I quickly compromised by switching the drive to its lowest setting (“eco”) before steep climbs. But, really, for flat ground, or downhill, you’re better off not using the electric drive at all unless you’re in an awful hurry. I can’t imagine when I’d use “normal” or “high”. Maybe when I’m 80? Or dead? Or maybe next week?
While it’s on, you can hear the drive, but only barely, at least on “eco”. I’m not sure it can be heard more than two or three meters away, and it’s just a soft low-pitched moaning sound. Almost enjoyable. Almost like… no, let’s not go there.
I also tried wearing my Trekz Titanium Bluetooth headset while riding with the electric drive on, and I could not detect any interference.
The brakes
The brakes are Shimano hydraulic disc brakes. It doesn’t look like they need any adjustments unless something drastic happens to them. The feel you get while braking is fantastic. They’re exact, powerful, smooth, completely quiet, and nicely progressive. With my old rim brakes, I always had the feeling you couldn’t trust them, and at times it sounded like the wheel rims peeled off. Sometimes, they actually did. I’ve seen pieces of metal get stuck in the brake pads after hard braking on a long descent. At other times, they squeal like crazy (I’m actually using a light squeeze on the front brake instead of hitting the bell; it’s that effective as a warning alert). With the disc brakes, I’m completely confident. And, as I already mentioned, the discs are out of reach from the snow and ice. I love them already.
The tires
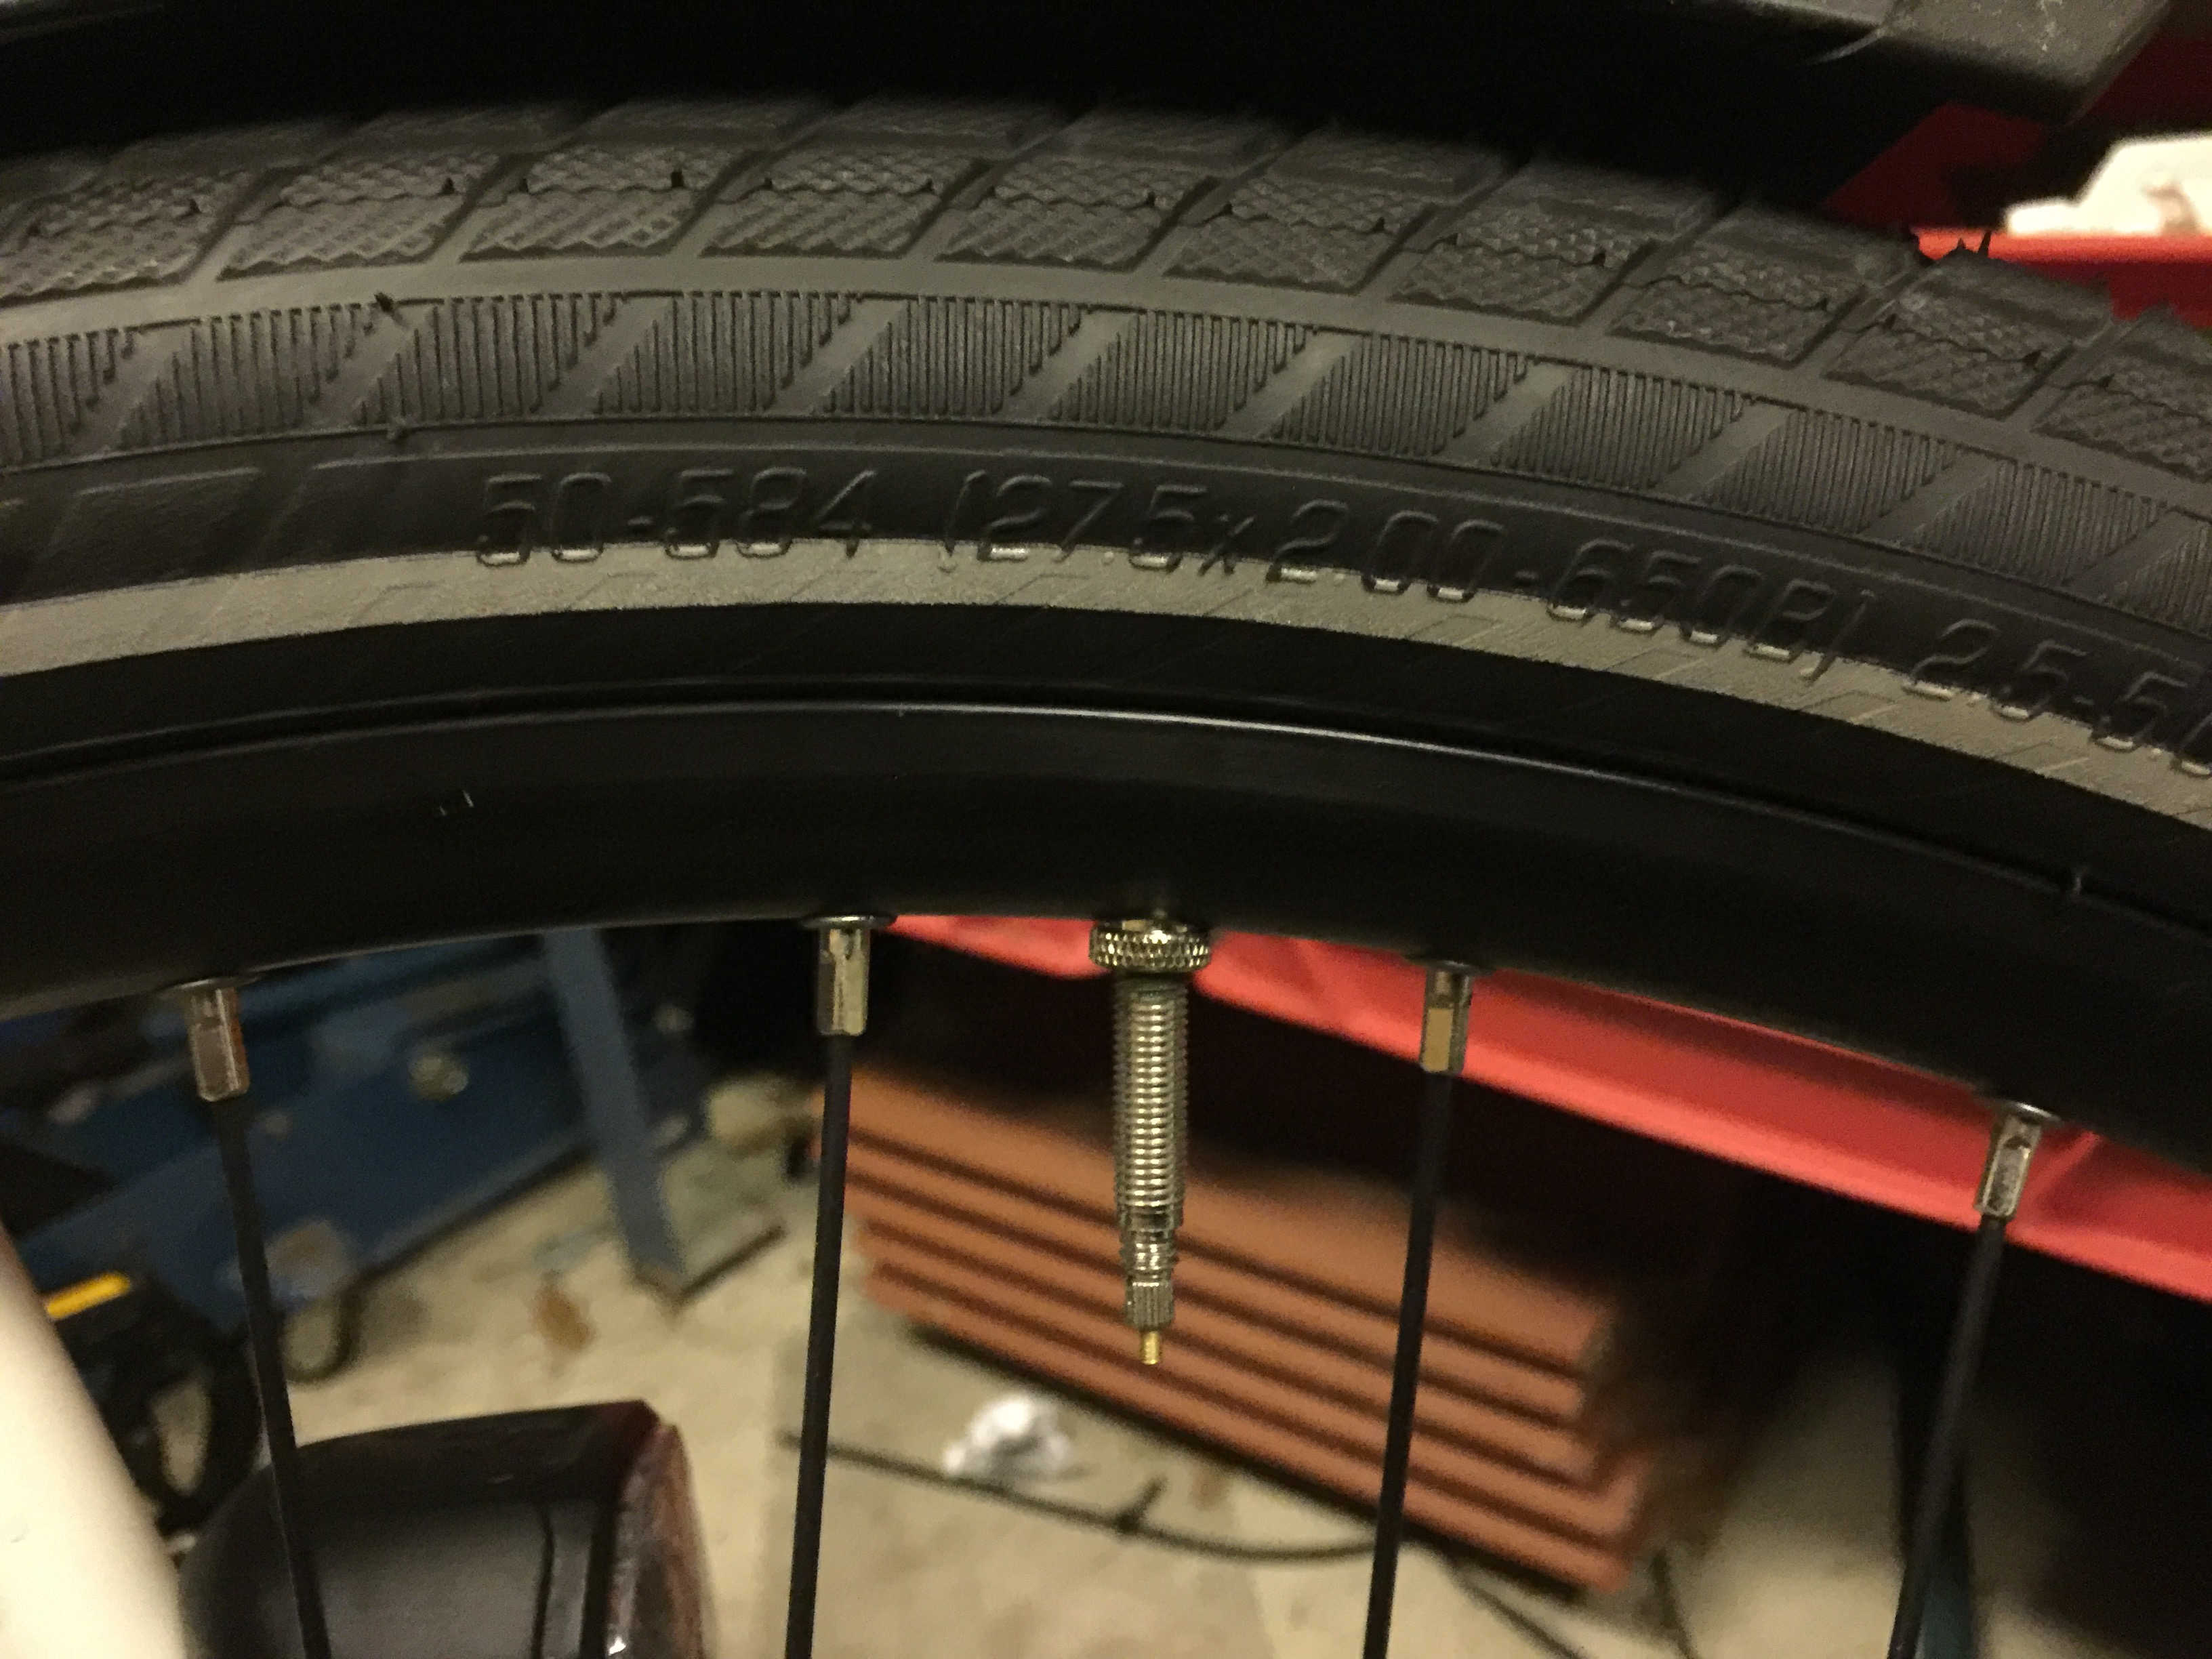
The tires need some talking about. Walleräng chose a slightly off-beat size of wheels, namely 27.5″. Due to the finer points of tire sizing, this is also called 26.5″ in some places (go figure), or even 26″ (on the A10, for instance, see below). In any case, it’s size 584 according to the ISO system. The standard tire is either a Kenda or a Schwalbe (mine are Schwalbe Big Ben 50-584 aka 27.5 x 2.00).
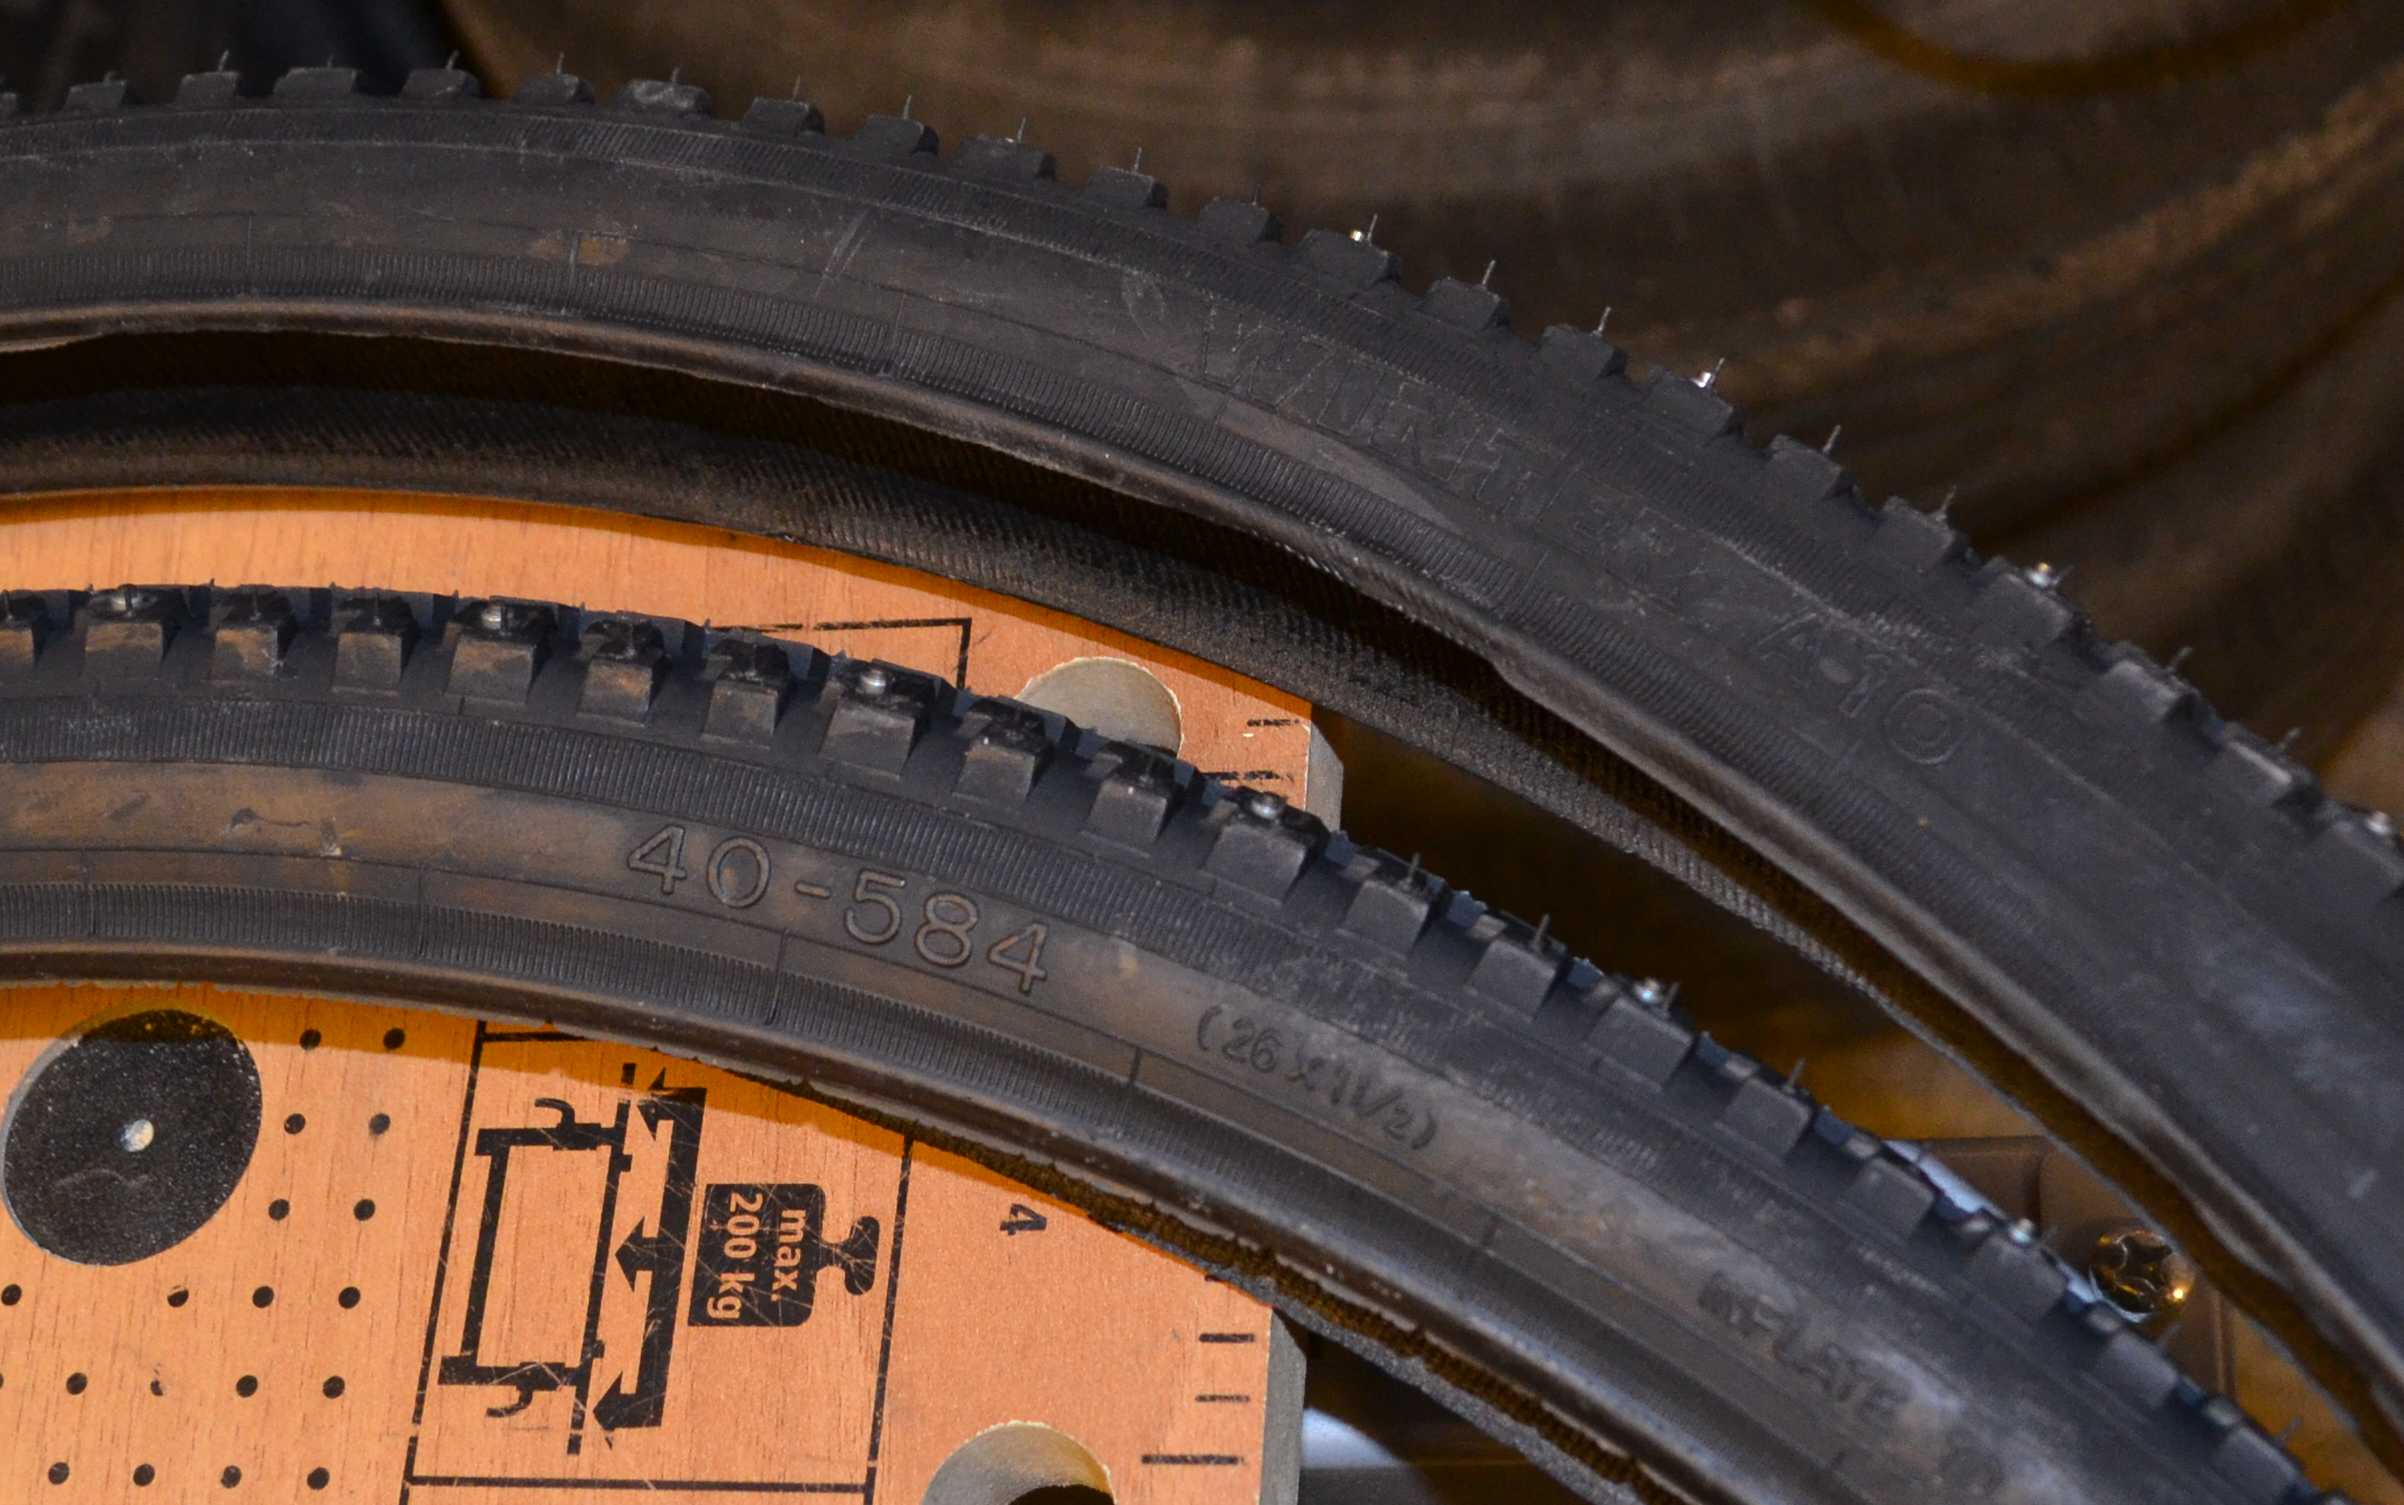
Now, fine, those are great tires, but when it comes to winter tyres with spikes, you have a problem. There’s just one single type of tire that fits, as far as I know, and that is the Suomi A10 A 40-584. We tried them on in the store and they fit perfectly. (Notice how they actually say 26″ x 1.5″ on the tire itself, but it’s still the same diameter as Schwalbe’s 27.5″. You can see that more clearly if you click the image to view the large version.)
There’s nothing wrong with that tyre — actually it’s great — but it feels a little iffy not to have any alternate choices at all. What happens if Suomi decides not to make these anymore? We did try on the Schwalbe Ice Spiker Pro Evolution in the store as well, since it does come in size 57-584, but it’s way too wide and has a way too large outer diameter, with not a chance in hell of fitting inside the very stylish but low clearance mud guards. I even considered removing the mud guards, but that would leave no place for the integrated back light. And, it would make for a really muddy ride in the winter. And, did I mention they’re stylish? So, no go with the Ice Spikers. Theoretically, you’d think they could fit, but in practice, no.
There’s one glimmer of hope, though. This 27.5″/584 size seems to be the “new” thing for mountain bikes, so maybe we’ll get more choice in tires later. (I read that somewhere, but I don’t know if it’s true. Maybe things go the other way and I’ll have to learn to make my own tires in the future.)
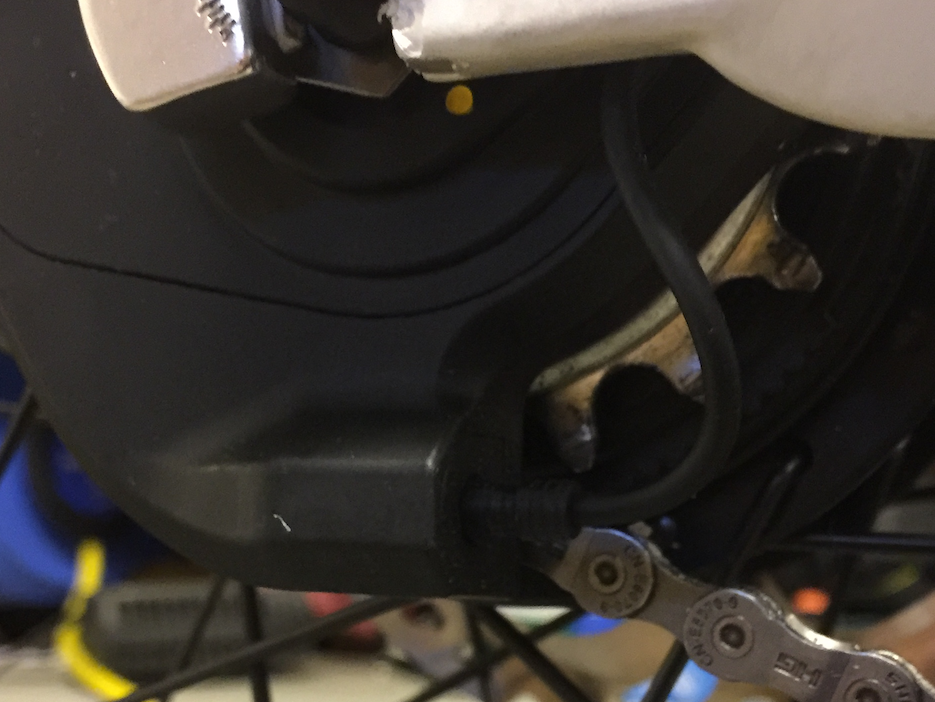
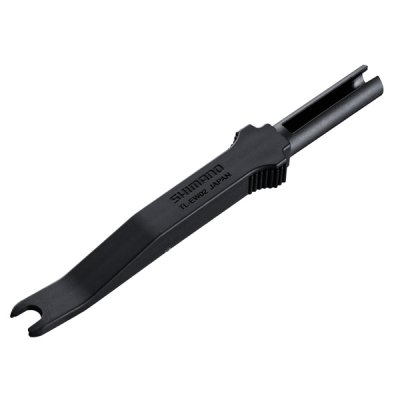
While we’re on the subject of tires, there’s another caveat. When you switch tires and take off the rear wheel, you need to disconnect the gear motor. The connector is a small coaxial Di2 connector and, according to some, can be easily destroyed (even though that particular guy I linked to seems to have been using his bike while mud wrestling). If you do destroy it, it can become costly, since you need to replace either the gear motor costing around $120, or the cable, costing around $30 (and which runs inside the frame tubes), or both. Shimano has a tool for removing this connector safely, but that tool isn’t included with the bike, which I think is something they should consider doing. It costs something like $8, so it’s not too much to ask.
In all honesty, full disclosure and all that, I have to admit that when I went to actually change the tires instead of just fretting about it, it turns out that it’s very easy to get a grip on that connector with your fingers once you’ve removed the chain tensioner. That tool isn’t as vital as I thought it would be. If you remove the right side wheel nut first, leaving the rear wheel attached by the left side nut, you can easily remove the tensioner first, then the connector, and finally the left side wheel nut.
I asked Walleräng about the tool through email and they promised to send me a tool (and a correct set of screws for the front cover plate that were the wrong kind) through the mail. Great service! But, as I said, I did disconnect it without the tool, so that’s really not an issue. Easy peasy.
The gears
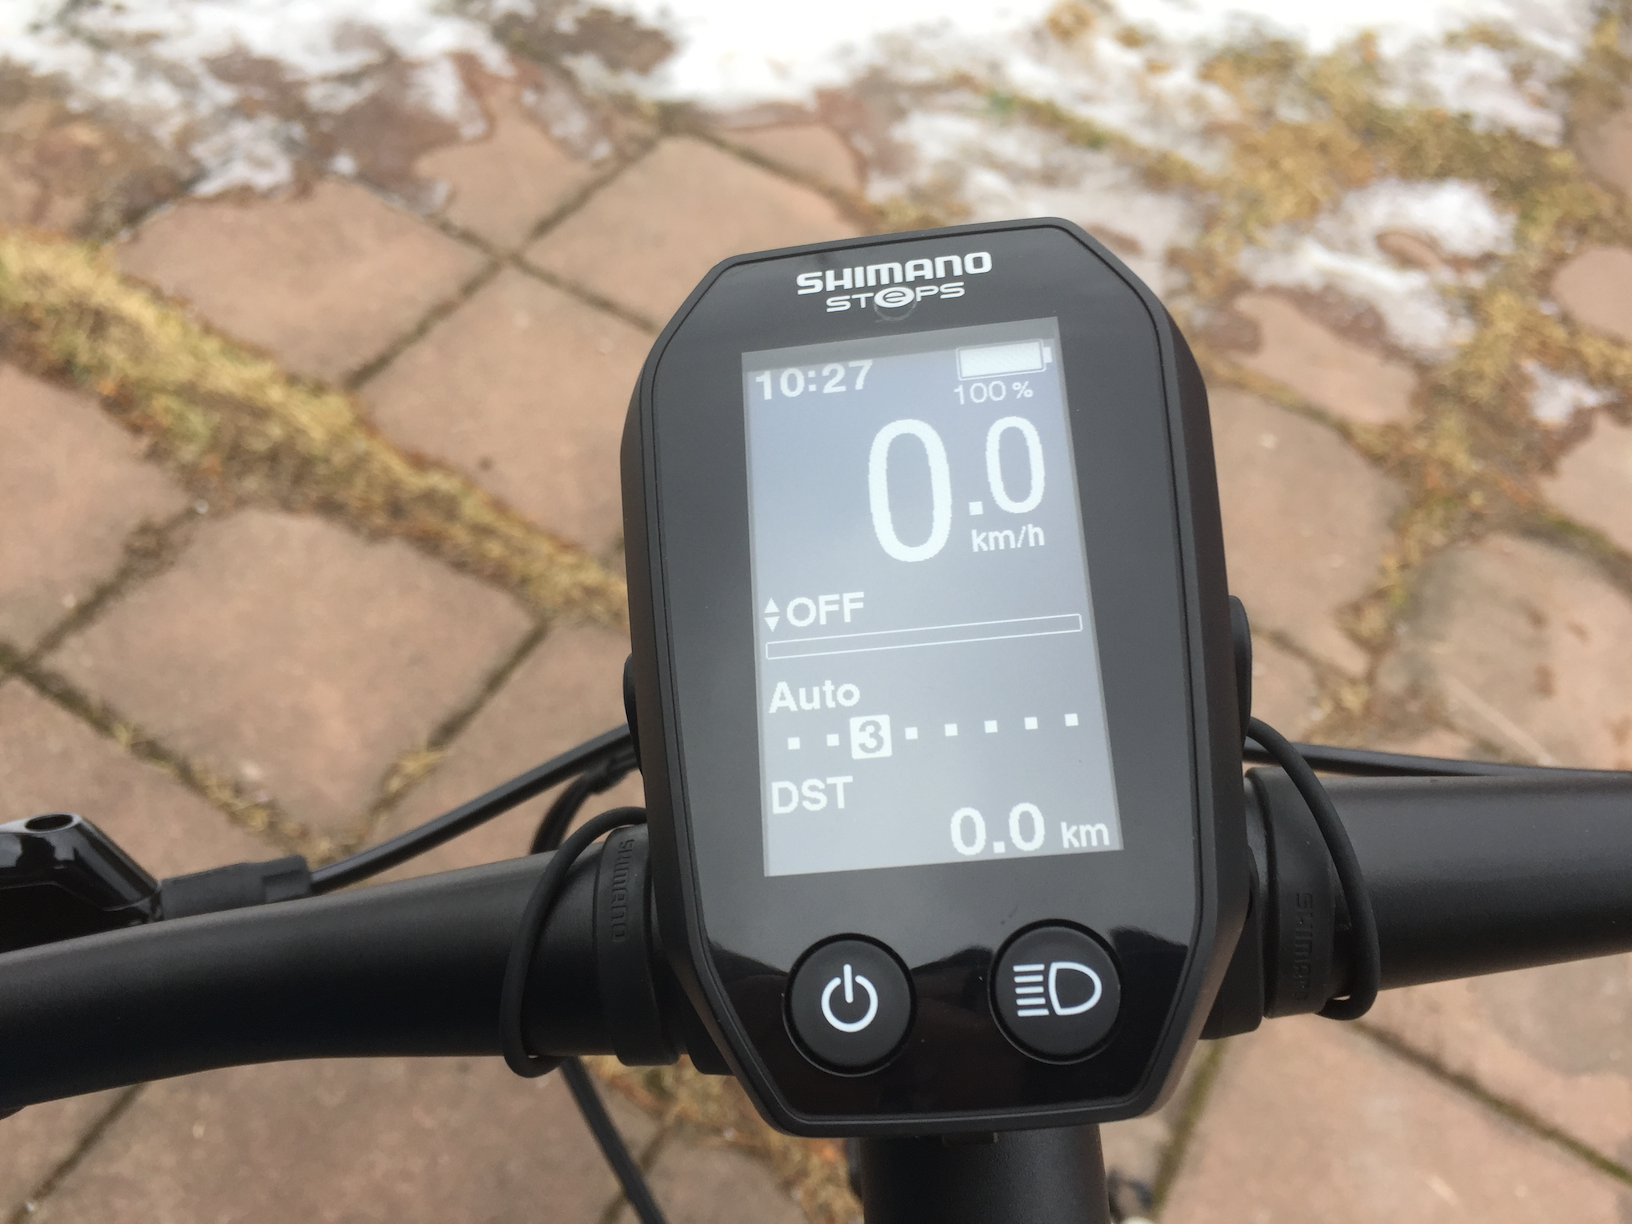
The gear system was a revelation. You’ve got a gear shift panel on the handlebar on the right side. It consists of three buttons: one to activate the automatic mode, the other two to step the gears up and down in manual mode. I briefly used it in manual mode and loved the quick and distinct shifting. You don’t need to stop pedalling to shift, and the system automatically downshifts if you’re stationary so you start off in third gear always (you can change this to anything between second and fifth gear in the config).
Then I tried automatic mode, and I’m sold. I’m pretty sure I’m always going to leave it set to “auto” when running without the drive. The system optimizes for a certain cadence and power. The cadence is a little high for me (remember, I’m lazy), but it’s adjustable (in something like 27 steps, no less). If you’re running without power, it’s perfect. If you switch on the drive, even at the lowest level (“eco”), it’s easy to go too fast, since you get to pedal ever faster, and get more and more power. On flat ground, at least for now, I prefer to have no motor assist and simply pedal with moderate resistance more or less continuously. With power, you have to stop pedalling half the time, to not to go too fast, so I think it’s better to switch to manual shifting when the drive is on so you have more control, keeping the drive from pulling away like an undisciplined dog on a leash.
Take into consideration I did all this on packed snow with summer tires, so I’m guessing it will roll even faster in summer conditions.
The gear system is powered from the main battery, so there’s no separate battery to worry about.
The complexity
If there’s one thing that worries me a little (except for having it stolen), it’s the complexity of a bike like this. There are a lot more parts that can break as compared to a regular bike. And I’m going to be much more dependent on the manufacturer staying in business for having it serviced later (even though it matters less if Walleräng stays in business than it matters that Shimano does). Will a bike like this still be maintainable in 30 years? Probably not. But neither will I, so there’s that.
Great review! Thanks! Are you still happy with the bike? Had any issues with it? And is it possible to turn of the beeping sound when shifting gear?
/Rikard
Rikard,
Yes, I’m using it daily. I’ve used it through most of the winter, too. I still love it as much, or even more. And yes, you can switch off the beep in the settings.
I’ve changed my mind about the gears, though, and now I’m only using them in manual. I like to be in control of the shifting.
So far I’ve done about 2300 kilometers with it and have had no issues whatsoever. Nothing.
Sounds good! Thank you!
Hi, recently bought this bike, I guess it is an old model since it was pretty cheap.. all brand new with original packaging. My question is, I can’t seem to find the plug to charge the battery on the bike, I am wondering if this means its an old shimano steps model. It is indeed a very good bike, I ride 8 kms daily commute to work here in Mexico City.
Fernando,
If it’s the M.01 it is a current model. Just check wallerang.com.
I’m not sure what you mean with the plug. There’s a socket on the bike on the left side at the bottom end of the battery with a little rubber cover you need to pry open to attach the charger. The charger goes right in there without any adapter.
If you take the battery off the bike, you can attach the charger using the separate adapter which should be included.