I’ve got this Wacom Intuos 3 tablet and I like it. The mouse, in particular, is very nice. Good feeling. As long as it works. The problem I’ve had is that my first mouse started to give switch bounce on the left button, and a problem with the scroll wheel, after about 16 months. Out of warranty, of course. So I ordered a new one for around $40. That one lasted eight months before it succumbed to switch bounce, but this time it was the right button. The distributor just sent me a replacement for free, and didn’t ask for the defective one in return. So I ended up with one good and two bad Wacom mice. Since I’m pretty sure the new one won’t last more than a year, or max two, it seemed prudent to start assembling a fully working spare from the two failed mice. That’s what this picture story is about.
My first mouse has the model number ZC-100-00, while the two more recent ones have the number ZC-100-02. Internally, however, I see no difference, as you’ll notice.
This is how the oldest one looks before being disassembled:
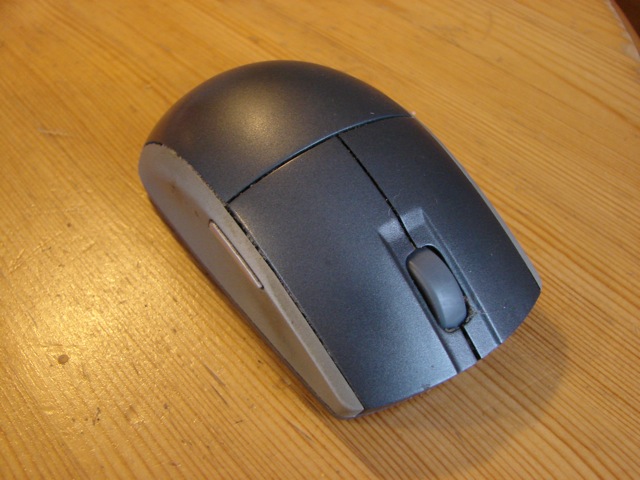
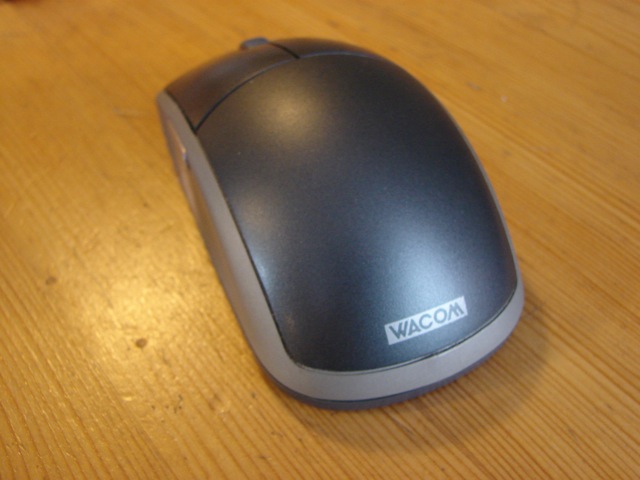
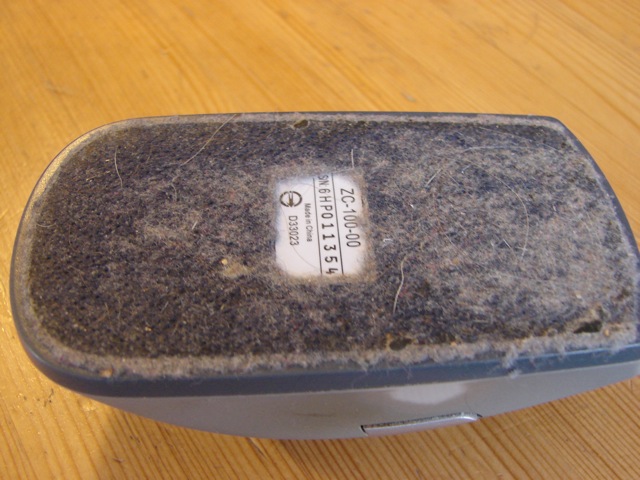
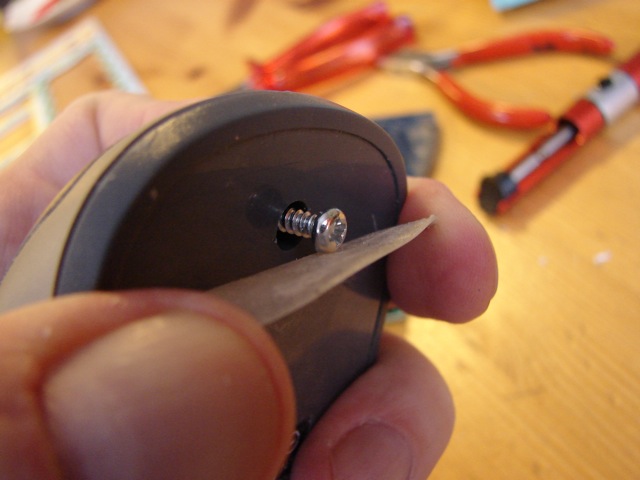
So, let’s take it apart. On the bottom, there’s a felt mat loosely glued to a stiff piece of hard and transparent plastic. Insert a thin screwdriver between the stiff plastic and the case and carefully fold back, starting from the side away from the buttons, that is the side where the the label “Wacom” is on the mouse.
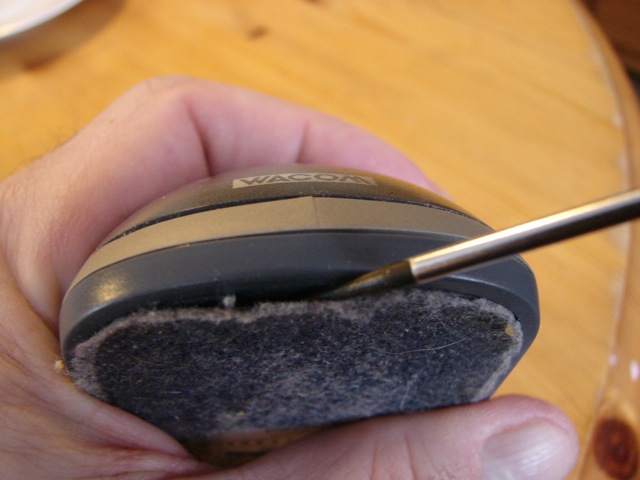
Don’t peel off the whole thing, and don’t bend it too sharply either, since you may want to put it back later. Peeling of 2-3 cm should be enough to get at the screw below it. Unscrew the screw.
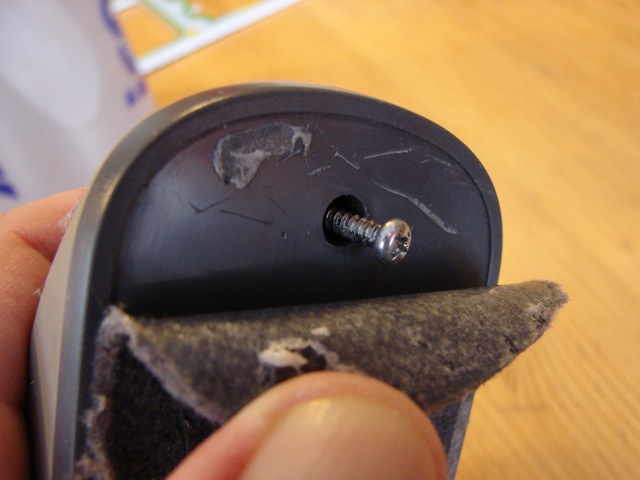
There’s only this one screw so now you can easily open the case from this side and unhook it from the other side.
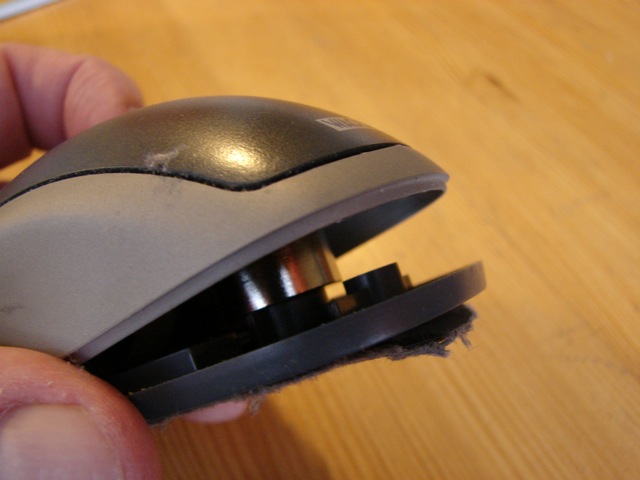
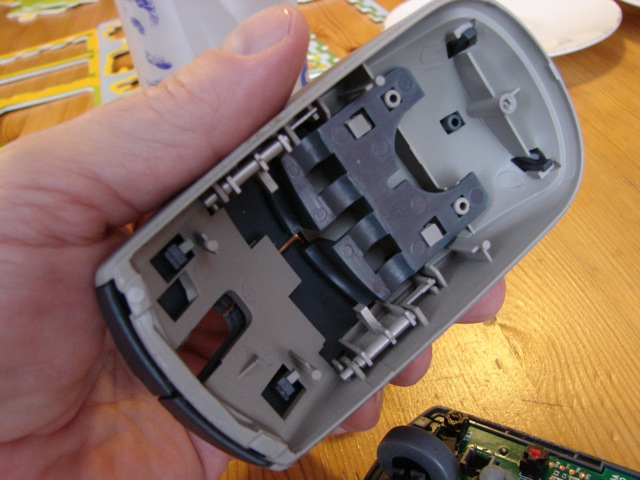
Now, admire the inside and take note of all the potential spare parts you see inside the top half.
The lower part is more interesting for our immediate purpose. Note from left to right: the scroll wheel in it’s optical encoder, the induction spool that picks up power and transmits information to the tablet (I assume), the ballast weight to make it feel more substantial, and below it all, the green circuit board.
There are five switches on this circuitboard. The two red switches are for the side buttons. Two other very similar switches, but entirely black, are to the left, one in each corner, and they are for the two regular mouse buttons. Finally, the scroll wheel rests on a different kind of switch for clicking, but it is hidden from view in this image. You’ll see it better later.
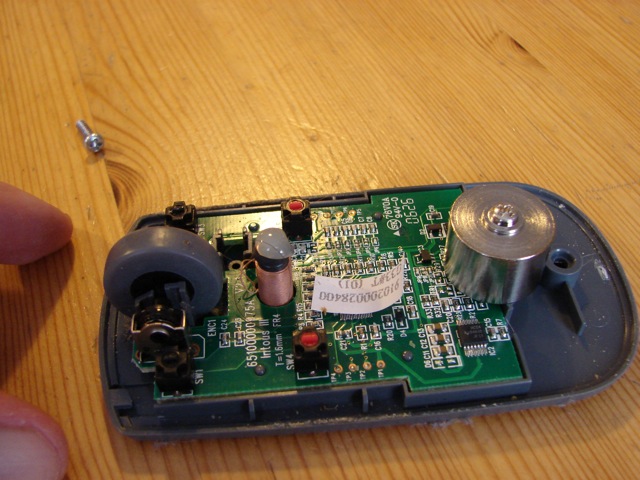
The circuit board isn’t fixed to the case in any way, but it cannot be removed yet, since both the ballast weight and the induction spool hold it down.
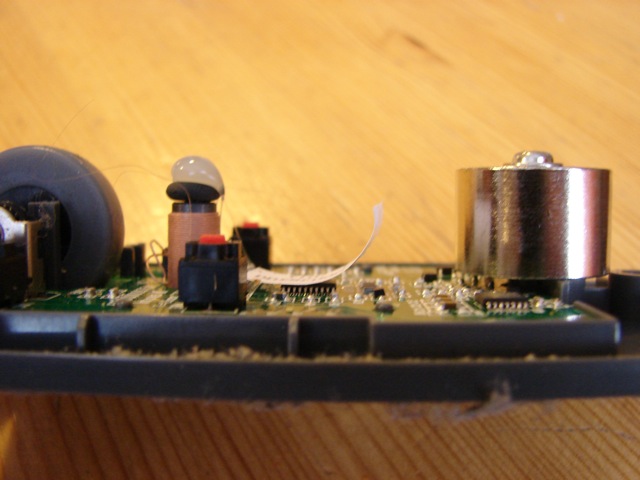
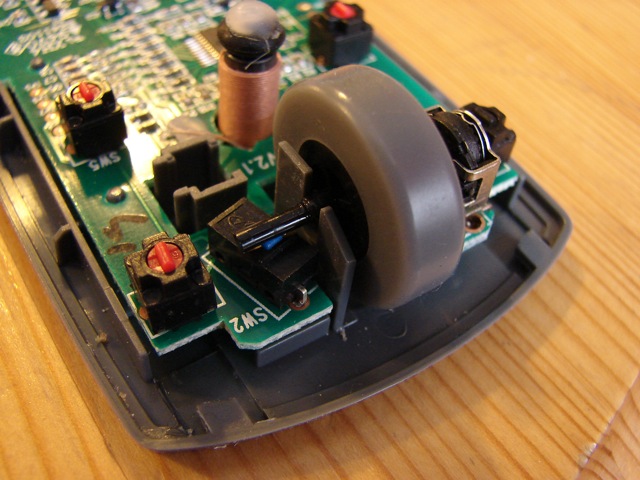
The scroll wheel, however, is just resting in a fork, so that is not a problem. (Please disregard the disgusting hairs and muck you see and which very likely explains why the optical encoder to the left had a problem as well). To the left you see the optical encoder, as I already pointed out, and to the right you see the switch the scroll wheel axle rests on, and that allows you to click the wheel. Oh, by the way, if you think the scroll wheel has too much resistance, you can see the metal notched shim next to the encoder to the left. That’s what you need to attack in your useable mouse. I don’t mind the resistance, so I didn’t touch it.
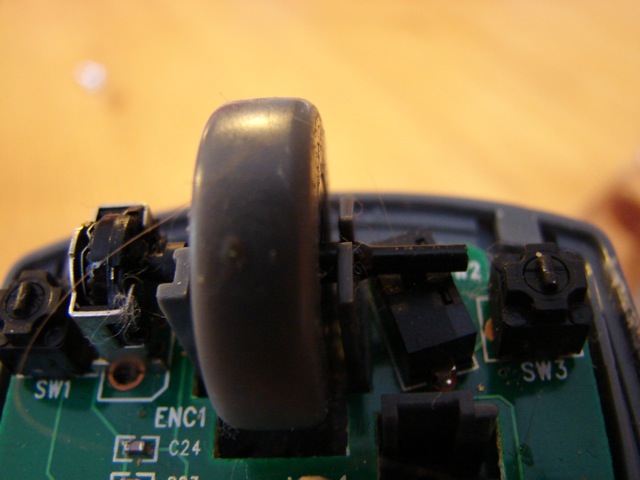
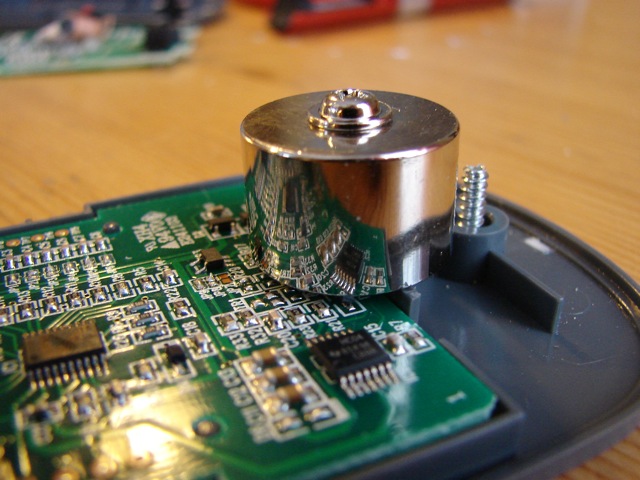
Now, remove the ballast.
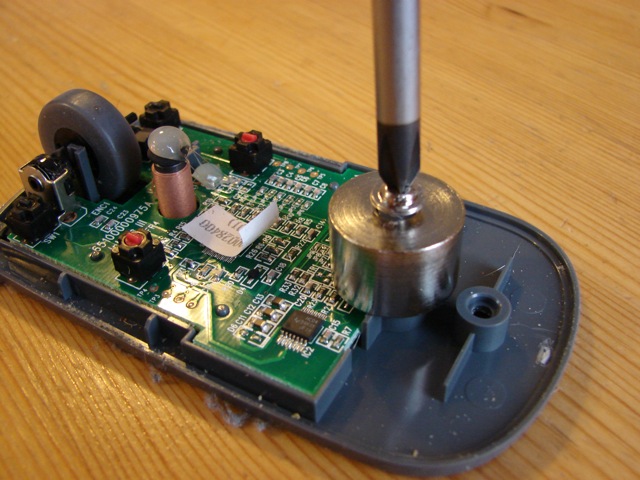
The induction spool is resting over a plastic pin sticking up from the lower case and held in place by a rubber ring and some silicon glue.
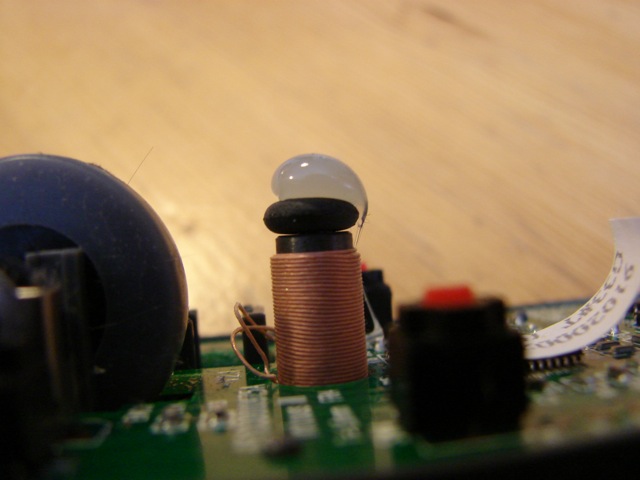
Now, take care not to damage the leads from the spool to the circuitboard, while you lift off the rubber ring with your fingers. Quite easy to do. That silicon doesn’t do much.
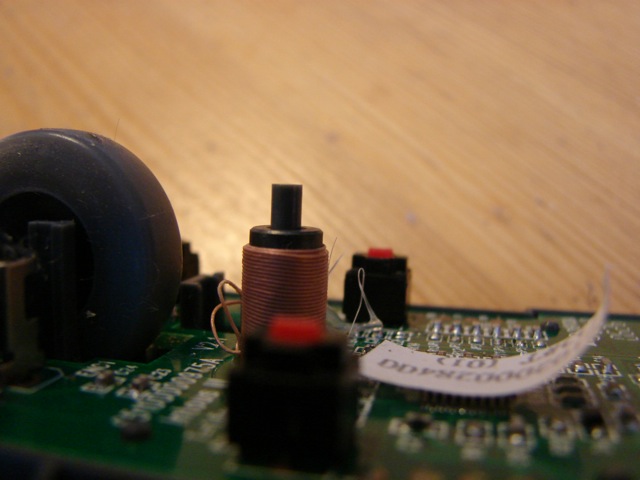
Now you can lift off the circuitboard with scroll wheel and all.
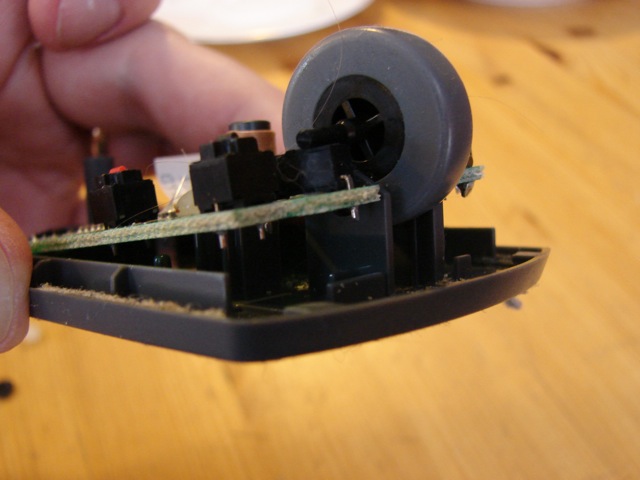
And pull out the wheel from the encoder.
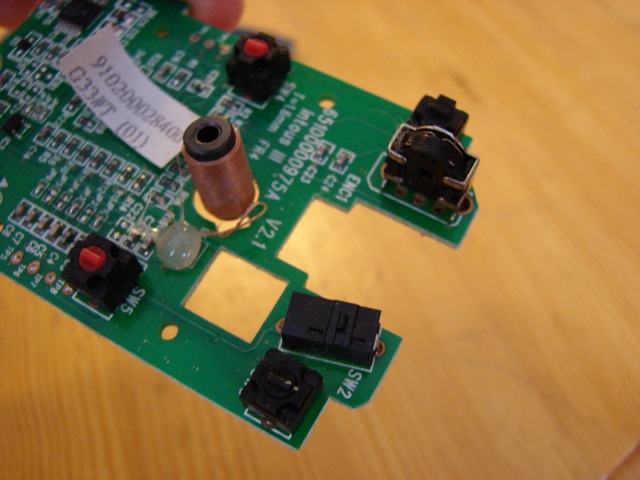
The side with the thicker part is the side that goes into the encoder. To the right and up in the next picture. Remember that.
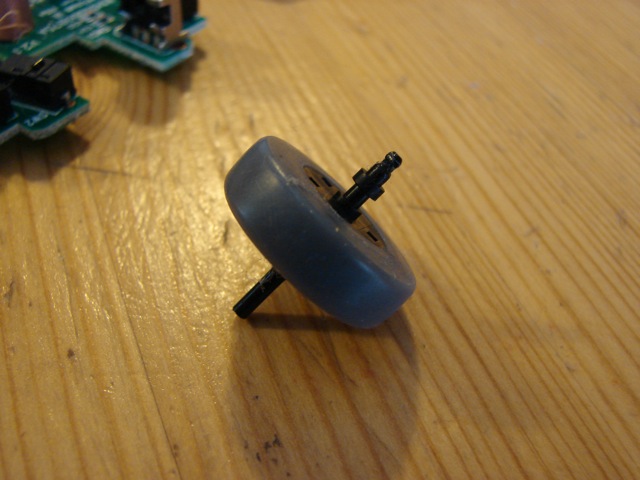
So, which switch should I take? The two normal button switches, the black ones, are suspect in this mouse. I know the left one is bad and I don’t trust the right one, so I’m having my eye on the two red switches. I see absolutely no difference in these switches except the color, but you can feel a slightly higher resistance in the red ones, so I think that is the difference. Since I think there’s a certain logic in having my right mouse button being slightly stiffer, I go for a red switch to put in place of the right switch in the other defect mouse. This is the one I’m going to take:
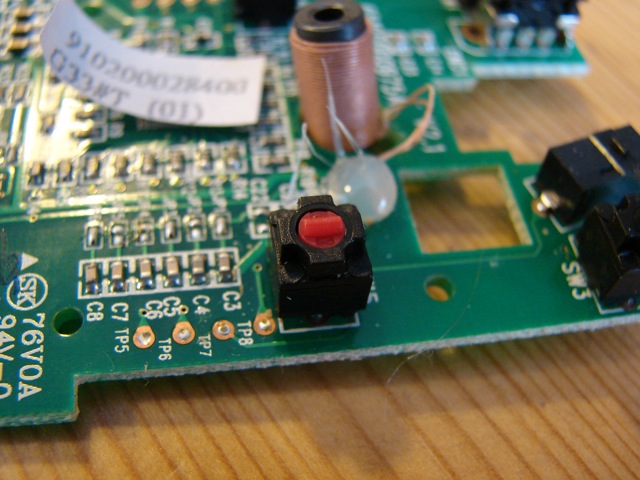
…and put in the place of this black one in the other mouse:
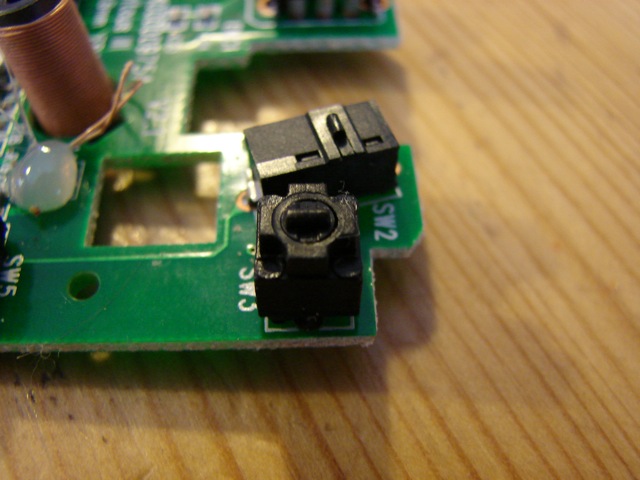
To do that, I have to desolder the bad switch in mouse nb 2:
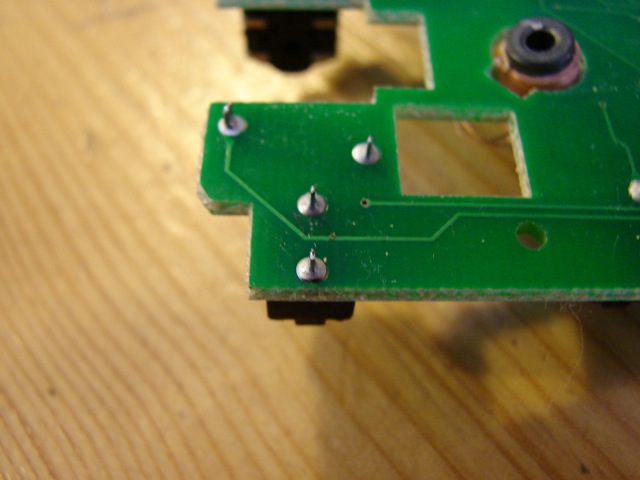
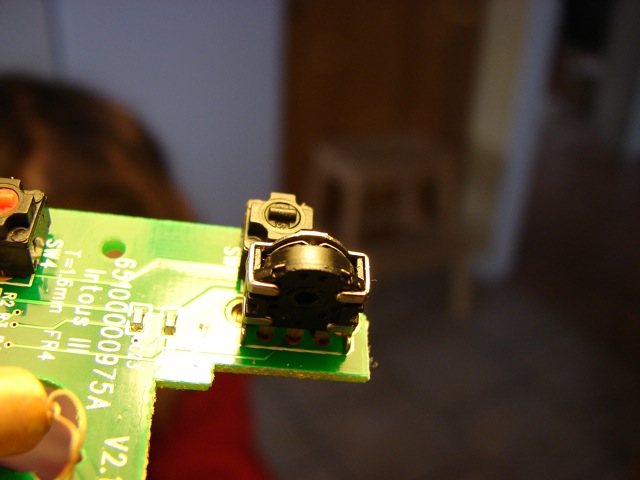
And the good, red switch from mouse nb 1:
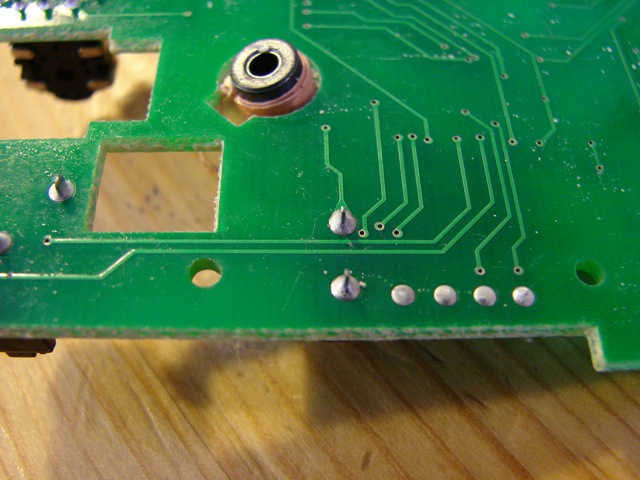
Oh, just a by the way, this is a good view of the optical encoder and the left mouse button switch:
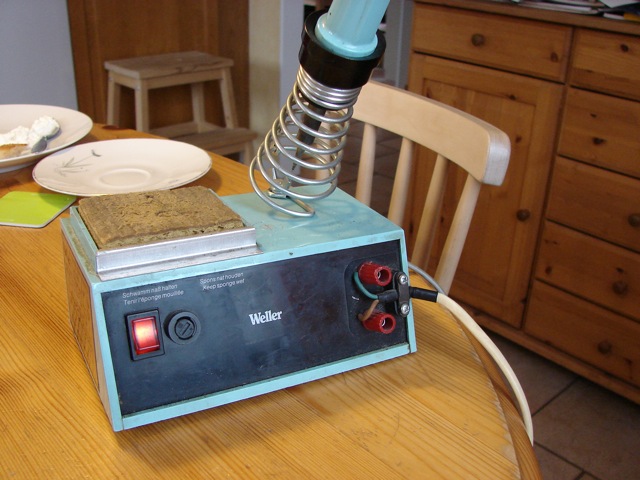
The next steps require a few tools. First, a good temperature regulated and narrow-tipped soldering iron so you won’t turn the board or switch into a pool of burnt plastic. I recommend a 30 year old Weller with Curie tips, in a kitchen environment:
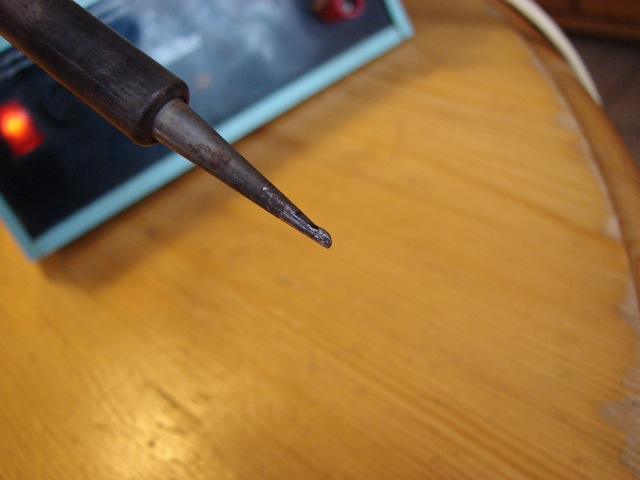
Use a fine tip:
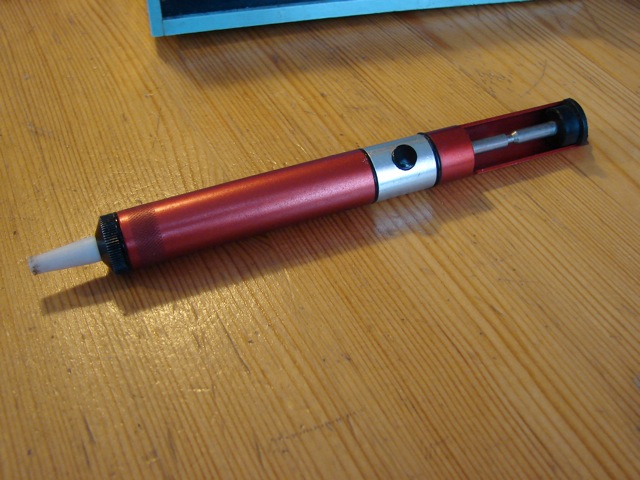
You also need either a tin suction tool with moderately worn teflon tip:
…or soldering wick:
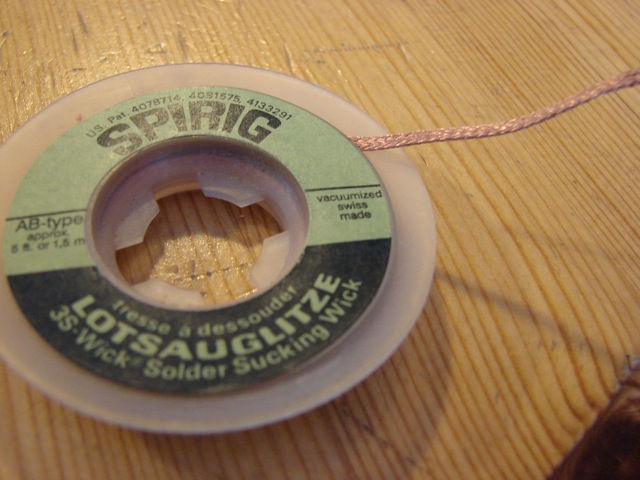
Personally, I much prefer the suction tool. You also need something to hold the circuit board, but I mislaid my circuit board frame, so I have to hold on to the circuitboard with one finger, while burning the others. Don’t follow my example.
Heat and suck off the liquid tin on each pin of the switch to remove. This is how it looks after one has been liberated:
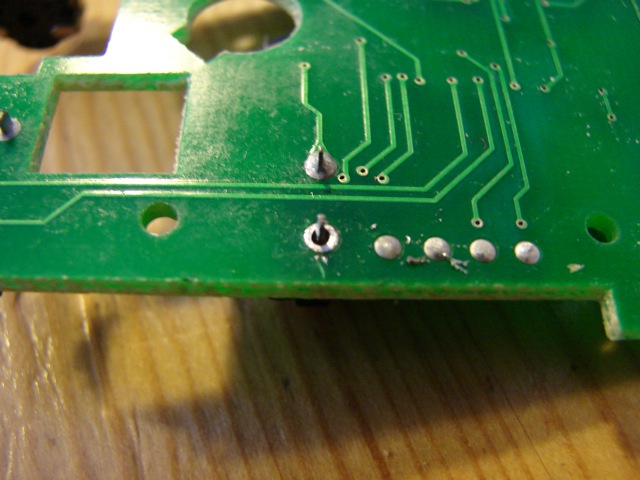
Carefully melting and removing the tin from the other pin, then carefully taking out the switch should leave the circuitboard intact. If you can’t do it without destroying this circuitboard, you’ll probably destroy the other one as well and end up with nothing, so take care.
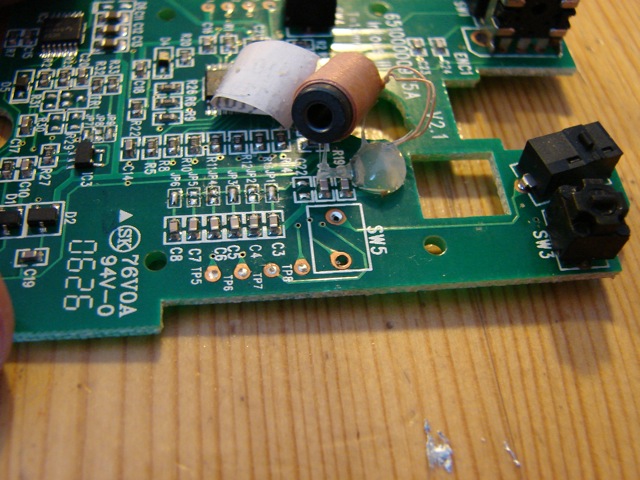
The good switch after removal:
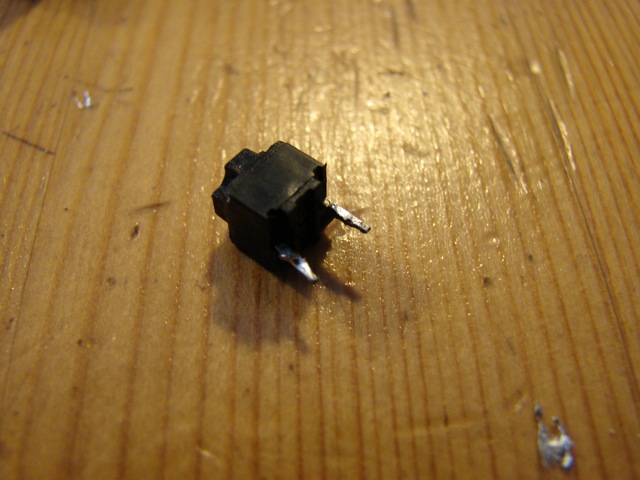
Now the turn comes to the other board where the right switch needs to be removed.
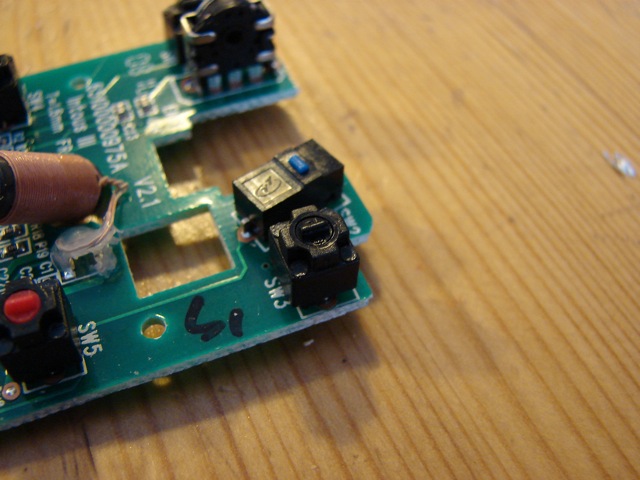
Turn it over
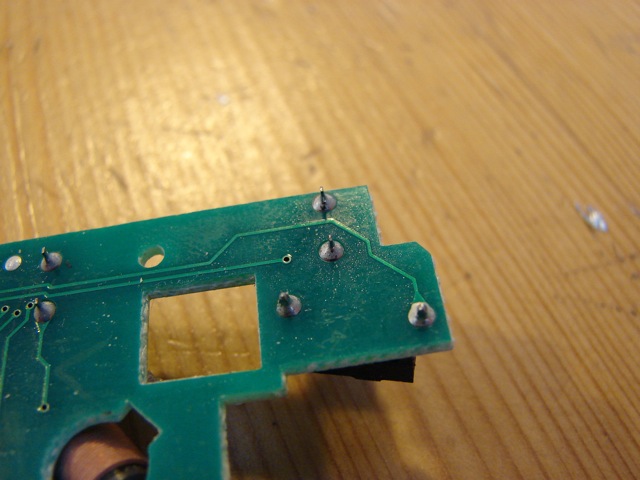
Heat and suck off (or wick off) the tin:
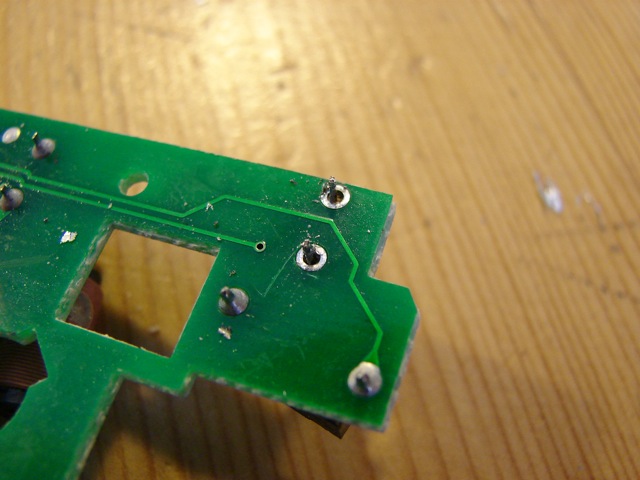
Carefully take out the bad switch. Check that the board is intact and no tin in the way for the new switch:
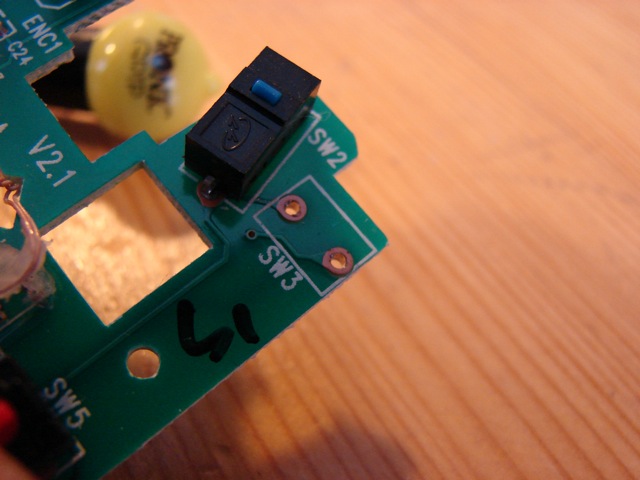
And check the bottom too:
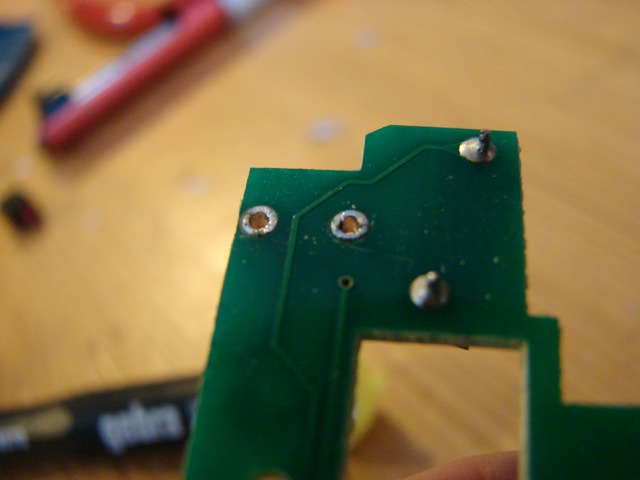
Put in the new red switch. The orientation doesn’t matter as far as I can make out (there are only two ways to put it in and both work fine):
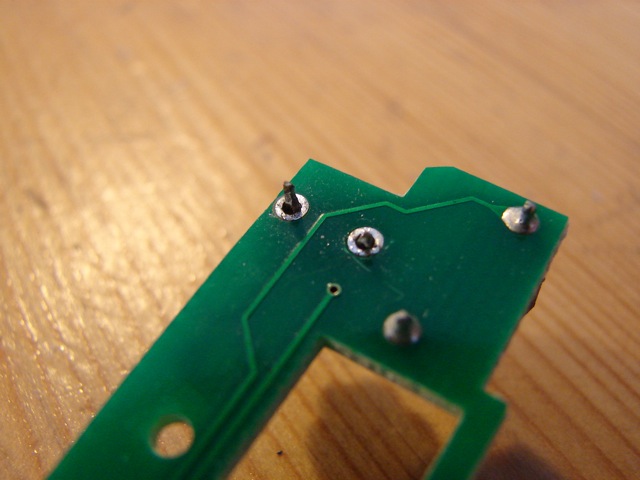
Check the top side and make sure the switch is flush with the surface of the circuit board:
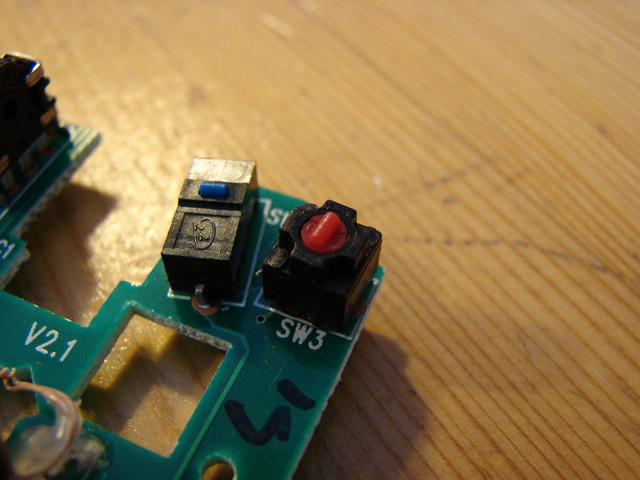
Now we have three red switches and one black. Who cares.
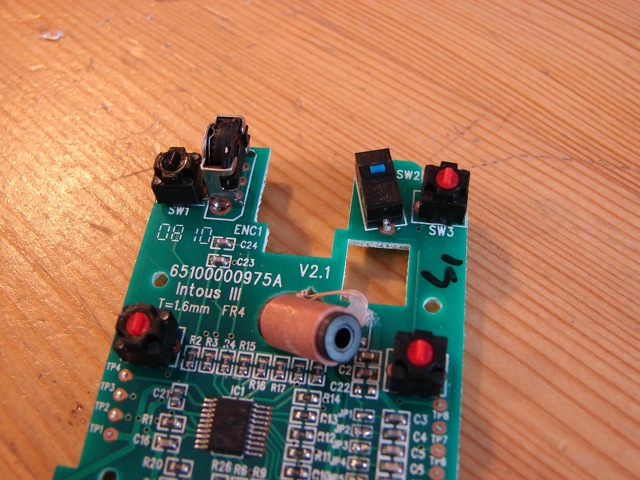
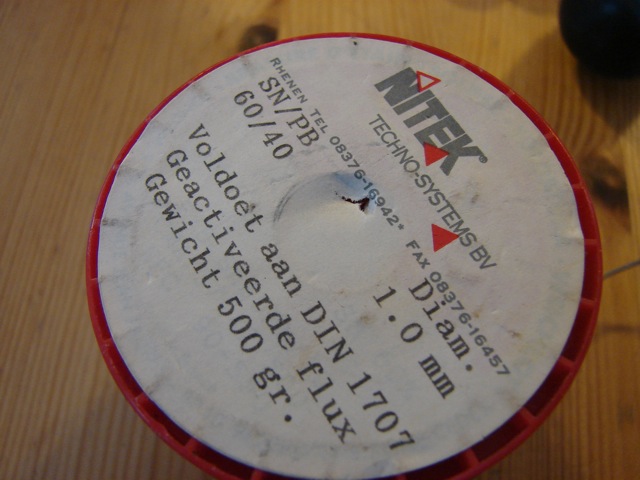
Time to solder in the new switch. I’m using bad, bad, leadbased solder. To my defense, however, this roll is also 30 years old. And still almost full. The point I do want to make is that it should be thin. And with flux, of course.
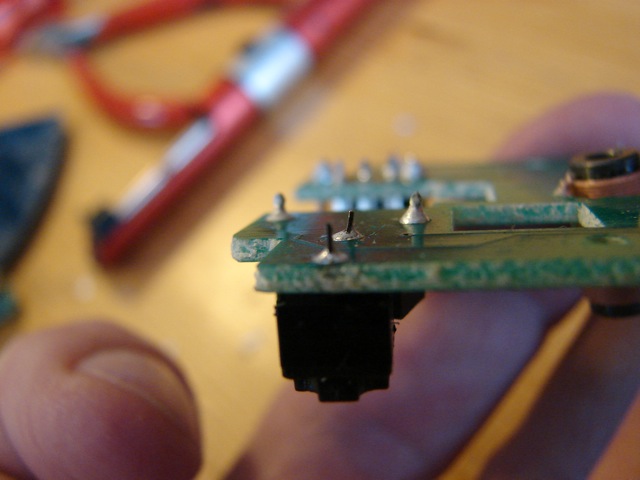
Solder the switch into place, taking care not to cold solder and at the same time keep the amount of solder to just enough. This is how it should look after soldering:
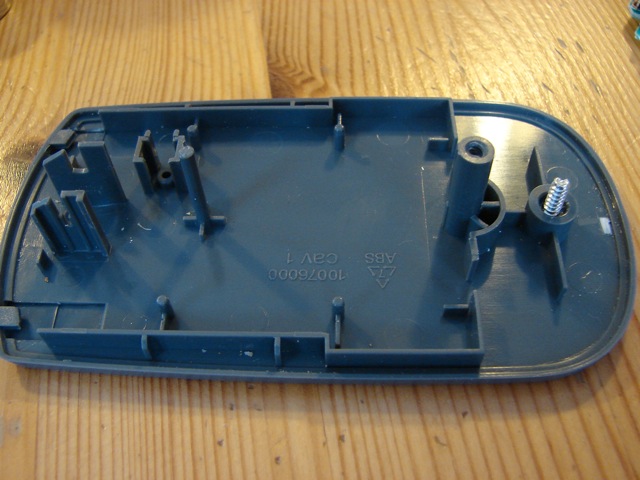
Time to reassemble mouse nb 2. Clean out the bottom case first (I blew on it):
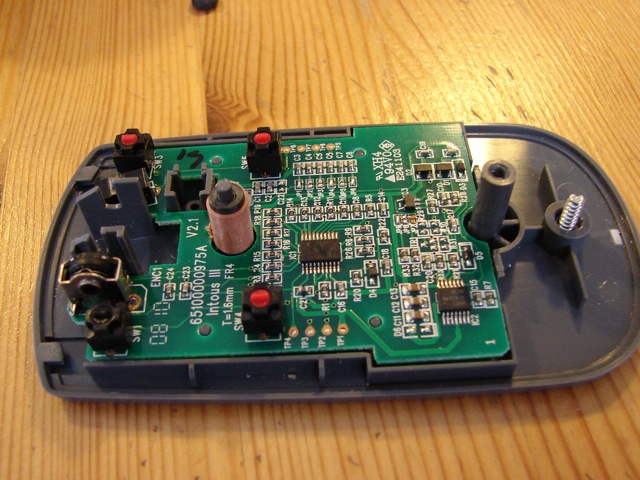
Put back the circuit board, taking care to thread the spool over the pin:
Put back the rubber ring with the silicon on the pin:
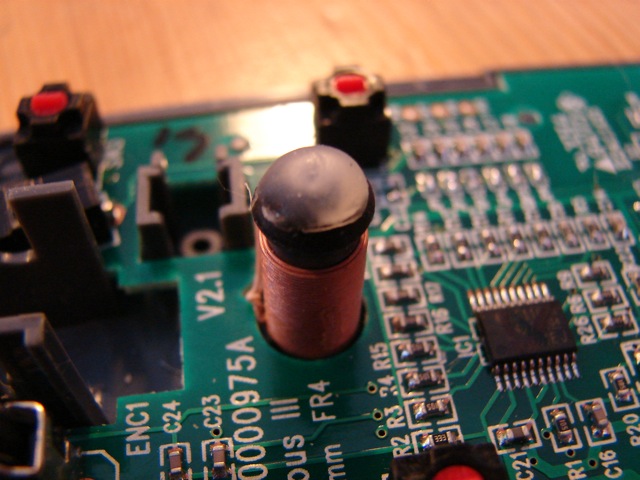
You may want to clean the scroll wheel if it’s grubby, then lift the circuit board a bit, stick the scroll wheel axis into the encoder, twisting it until it fits, then lower the circuit board back down:
Screw back the ballast into place:
The upper case has two slots:
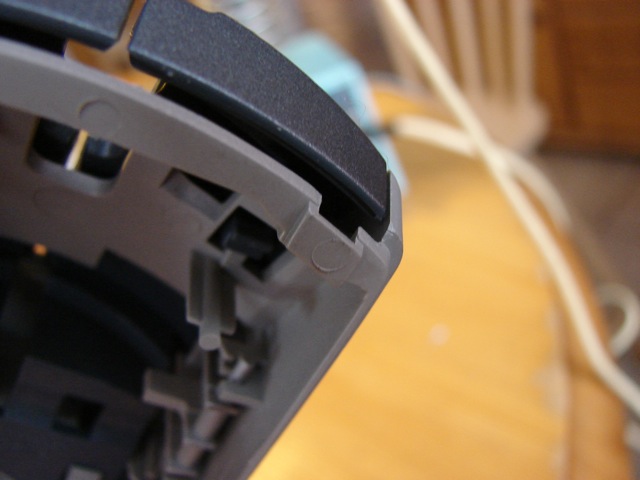
…and the lower case has corresponding tabs:
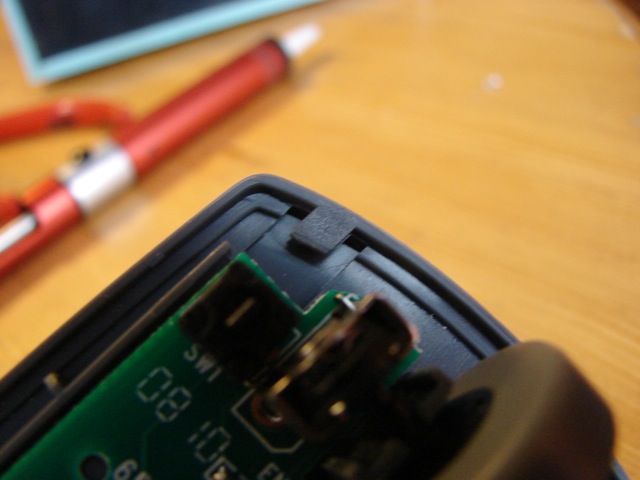
…so fit these together first:
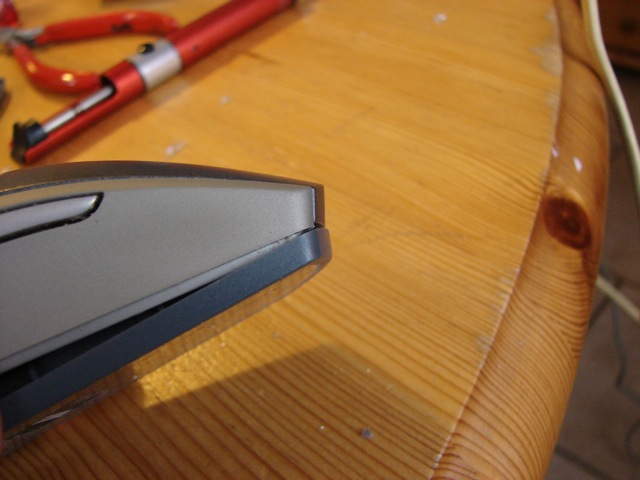
Then snap case together and put the screw back:
Now, press back the stiff plastic (with or without the textile mat, in my case without):
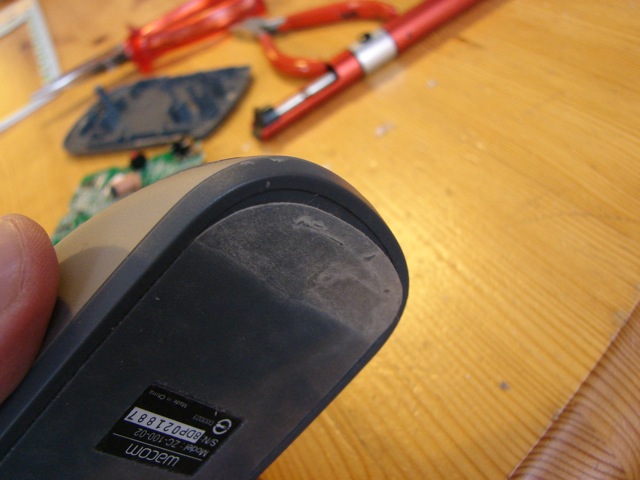
Pressing it hard usually makes it stick again:
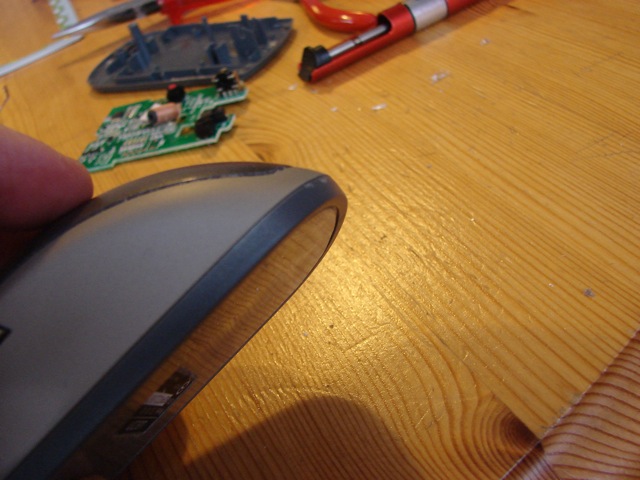
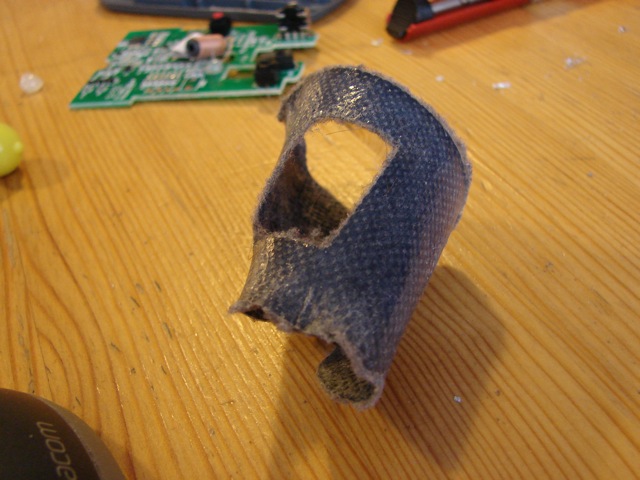
So I’m left with the textile I took off the good mouse. (Note, the beginning of this story shows how to take off the bottom plastic without peeling off the textile, but my first try involved mouse nb 2, and there I first took off the textile, and only then the transparent plastic base sheet.)
So, now I have two fully functional Wacom mice. And a third non-functional that I’ll save for more spare parts. I’m sure I’ll need it.
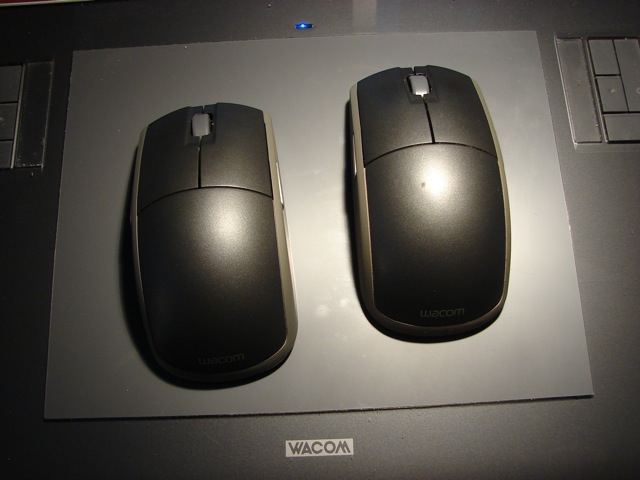
The repaired mouse doesn’t have the textile mat underneath, and I glides considerably more easily. So, I don’t know which I prefer, actually. (To the left, the brand new replacement mouse I got.)
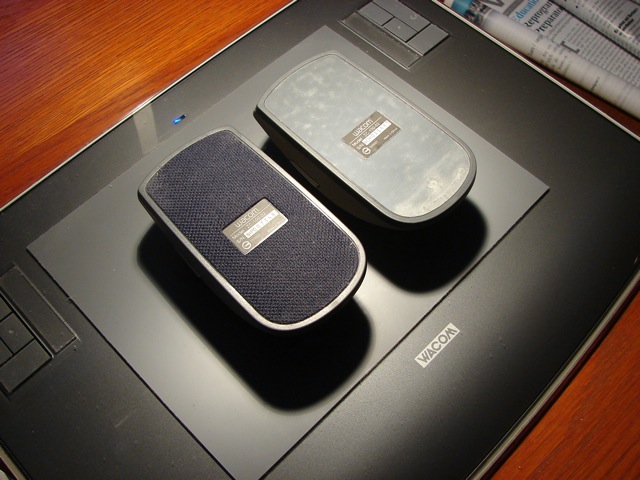
Once assembled, I compared the feeling of the repaired mouse to the brand new one, and yes, there is more resistance on the right mouse button compared to the left and to both buttons on the new mouse, so the red switch has a higher spring load. It may even possibly have a slightly longer stroke, but I’m not sure. But it feels just fine, I like it.
To see me test the repaired mouse in WoW, click the image. In the movie, I’m running using both mouse buttons and using the scroll wheel button. I’m changing direction using right button. Changing camera using left button and zooming using the scroll wheel. All work just fine.

For other guides to the Wacom mouse, and other mice, checkout Repair4Mouse. If you’ve got your own guide to repair or disassembly of a mouse of some kind, that’s the place to leave a link to it as well.

And you didn’t do all this just to show off your Warcraft vid? 😉
What other reason could there be?
Thanks for posting this up – much appreciated
Thanks, this is the only place I could find on how to disassemble the mouse. Left trigger isnt working correctly so I was thinking I’ll take a peak.
I’ve had problems too.
Digikey.com has two switches
that look like they will work.
P10843s & P10844s
They are $.55 each, 10 for $4.14
Nicely done article!
why would you guys buy a $300+ tablet to use just the mouse?
why not buy a $300 mouse?
i dont get it…
Well, we don’t buy a $300 tablet just to use the mouse. We buy a $300 tablet because we need a $300 tablet with a stylus for drawing. But once that tablet occupies your best desktop space, there is no place to use a mouse anymore, and you still need a mouse. Most regular mice don’t work very well on top of a tablet for a variety of reasons, and there’s no space for using a mouse next to the tablet, and you don’t want to stick the tablet in a drawer every time you need to select something from a dropdown, for instance, so all the real tablets come with both a stylus and a mouse. That mouse, unlike regular mice, is designed to work fine on top of the tablet. Until it doesn’t work anymore, and that’s where my blogpost comes in. Does it make sense now?
the soldering iron that i use is employing a ceramic heating element:.~
This is just what I was looking for! The mouse buttons have been driving me nuts recently. I’ll be checking out the local Fry’s to see if they have the switches I’ll need.
I had this exact same issue. For me it worked opening the mouse and just pressing on the button to make it work better (also i tried to clean it a bit). I also remoed the weight, which i think is way better, so the mouse is not so heavy anymore.
Thanks for this tutorial.
Have a great day!
I don’t have soldering tools so I used another approach. My switch (left button) was still working, but needed to be depressed more than the engineering would allow.
Instead of trying to mess with any electronics, I modified the molded plastic piece that is part of the mouse clicker. The plastic that actually touches the switch is a rectangle that is pushing down on the round switch. The rectangle doesn’t push “into” the switch, but “onto” the switch.
I simply took my pocket knife to *carefully* shave the left and right ends off the rectangle to make a square, which is smaller than the switch’s round hole, so that it was able to penetrate the switch button with more force than before (having not been previously able to enter the switch’s opening). I tried to ensure the remaining square had as much plastic as possible (to maintain Here’s an illustration:
Before:
=== <—- Original molded mouse clicker
(doesn't fit in the hole)
O <—- Switch hole
After:
= <—- Modified molded mouse clicker
(fits into the hole)
O <—- Switch hole
Top notch, my left click keeps double clicking when depress it, very annoying, will open up and see if I can fix it.
Thanks a billion :0)
you can also wash the textil underpart, after you dry it it will remain sticky. i wash it regularly, because the dirt makes it harder to move on the surface.
= <—- Modified molded mouse clicker
(fits into the hole)
O <—- Switch hole
I think this switch is not an Omron one,
so if you modify it, it will bend the inner part too early, and you won't be able to repair it.
This is a great article, I was able to repair my Intuous 3 mouse pretty easily following this tutorial (less than 15 minutes start to finish).
DigiKey still has the above mentioned parts available, now only 45c each.
The P10844s switch requires more pressure to operate and may feel too resistant for most users. This is the one I put in first (I bought both versions) but will probably chage over to the P10843s.
The legs of the switches need to be slightly pressed with a pair of fine nose pliers as they come with a set bend to space them off the circuit board and they need to be flush mounted on the Wacom pcb.