Replacing the battery in an iPad Pro is a horrible, terrible repair procedure. It’s all about heat and glue. Jeez.
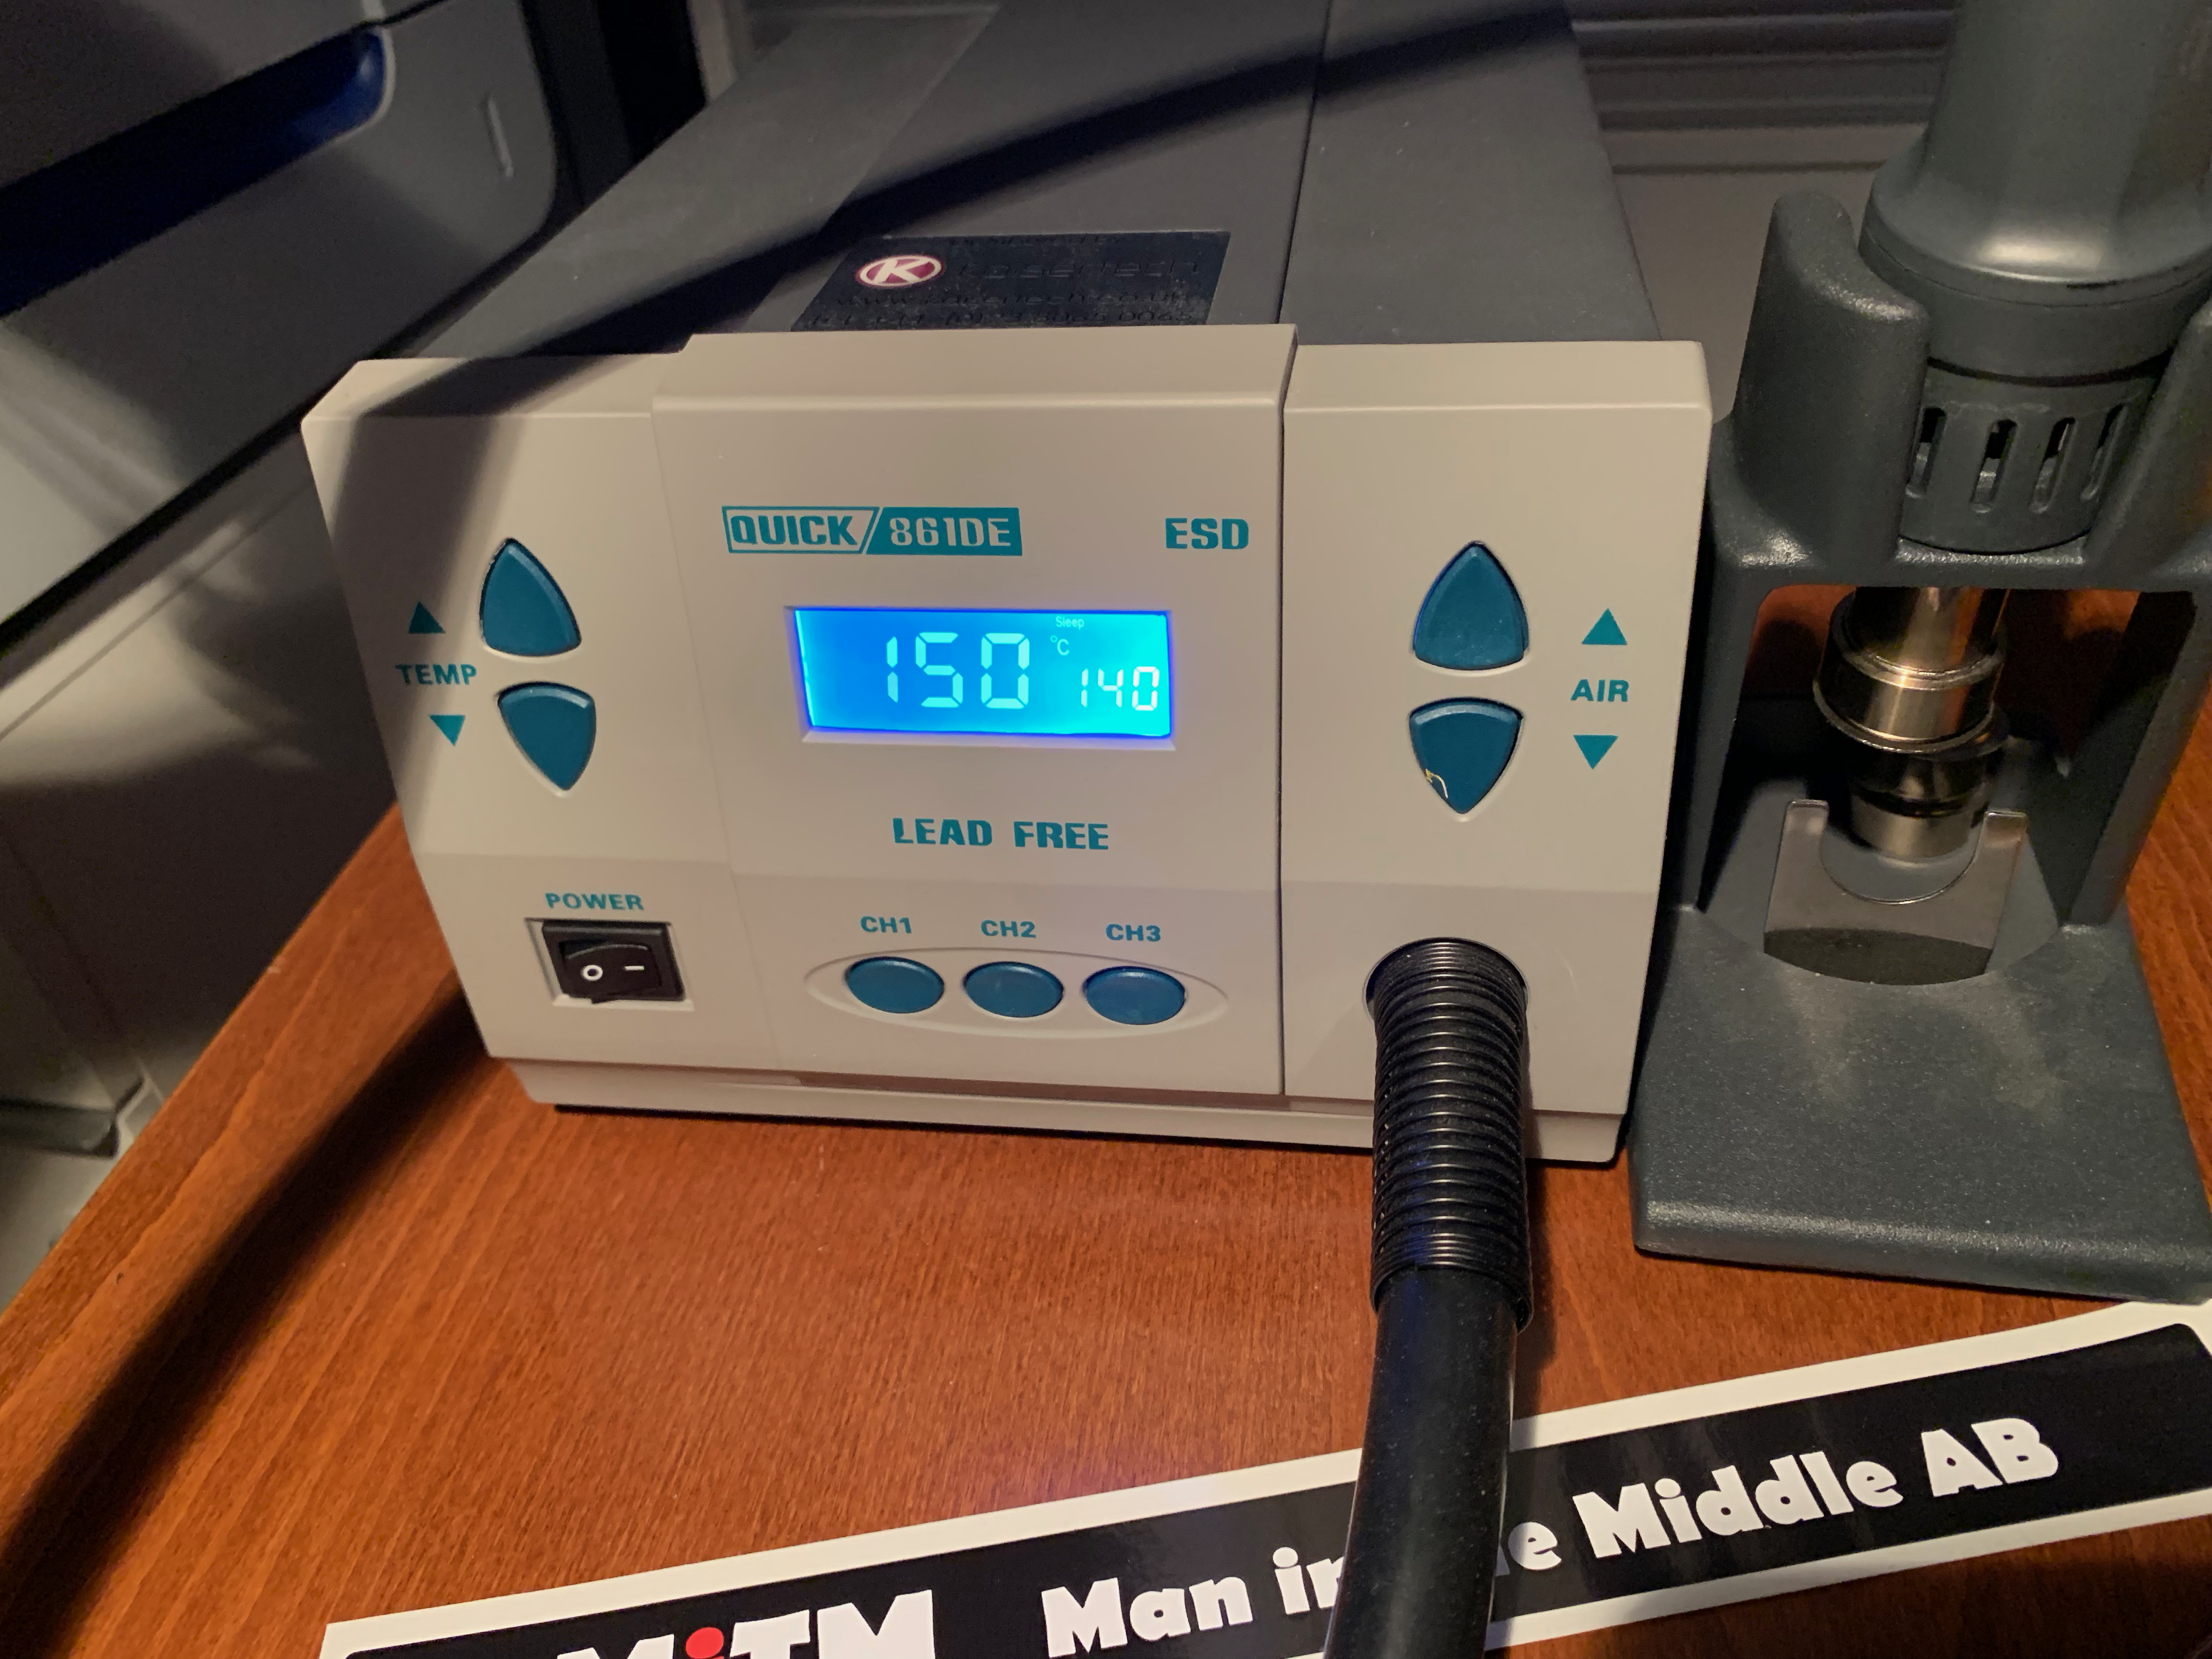
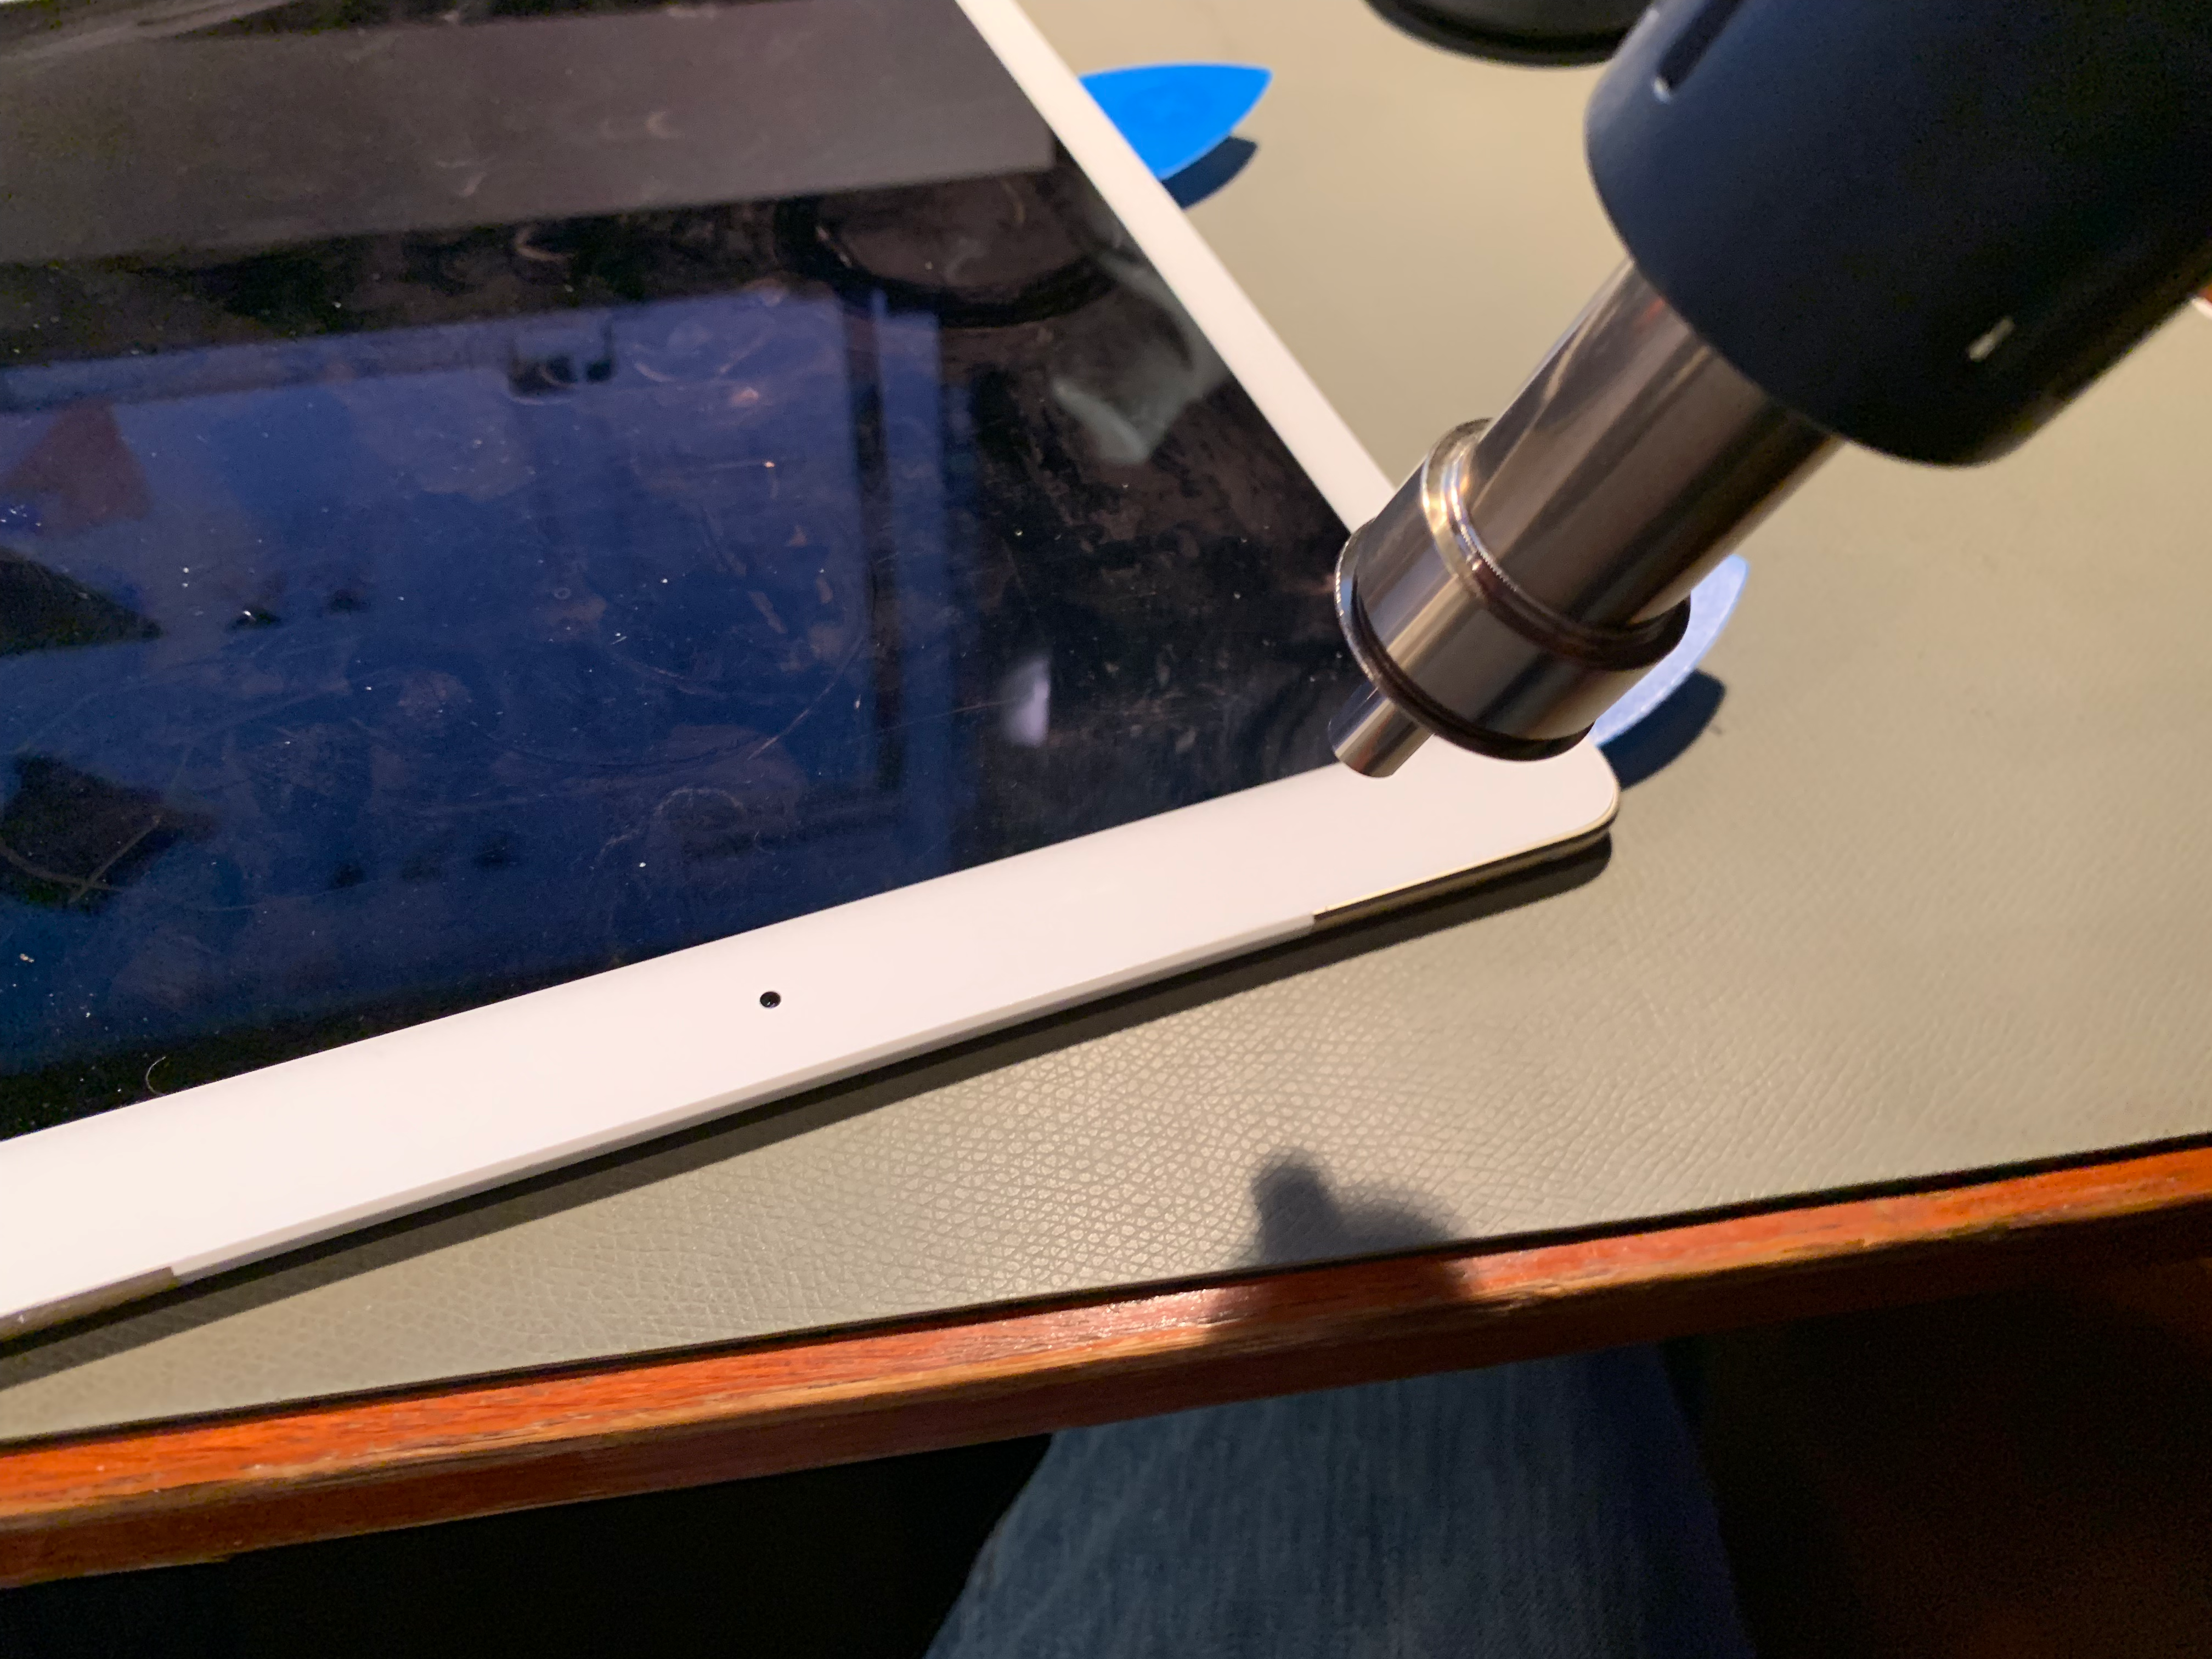
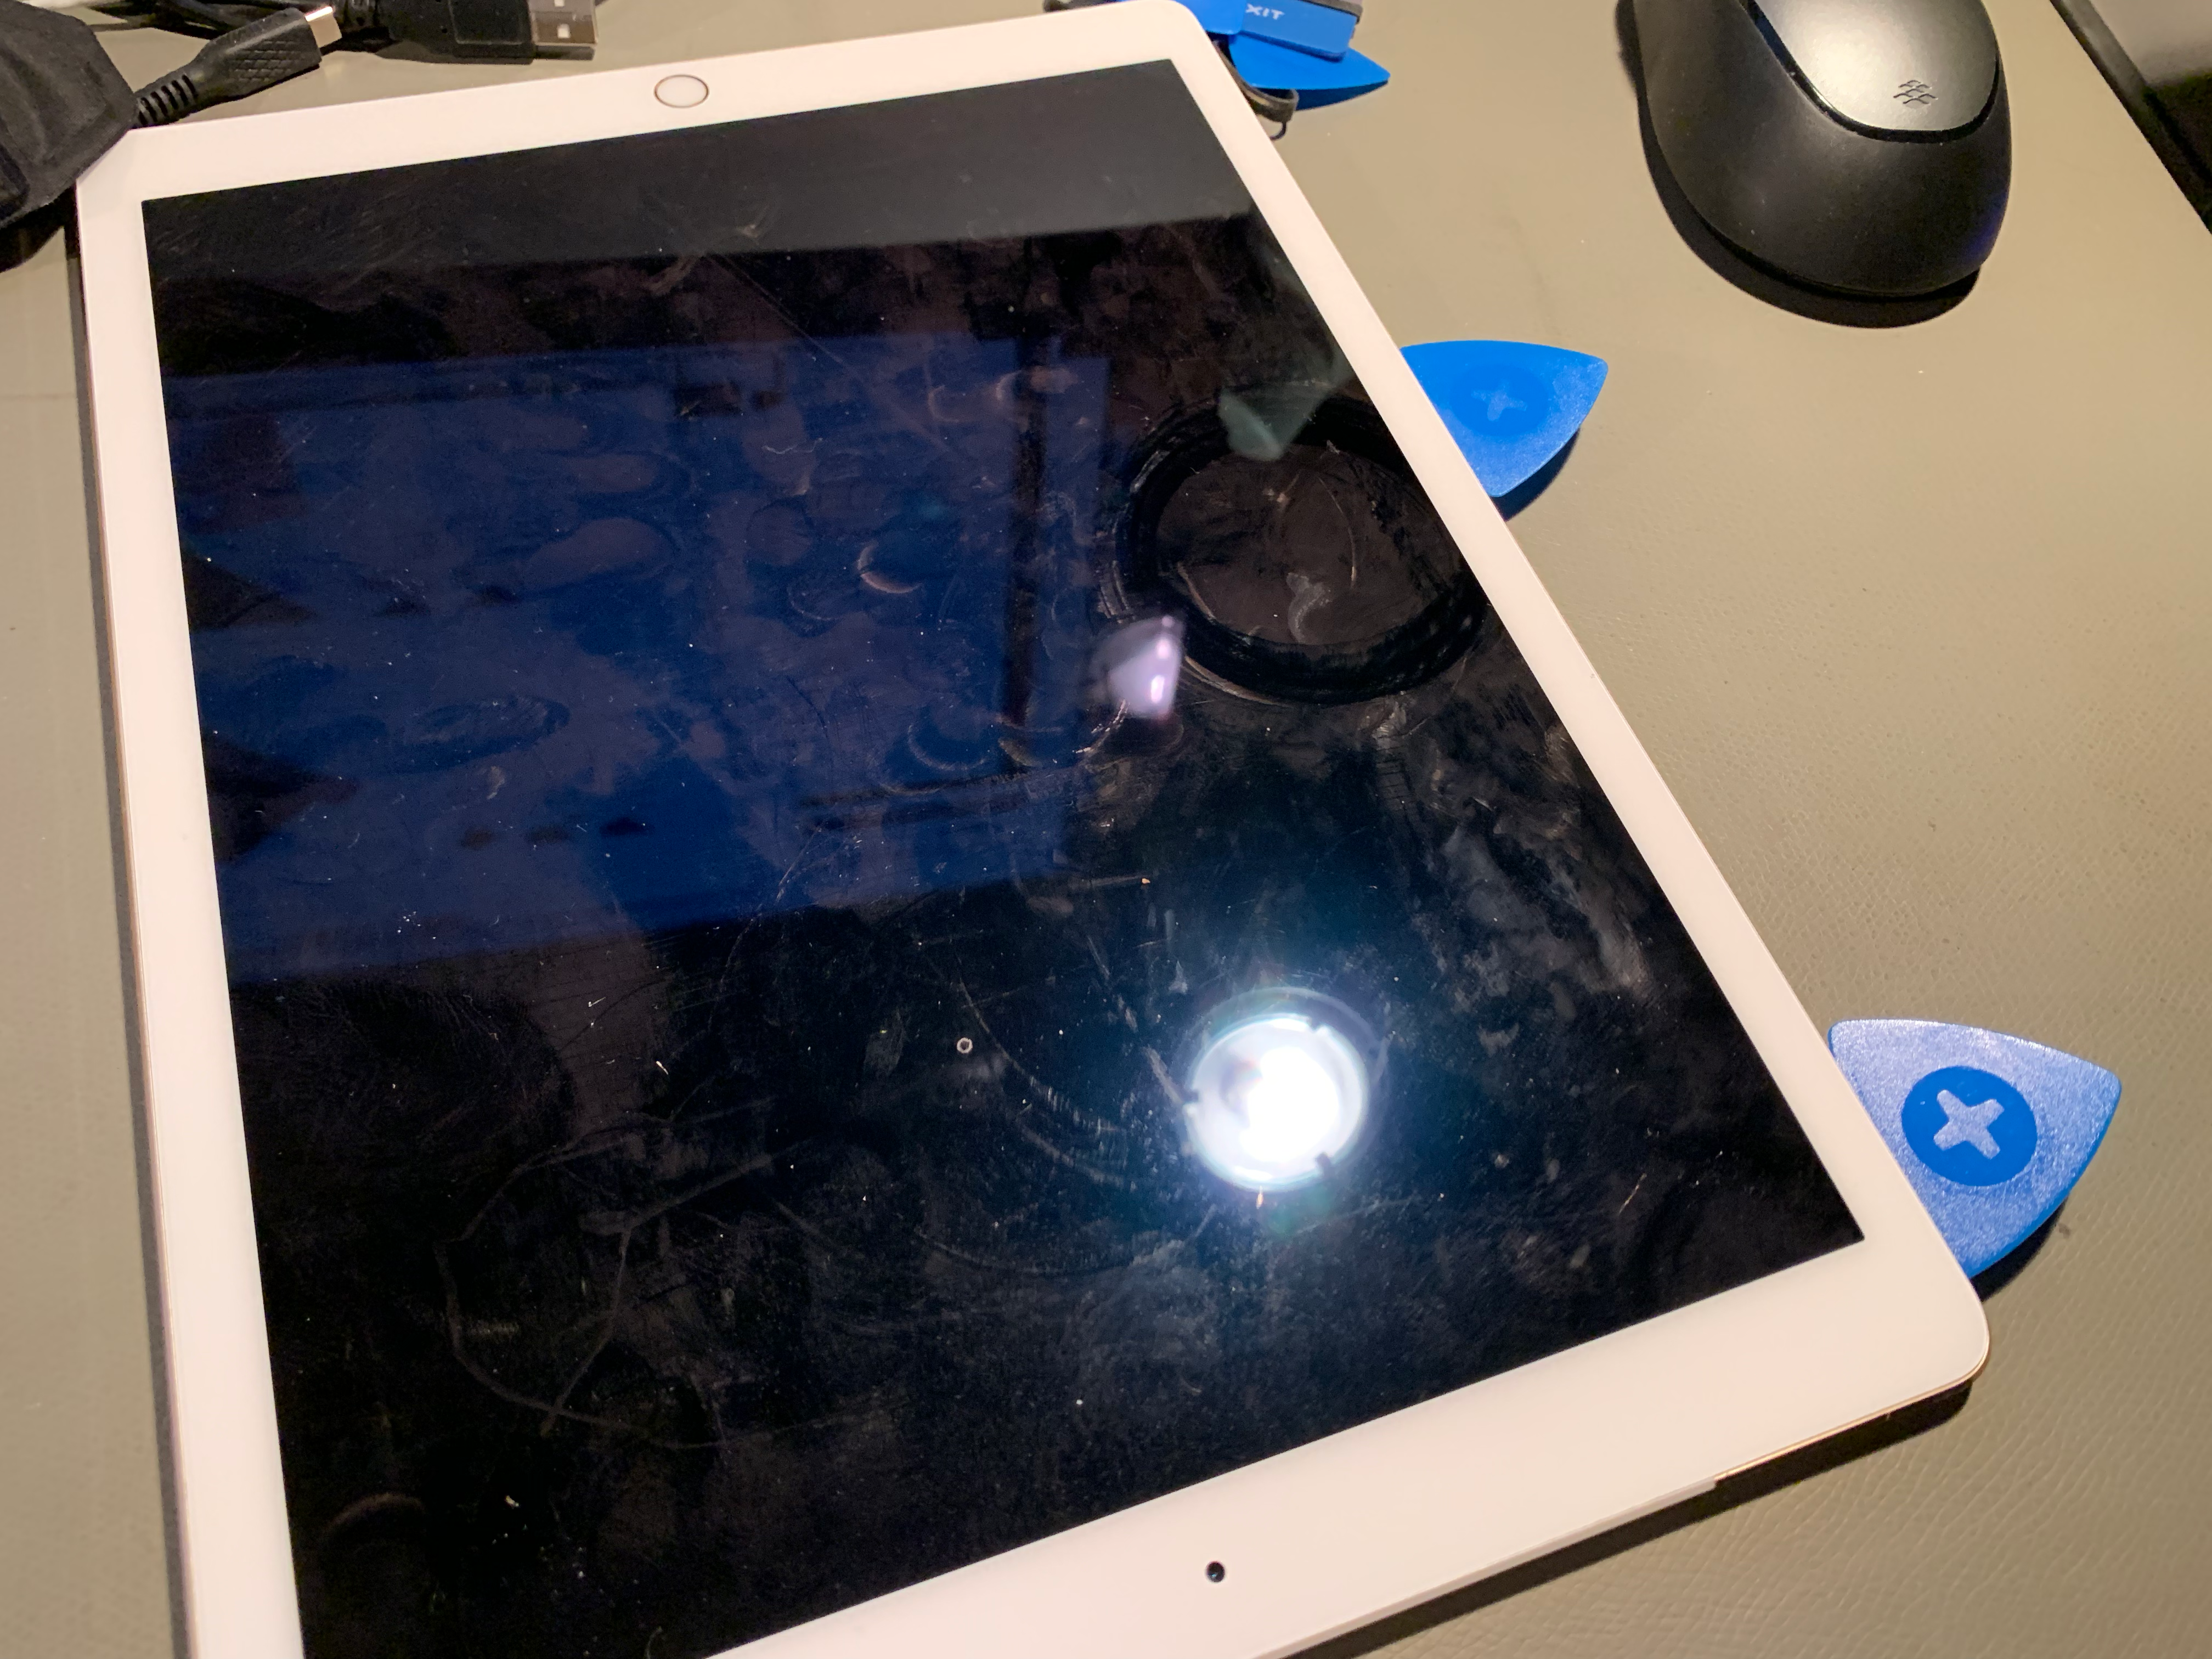
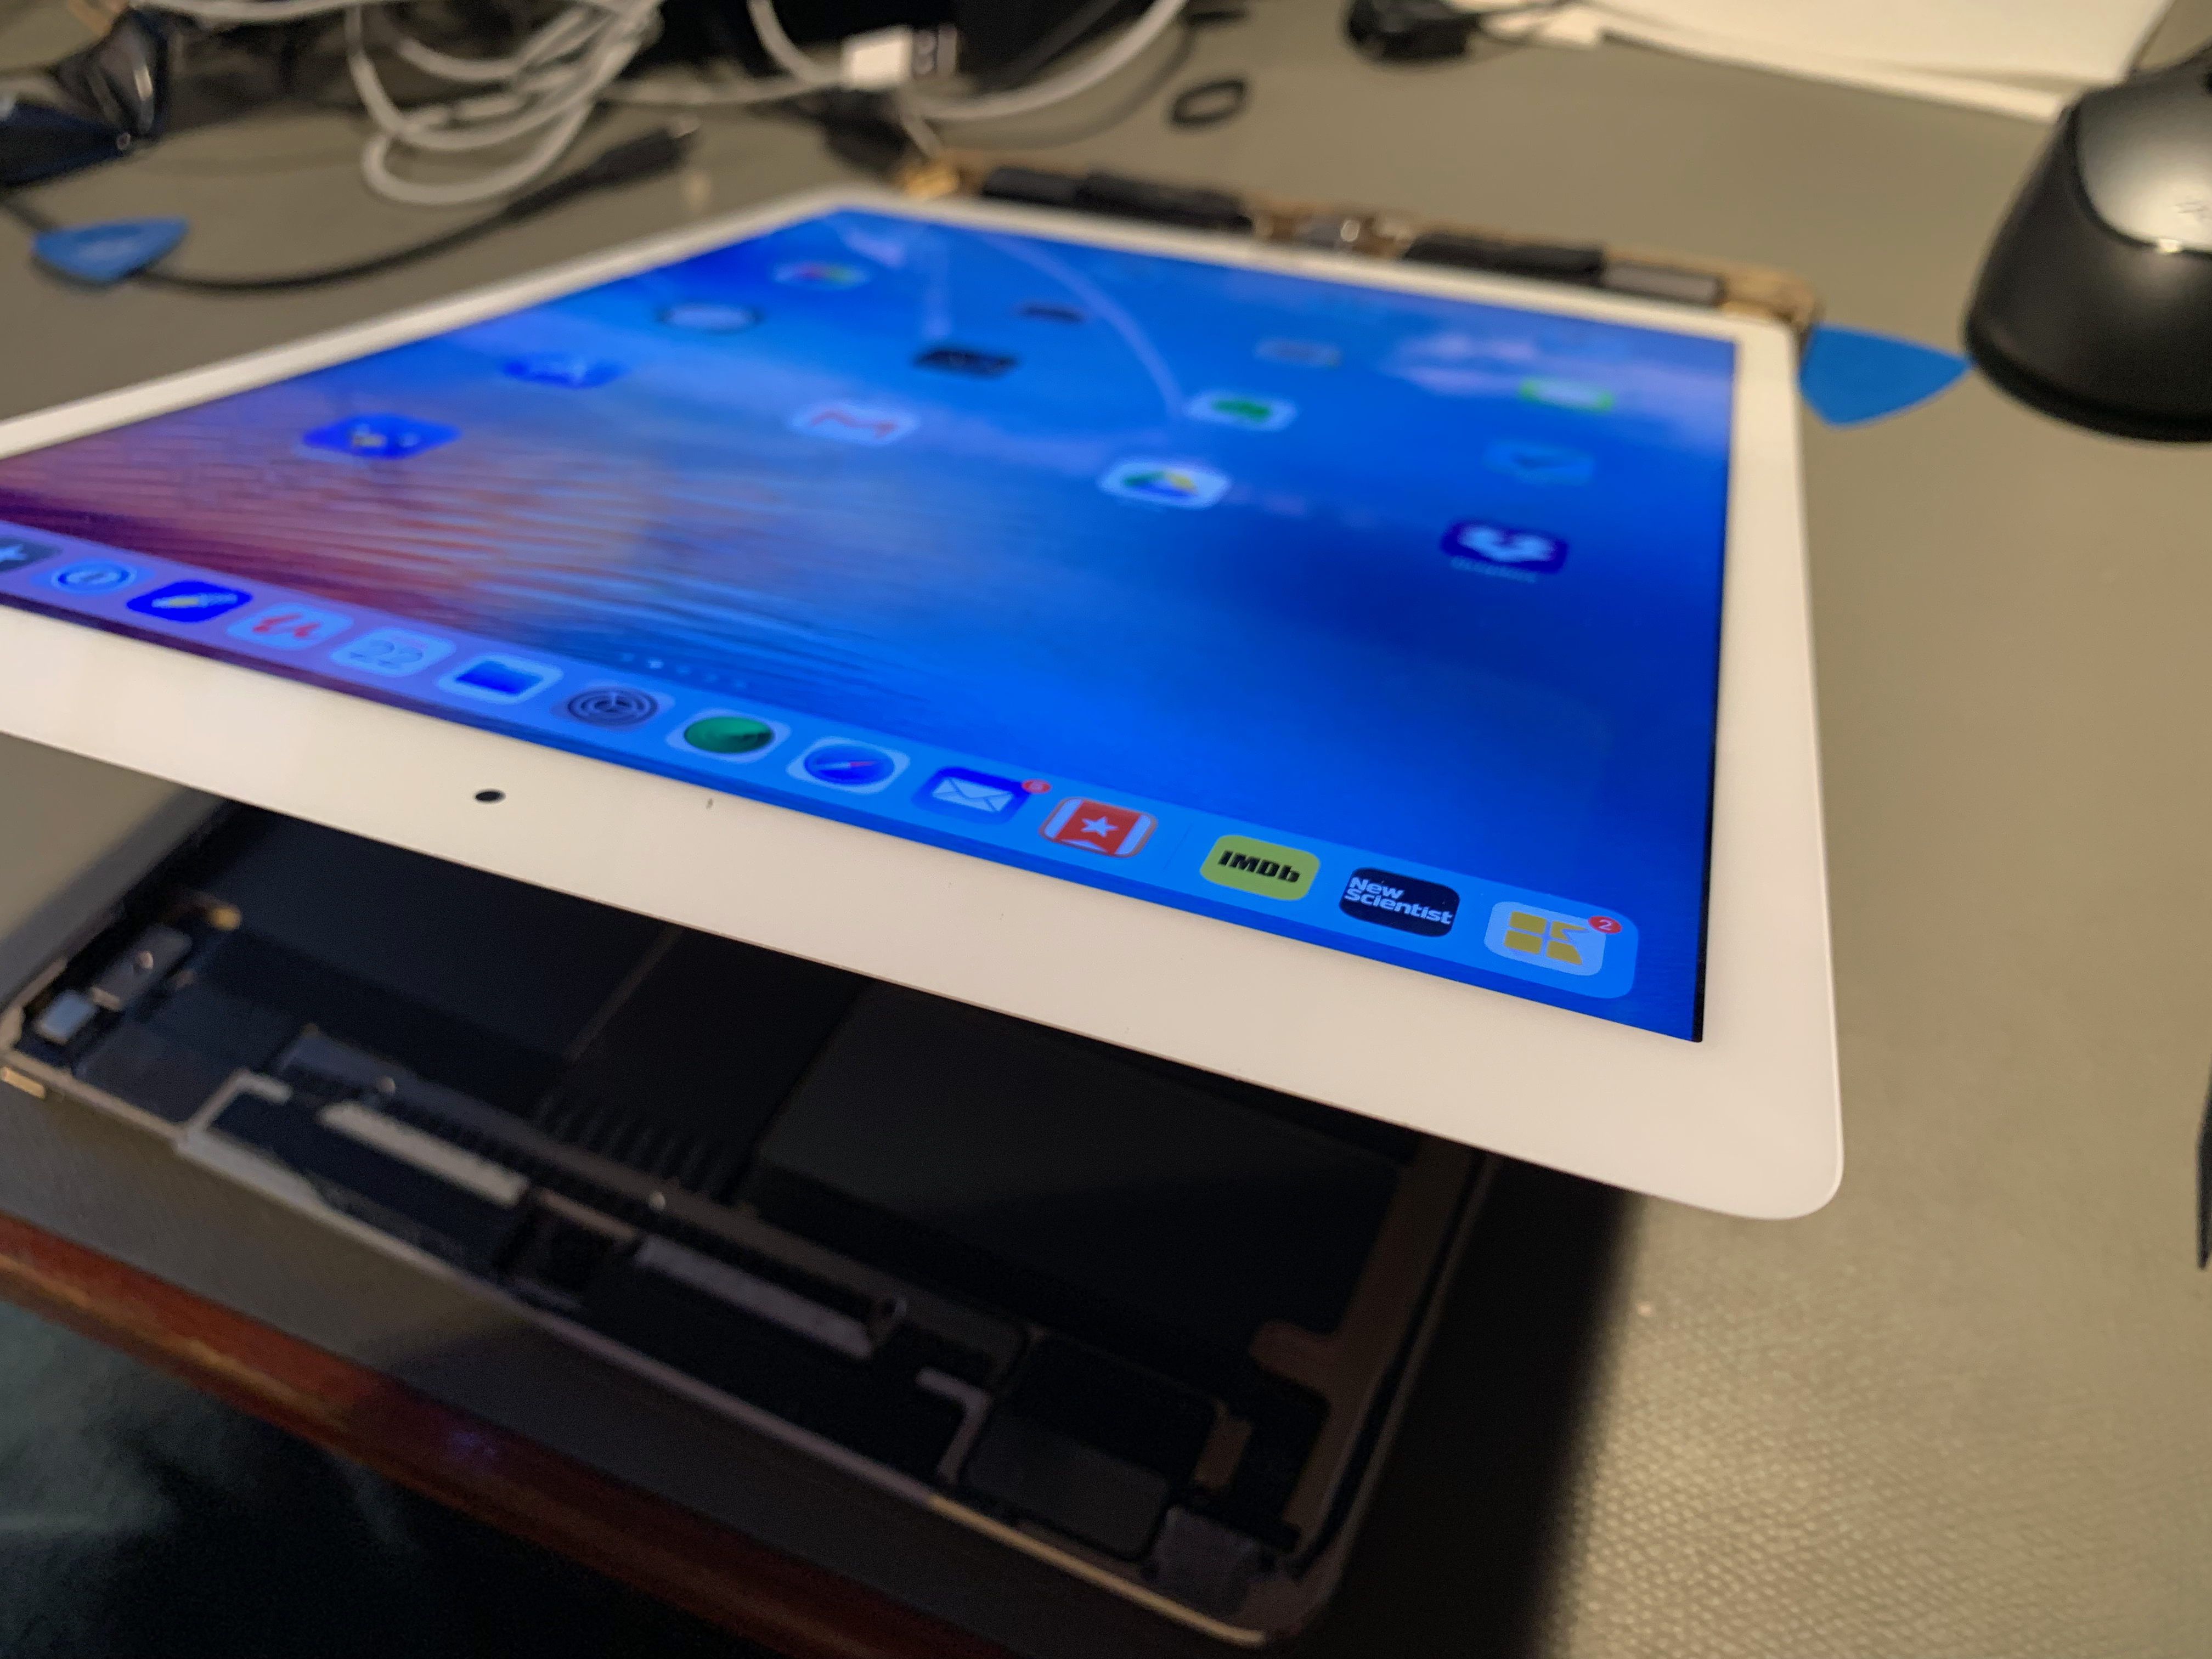
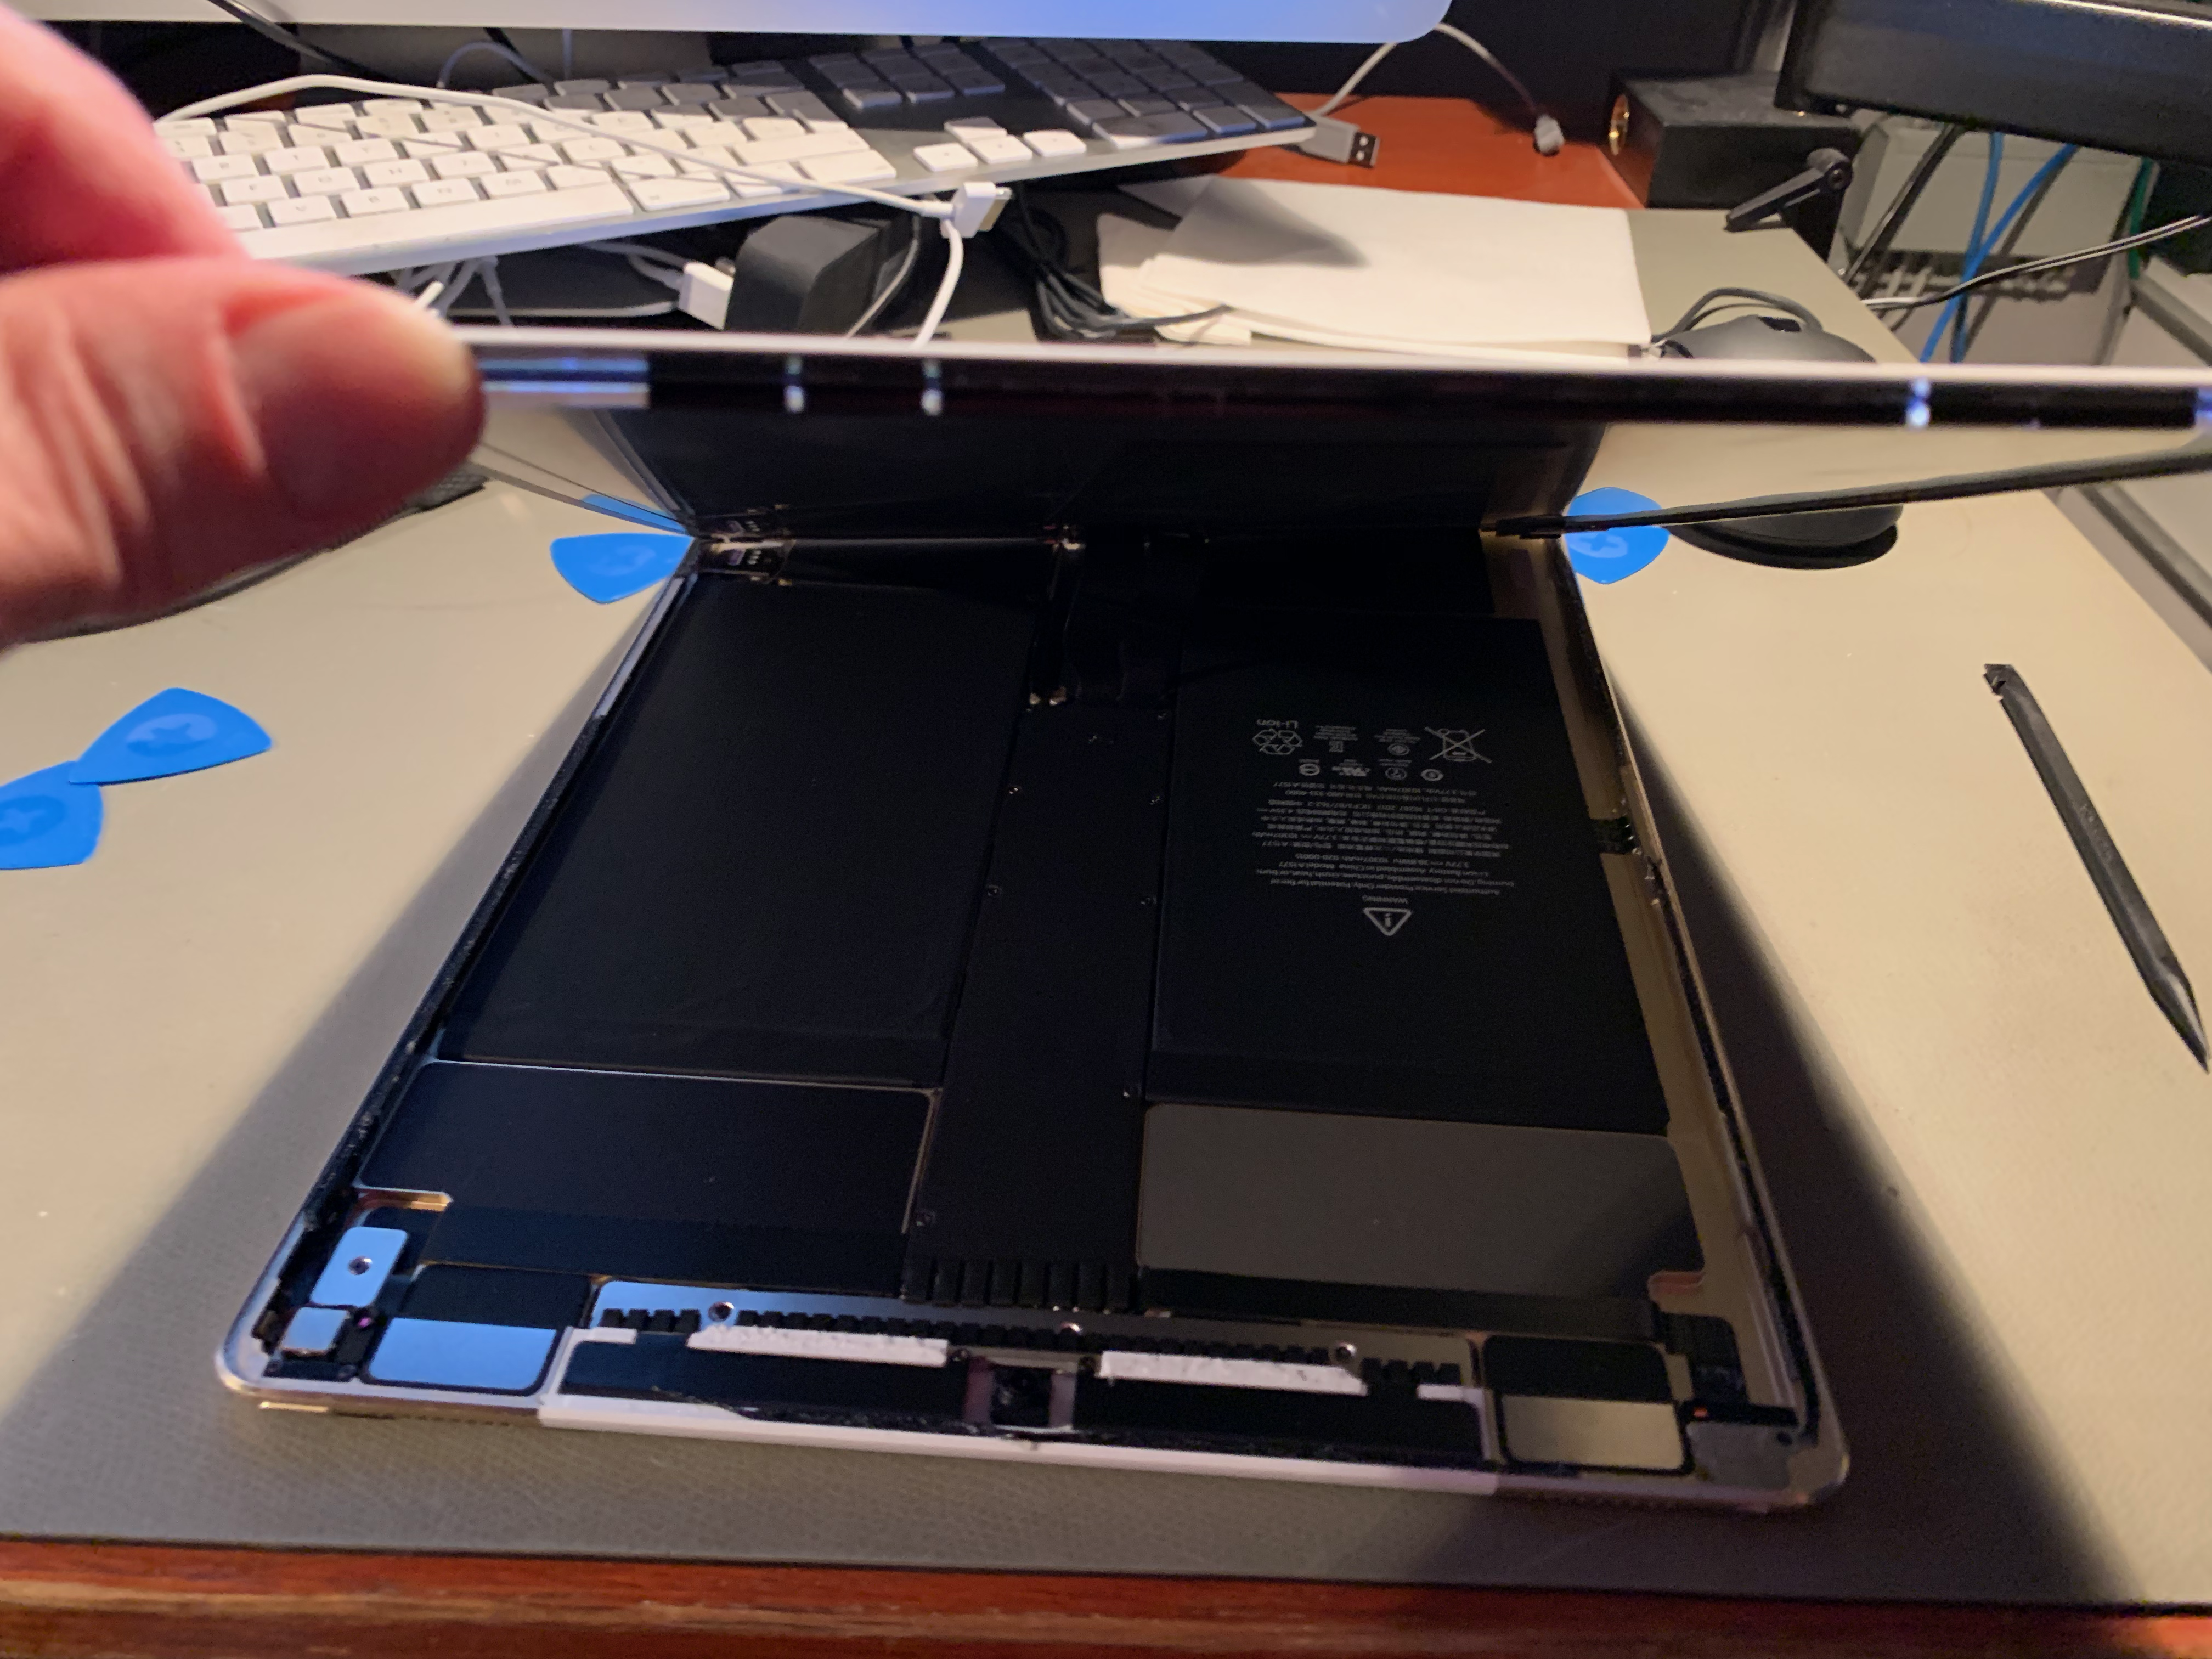
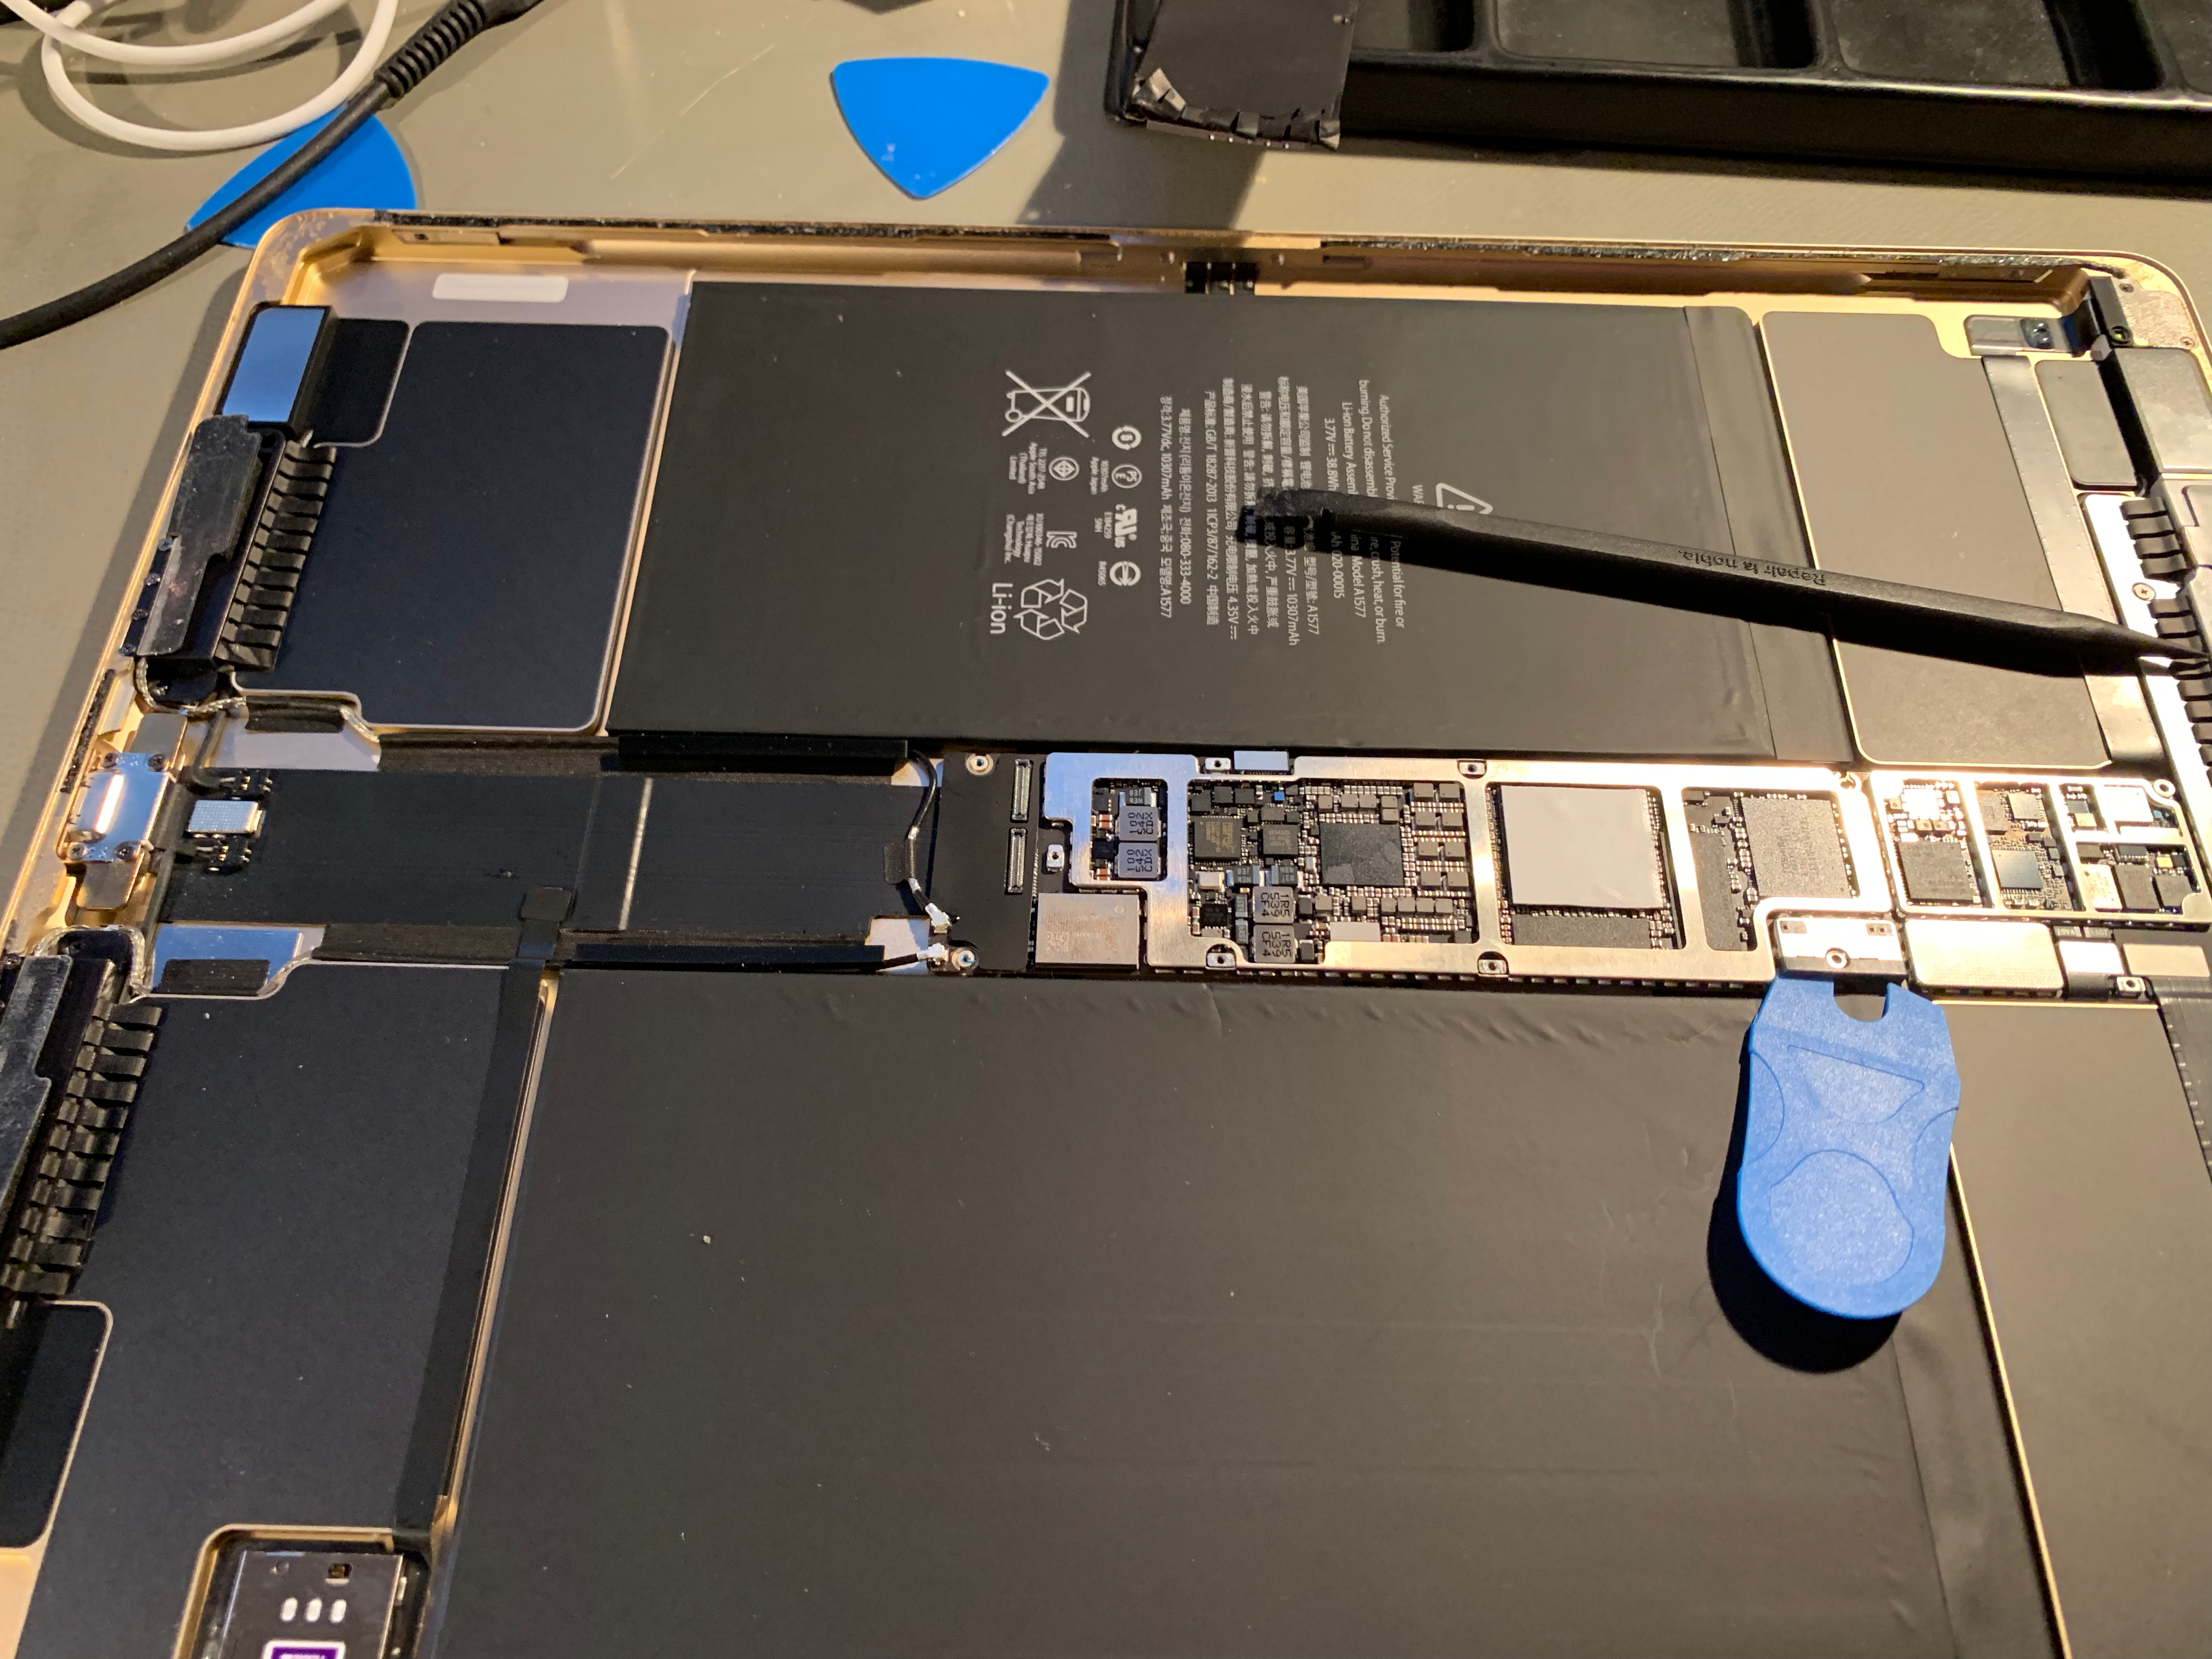
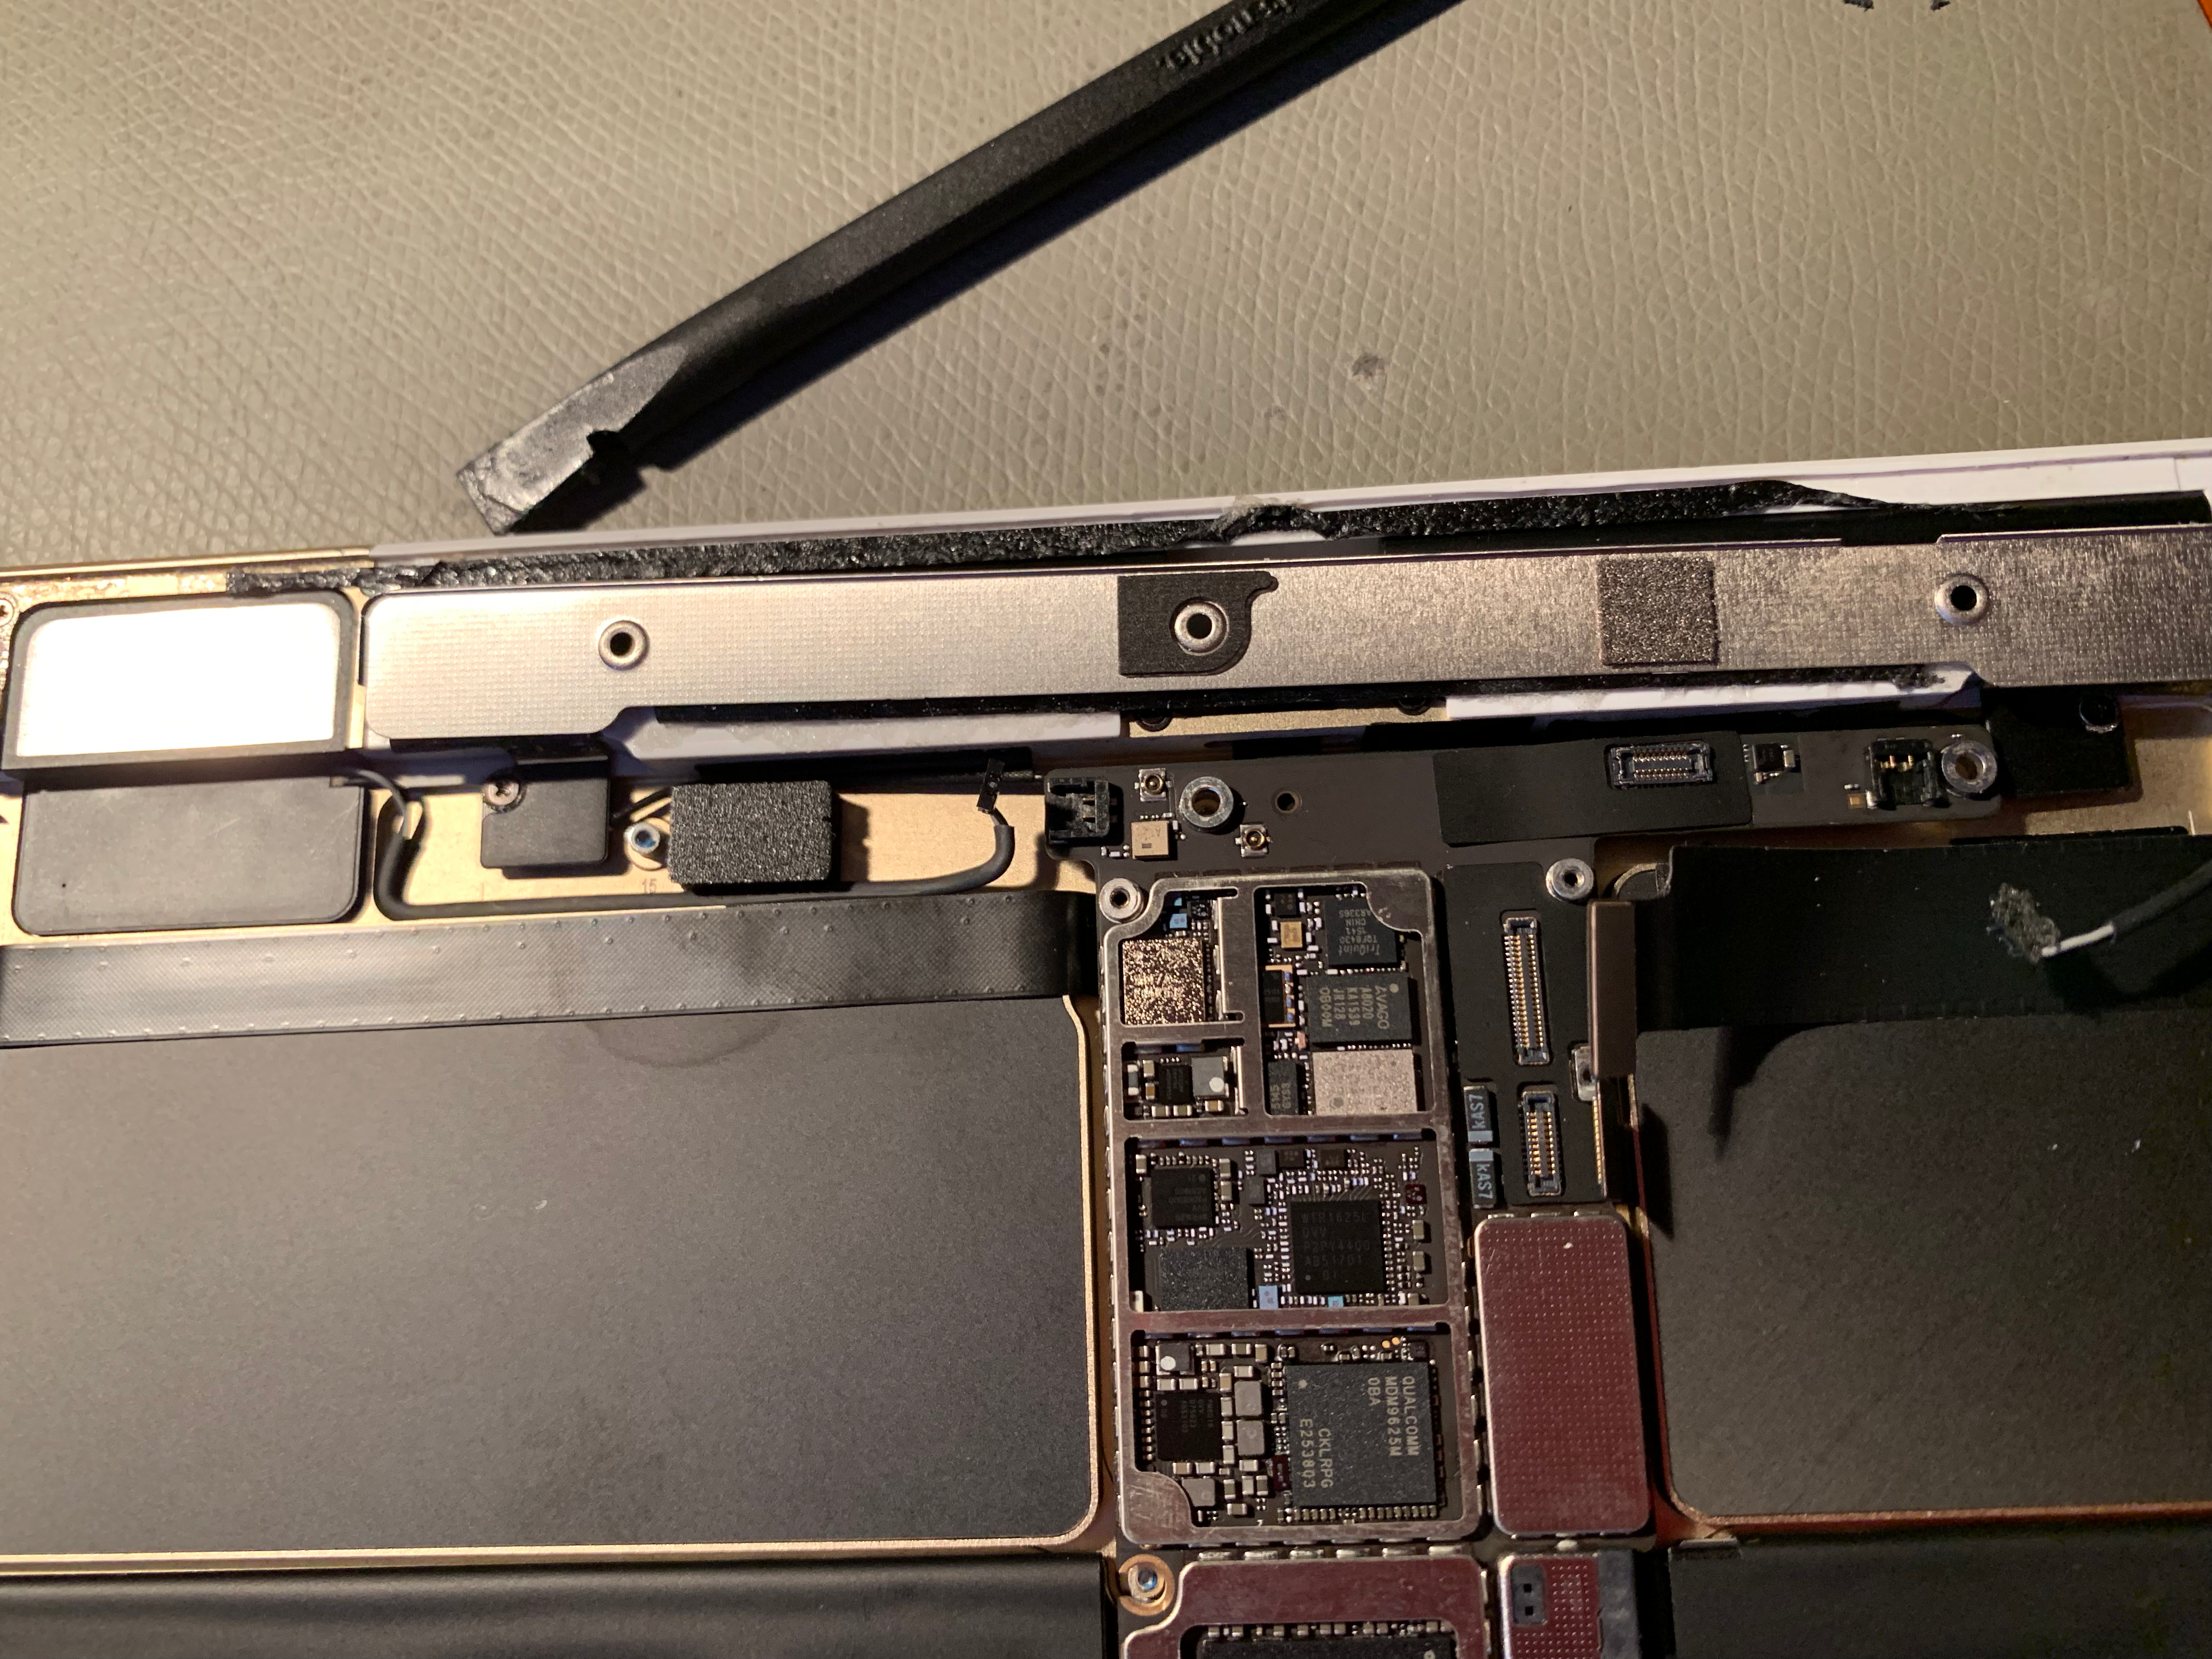
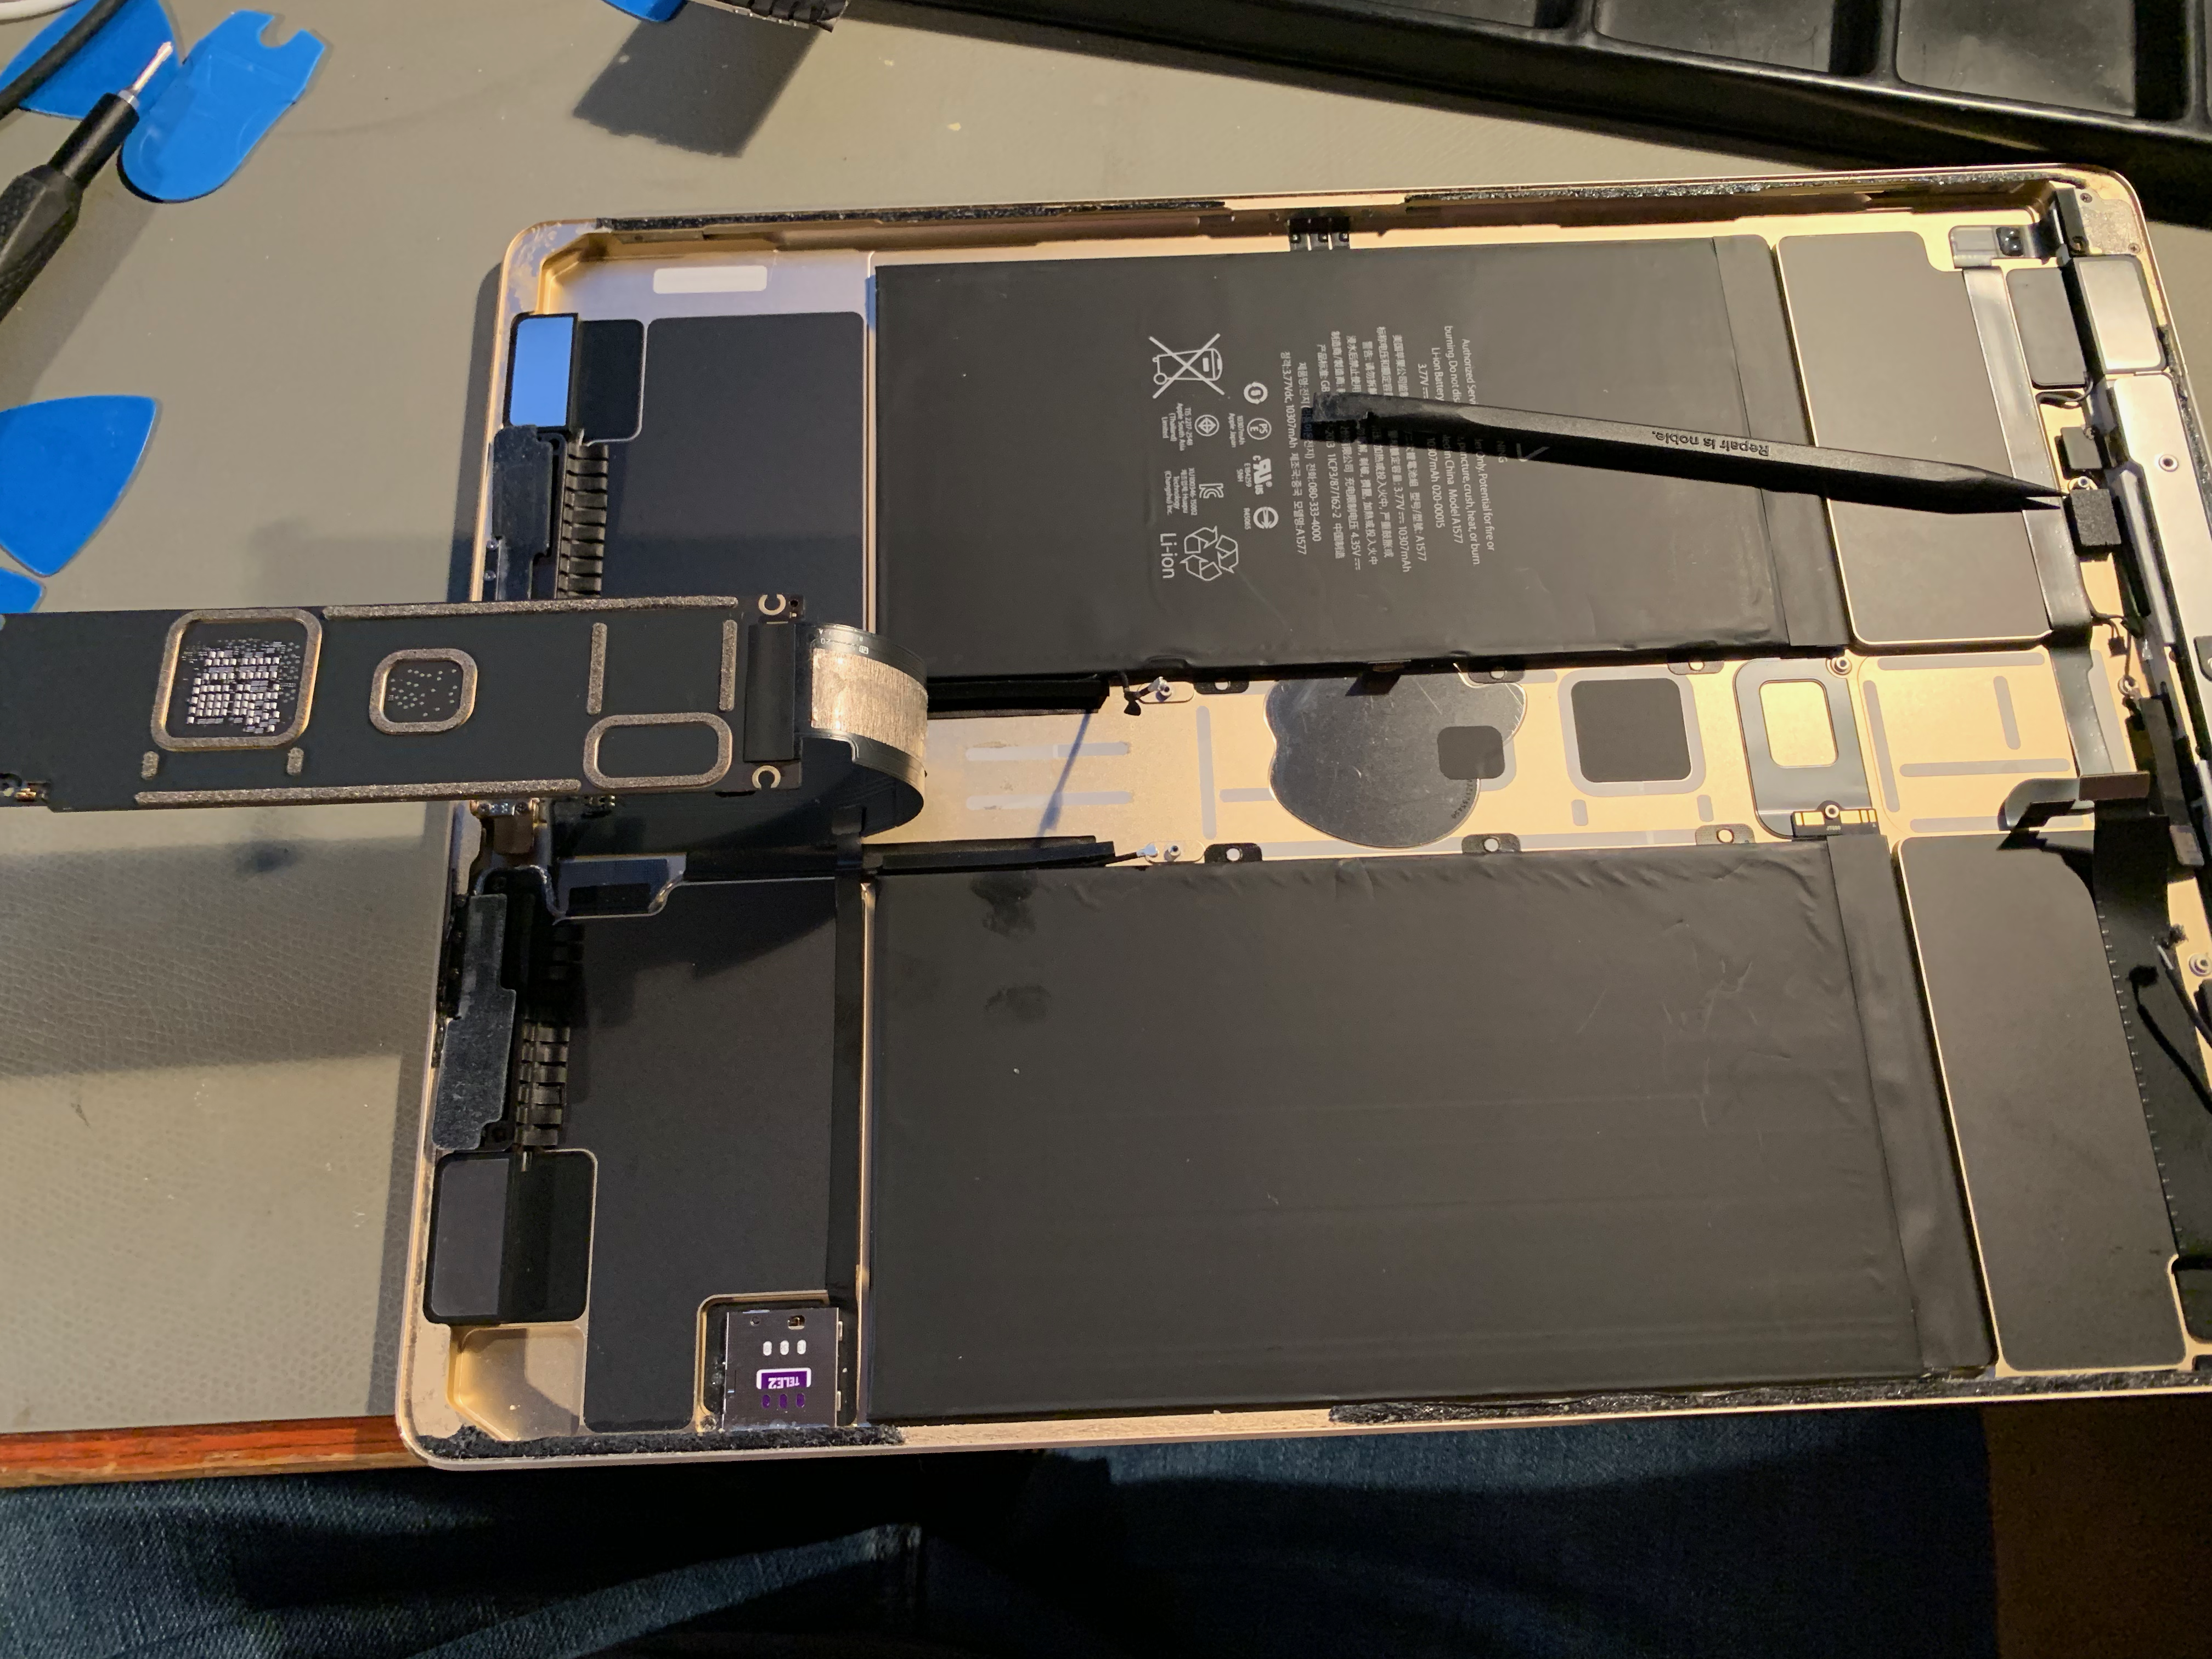
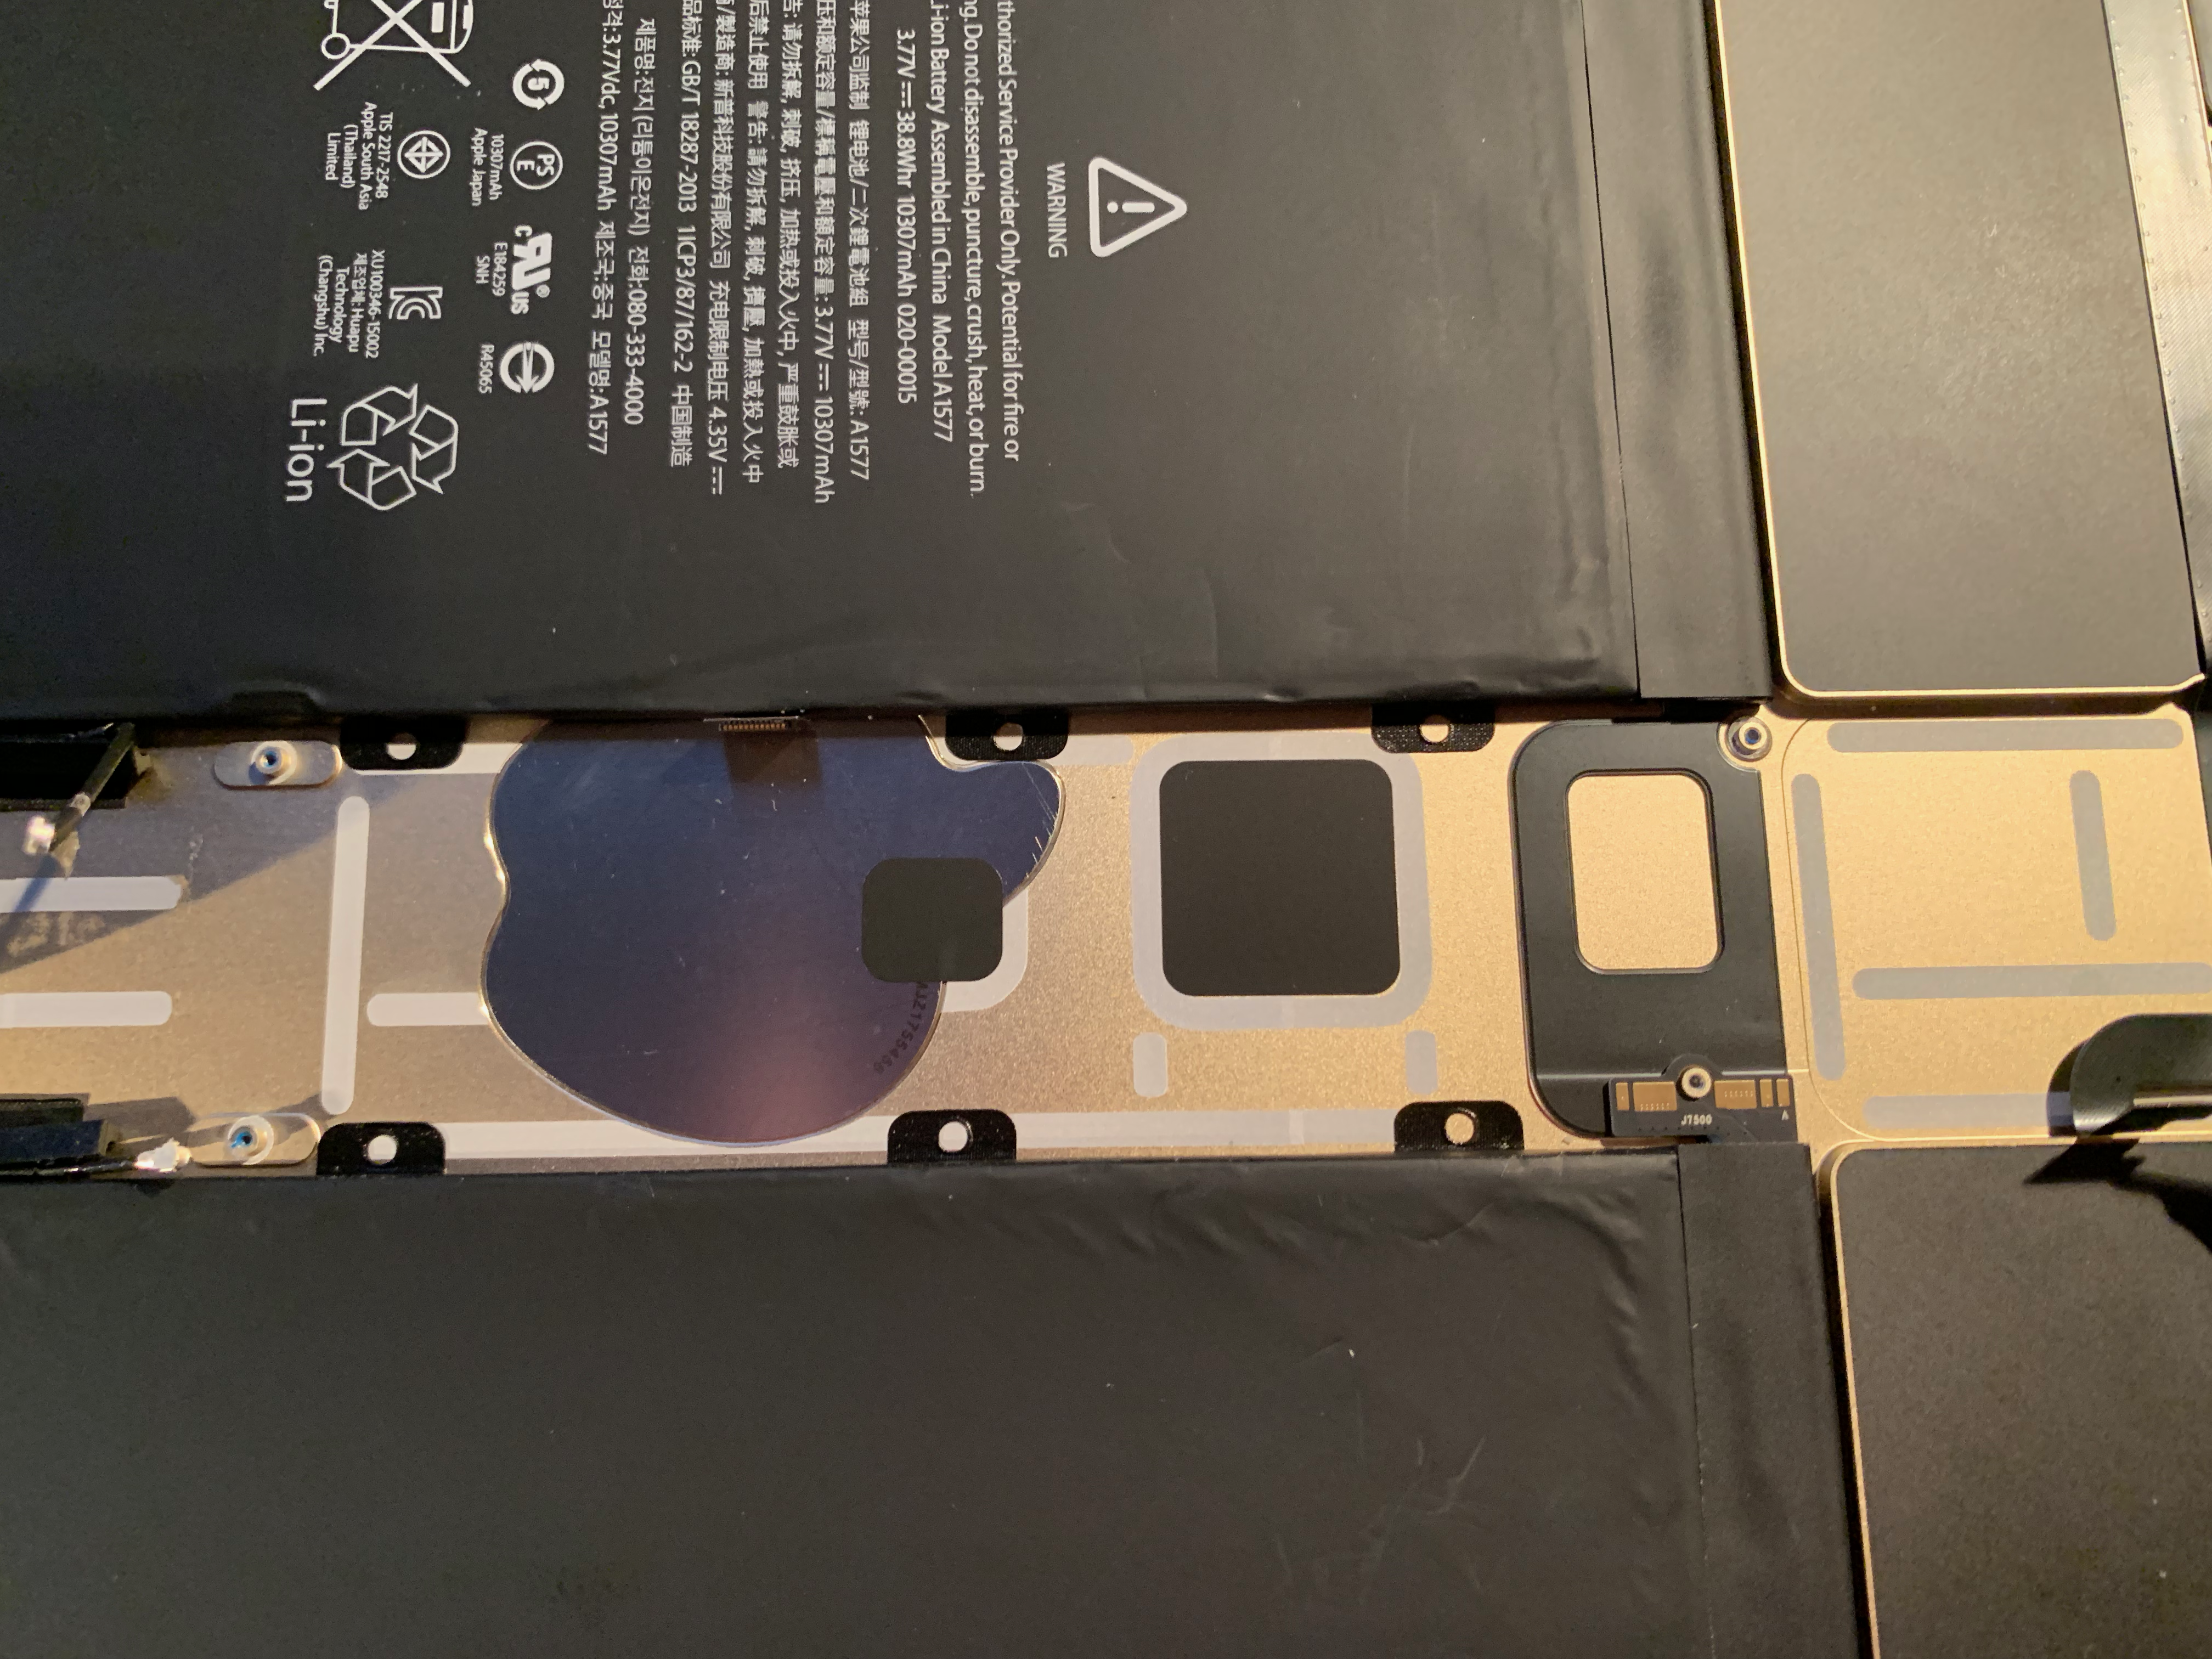
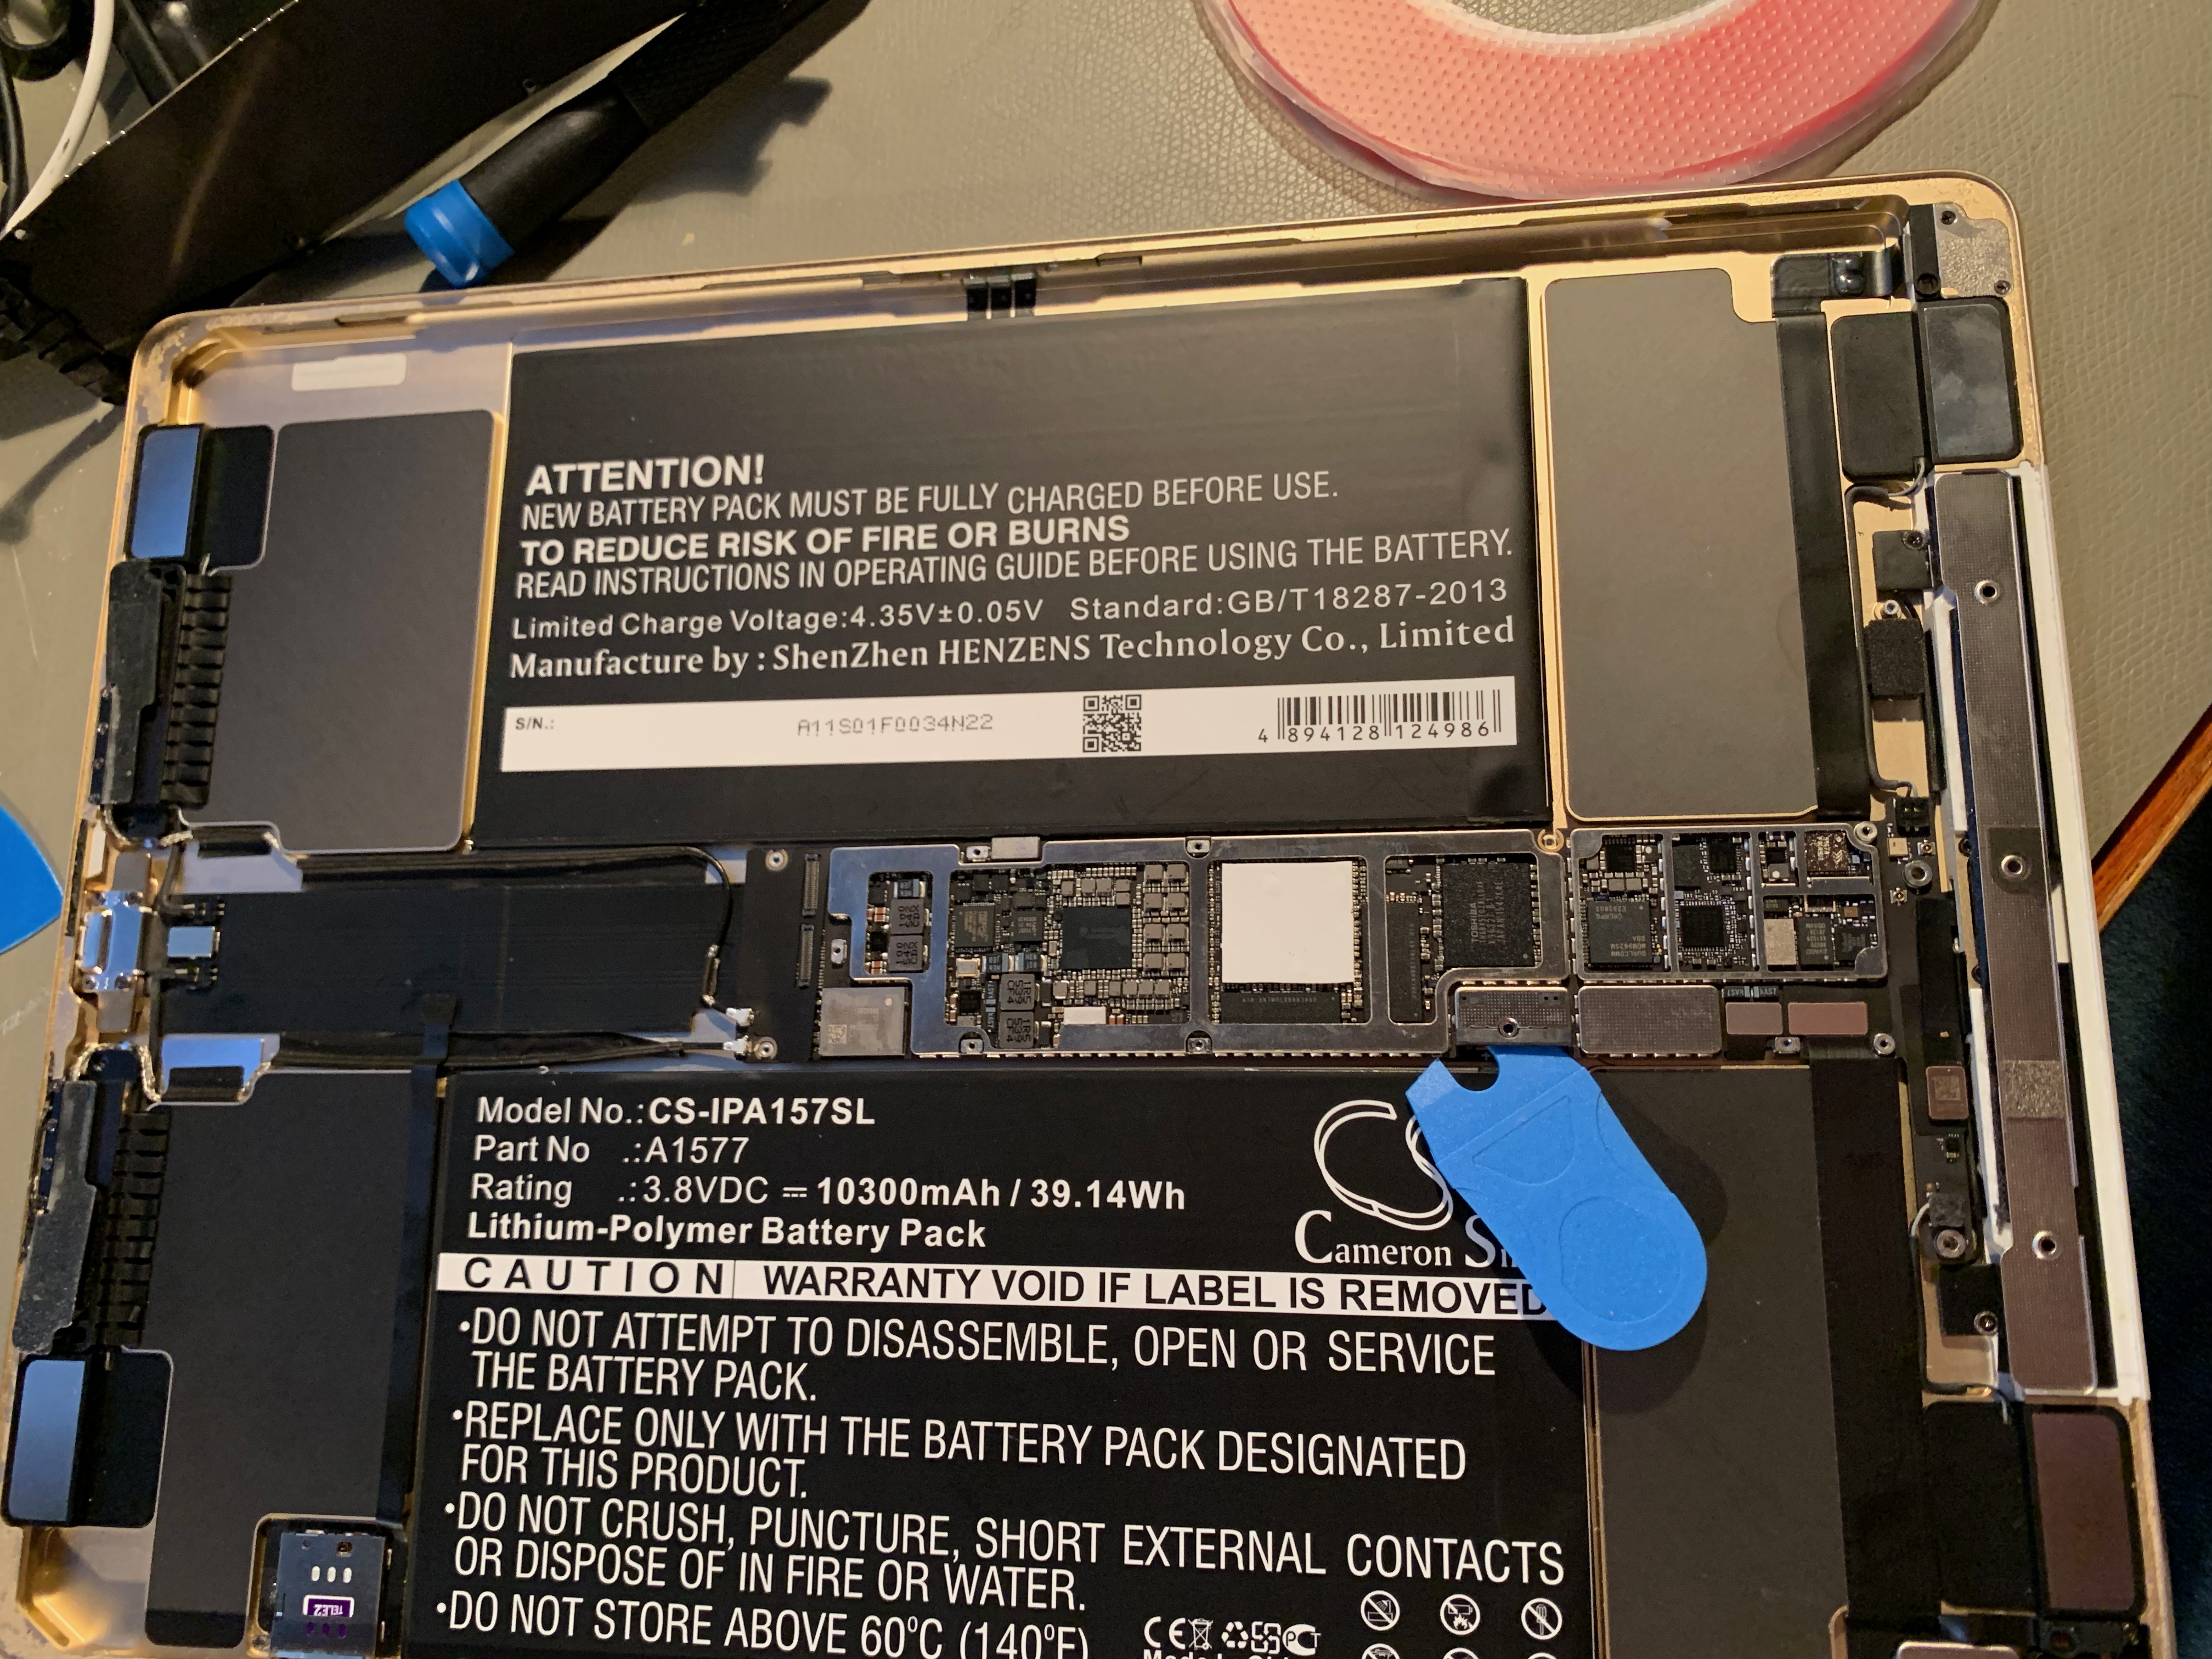
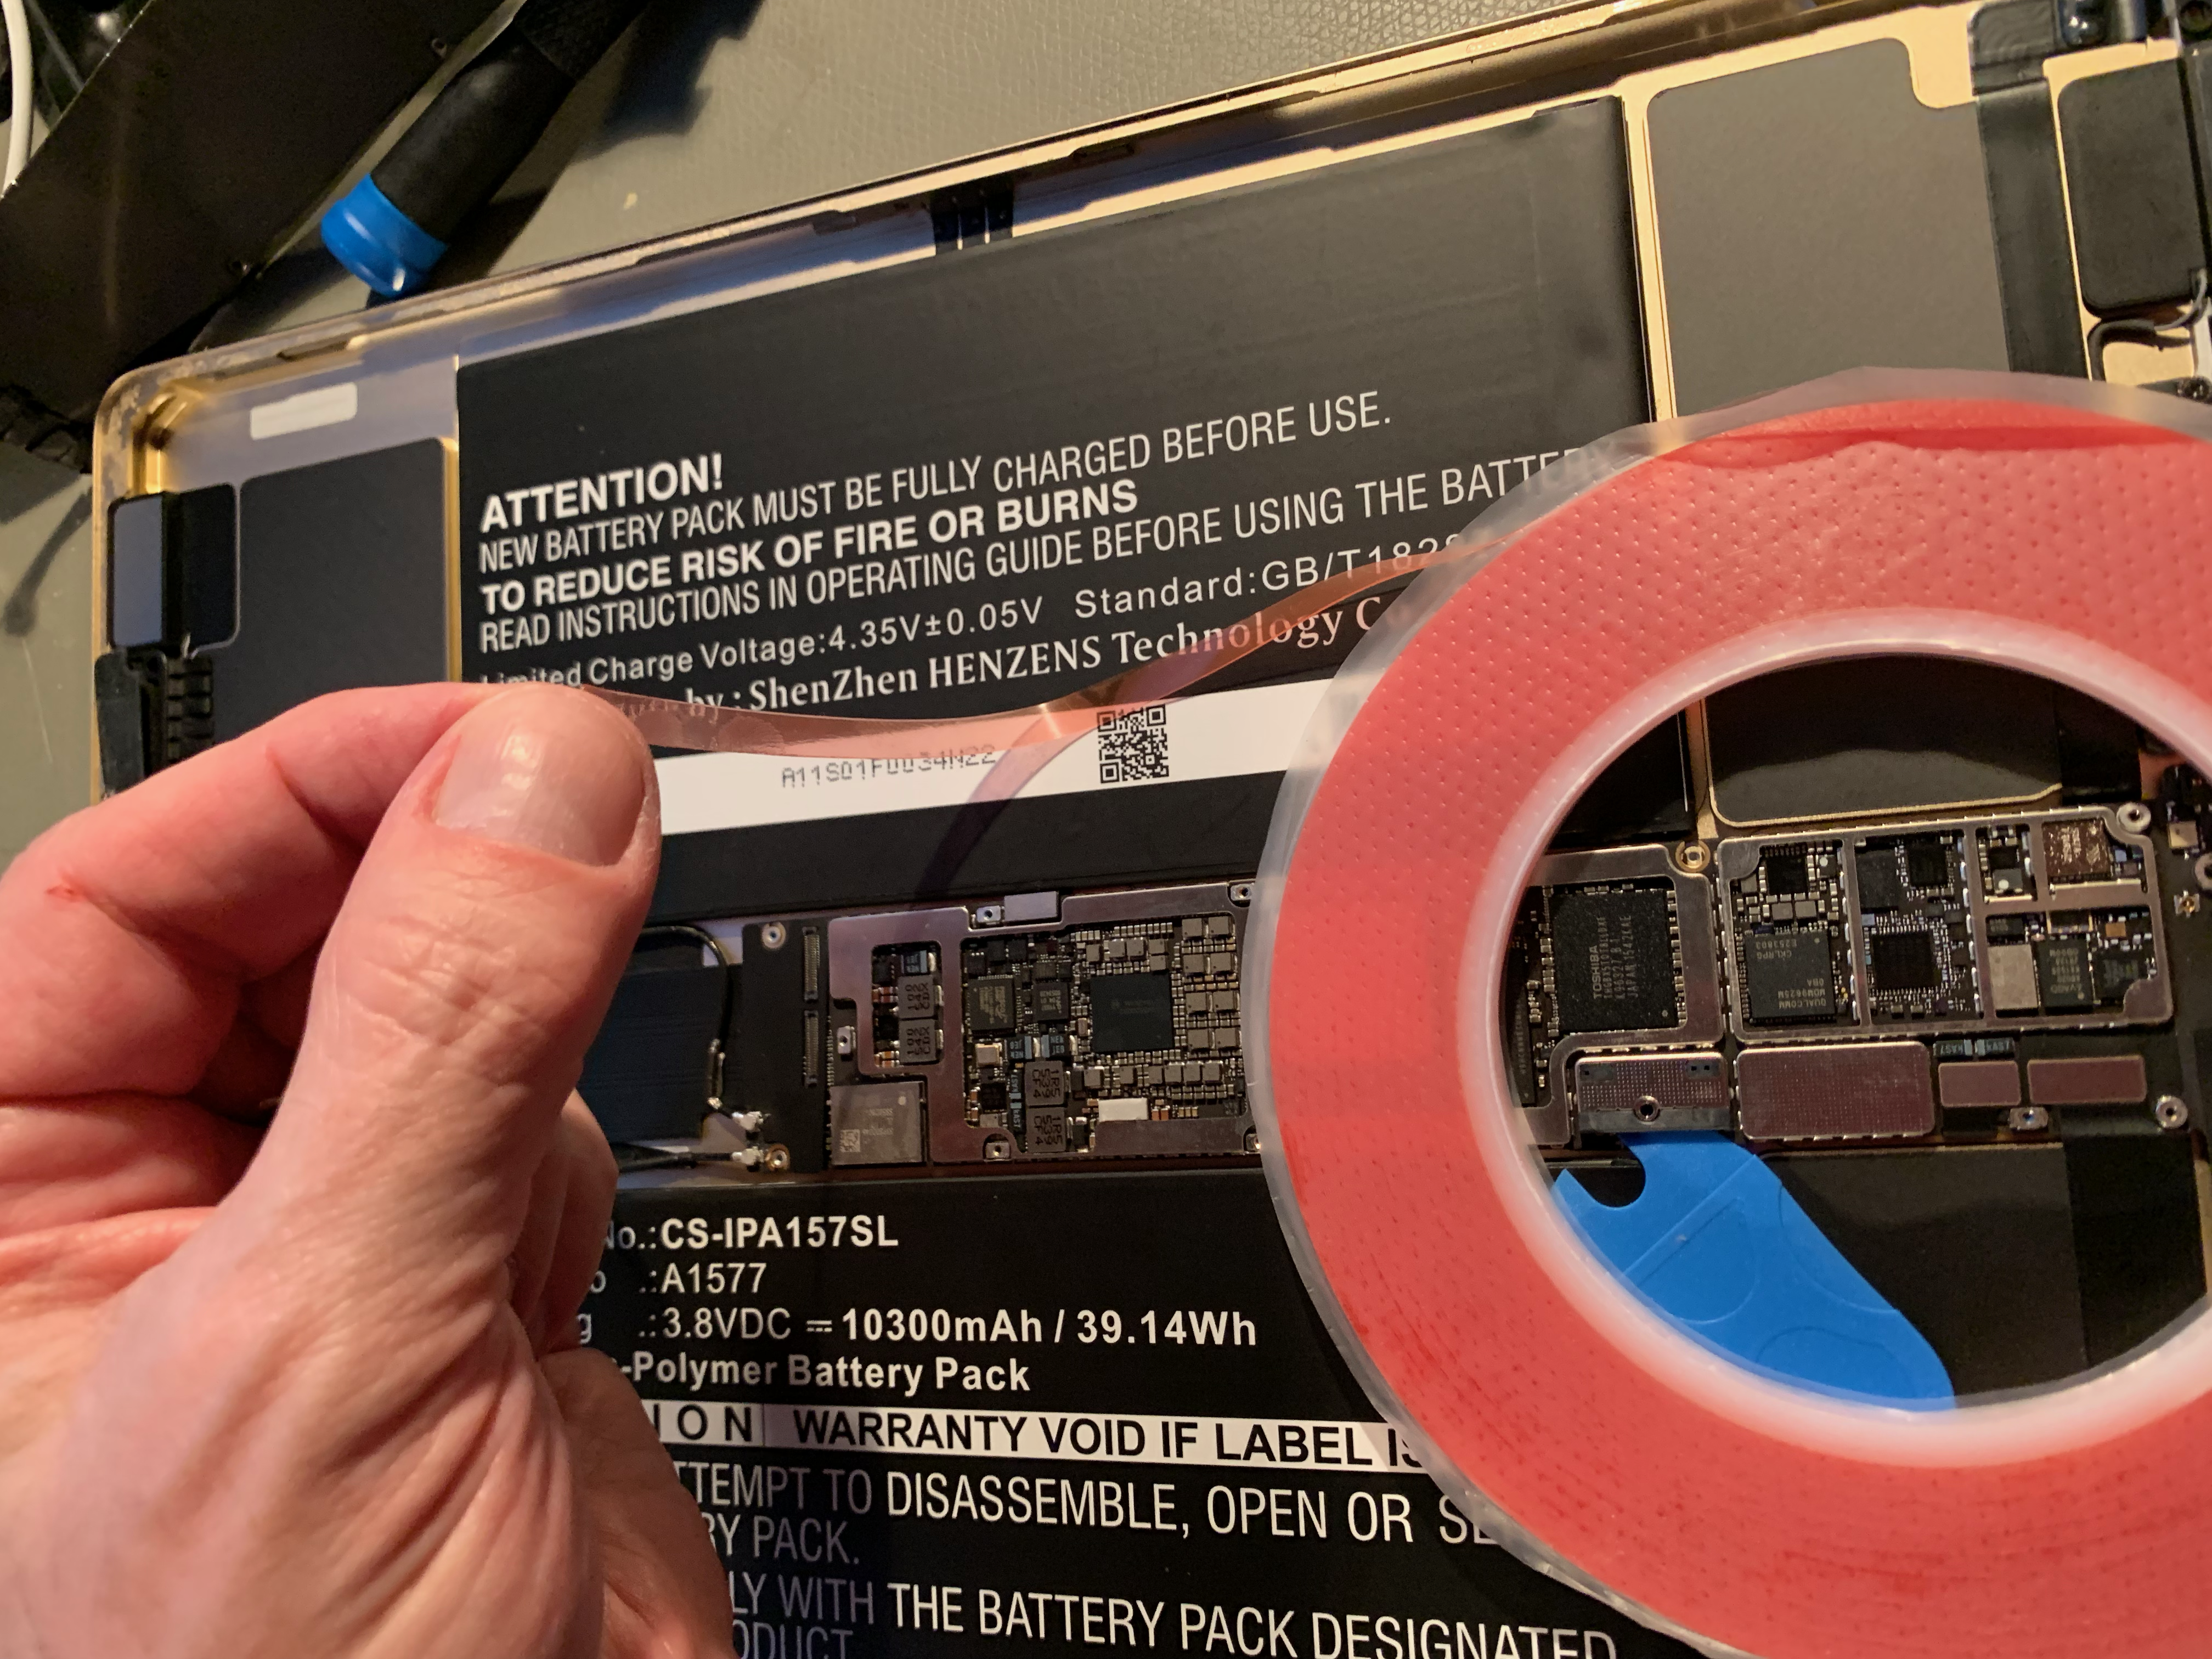
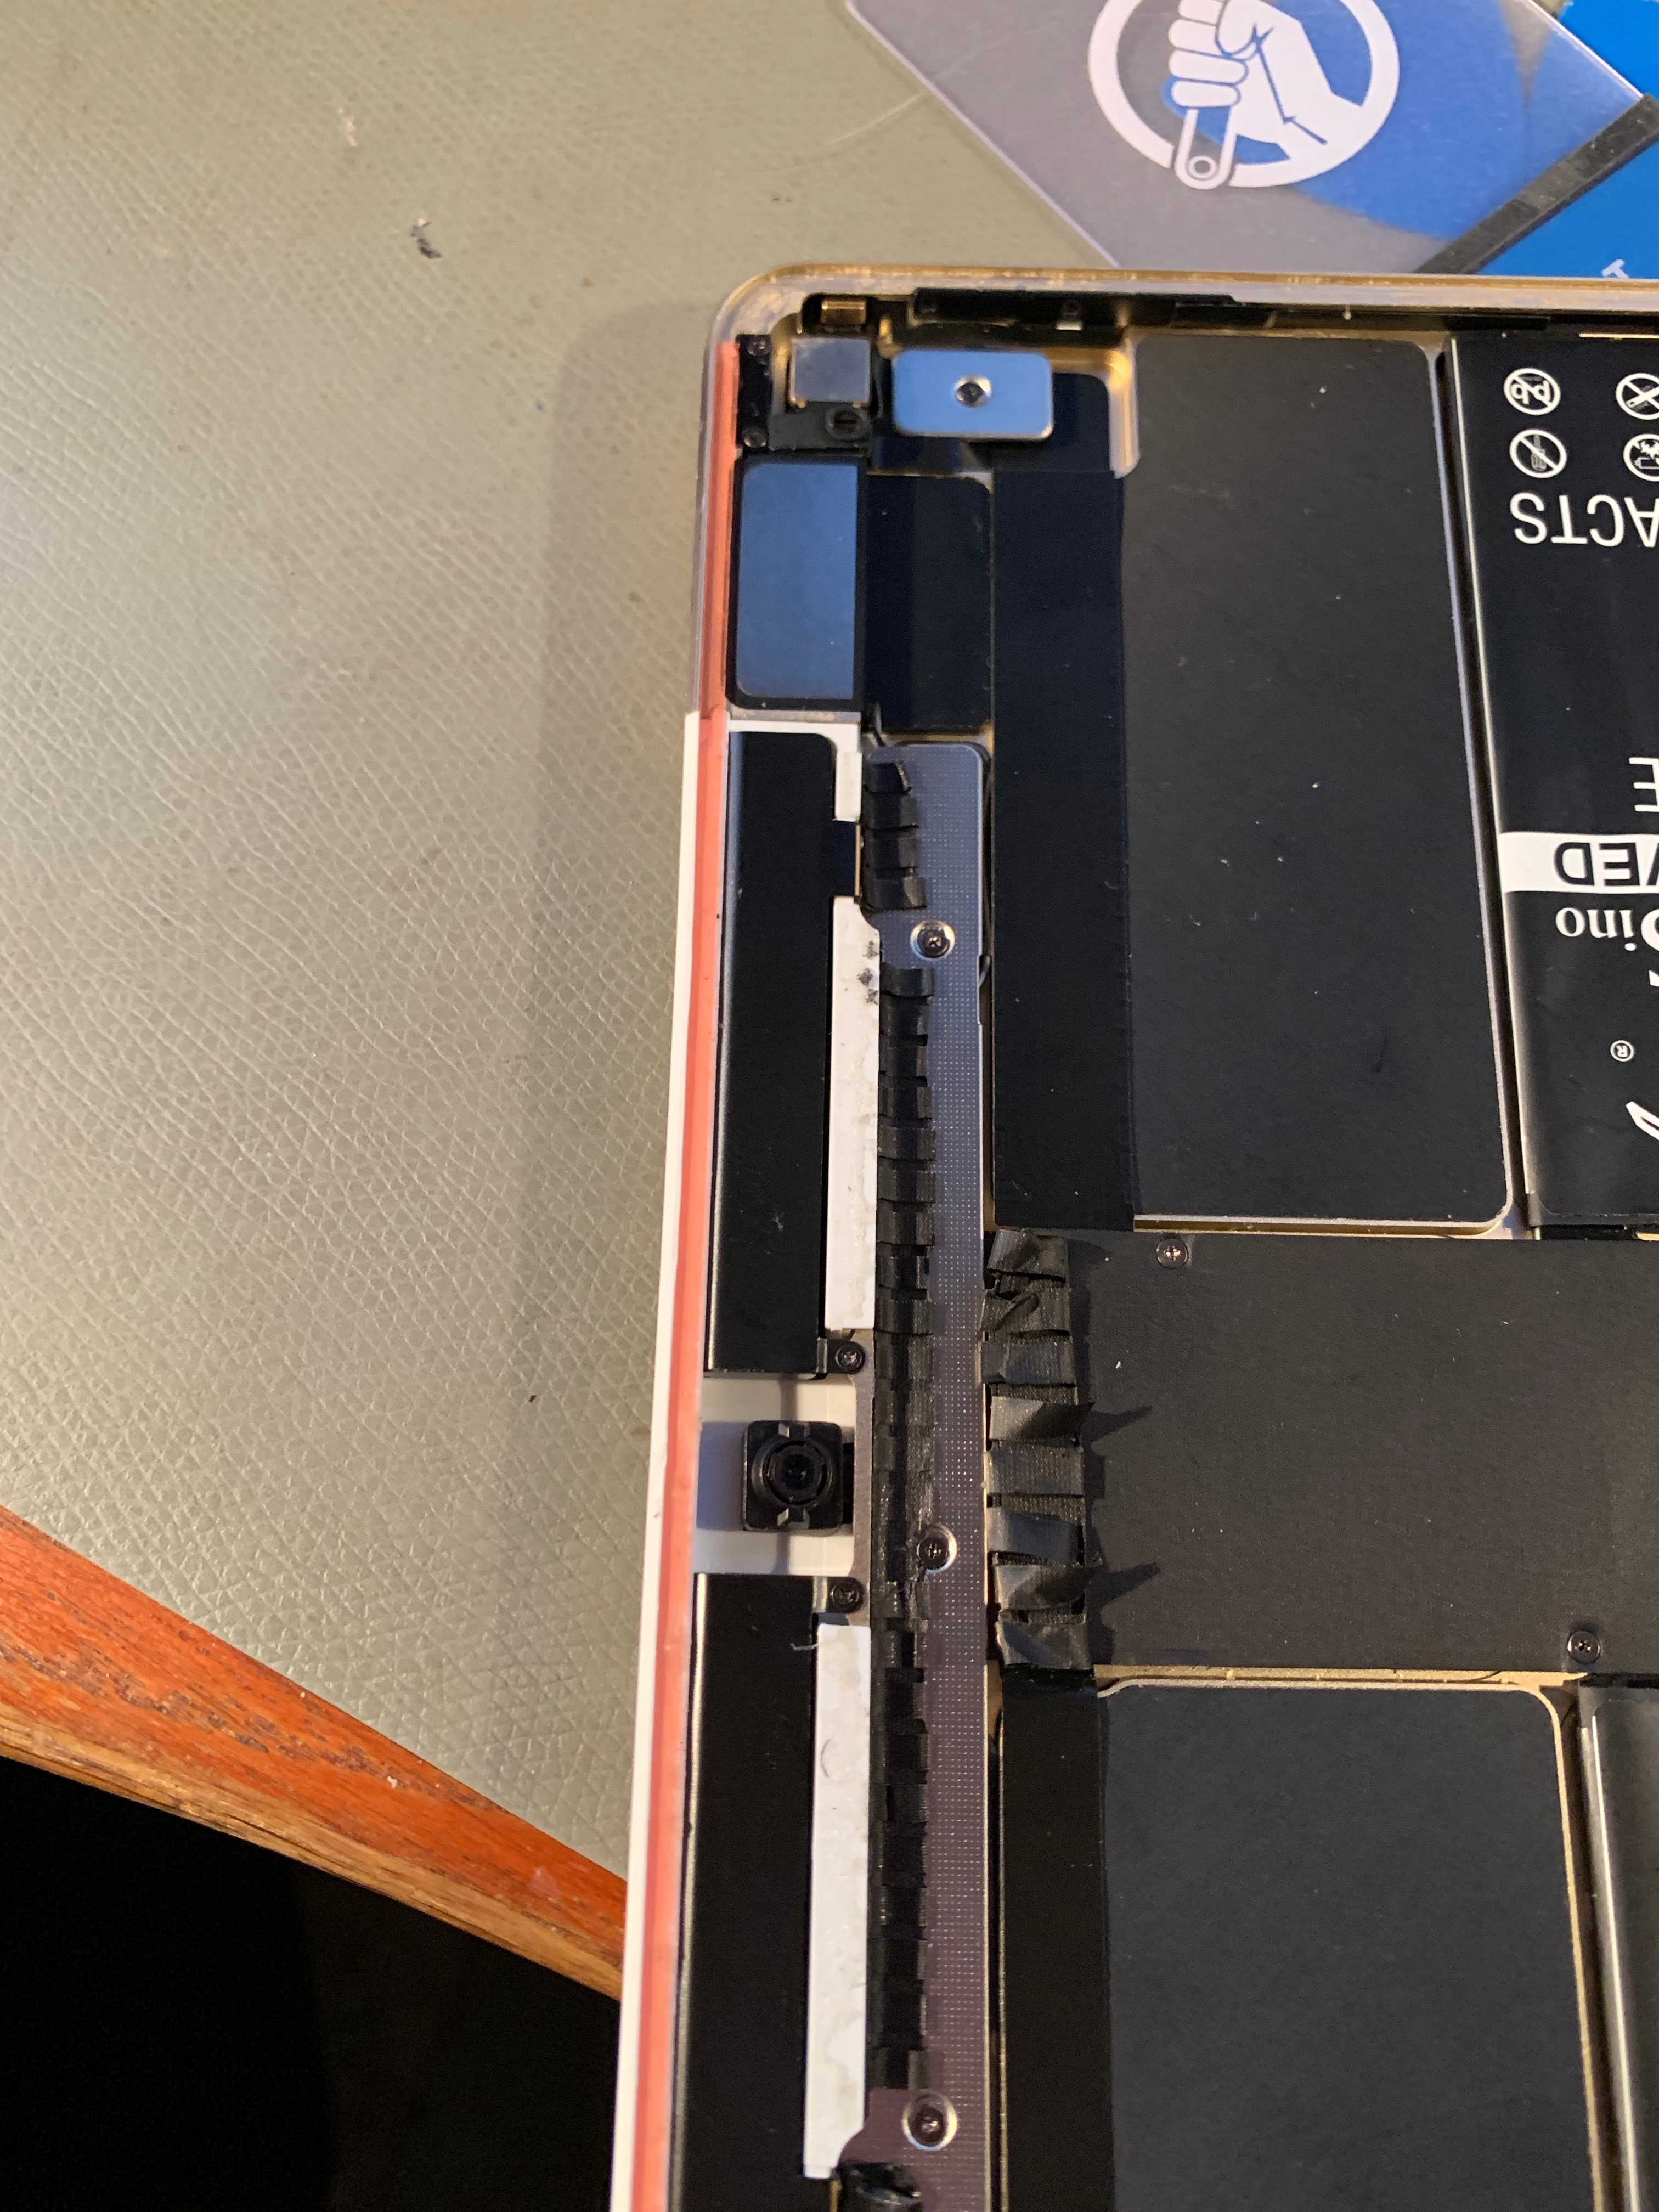
This sounds like a good idea, but it isn’t. I heated the iOpener in the microwave for 30 seconds on full power as prescribed and it was fairly hot. Let it rest on the iPad for a couple of minutes and the iPad turned maybe lukewarm. Or maybe not even that. It really didn’t work for me.This thing, however, definitely does work. 150 degrees (Celcius) seems about right.Going over the iPad for just half a minute is enough to soften up the glue. I lifted the display using a suction cup (not shown) to get the first guitar picks in there.Keep going around, and around, and around… careful not to stick the spudger och picks in too deep.I kept the iPad on just to see the exact moment I destroyed it. Didn’t happen.They’ve made it so you can’t lift the display much beyond this point. According to iFixit, you need to disconnect the battery before disconnecting the screen and digitizer and that’s a real hassle. But I did it.So, there’s the battery looking like two lungs. Just for kicks, Apple decided to let the connection bridge between the two lungs… eh, battery halves pass under the main board. Nice joke. Getting the main board out makes it necessary to lift the cover under the antenna and disconnect a bunch of bloody tiny connectors, which with uncanny precision will end up under the main board when you reassemble.Finally… main board folded back towards the left and the battery interconnection is laid bare.See? That black interconnect is part of the battery. Call it the “carina” if you will (insider joke).The battery tape has pull tabs. Not perfect, they do break, but they break later in the process than they used to do.New battery. There’s a lot of text in screaming capitals on this one. Put in the battery first and connect it, then lift up the halves one by one and put double-sided tape in to fix it in the case.I used three lengths of 5 mm double-sided tape for each battery lobe.After cleaning off all the old black tape from the case and the display, put in as much new double-sided tape as you’ve got patience for (definitely more than in this image, I wasn’t done yet). According to iFixit instructions, it’s very important that you only connect the battery after connecting the display and digitizer, but it’s such an incredible acrobatic feat to get that done that I just thought “fuck it, I can always get a new iPad” and connected the battery first. The iPad didn’t mind. Works now.